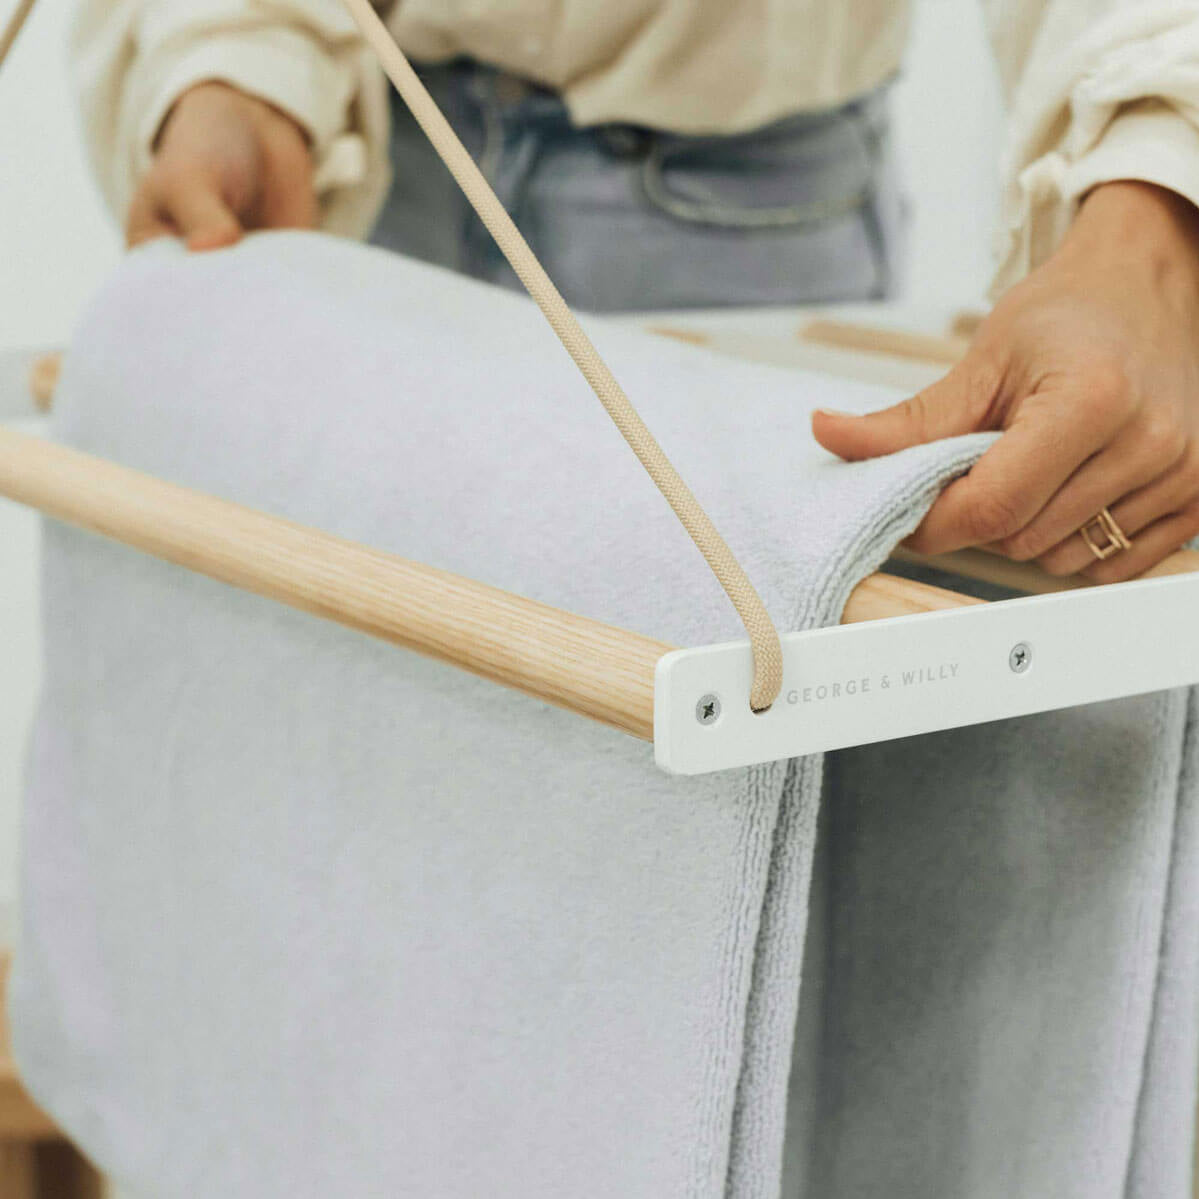


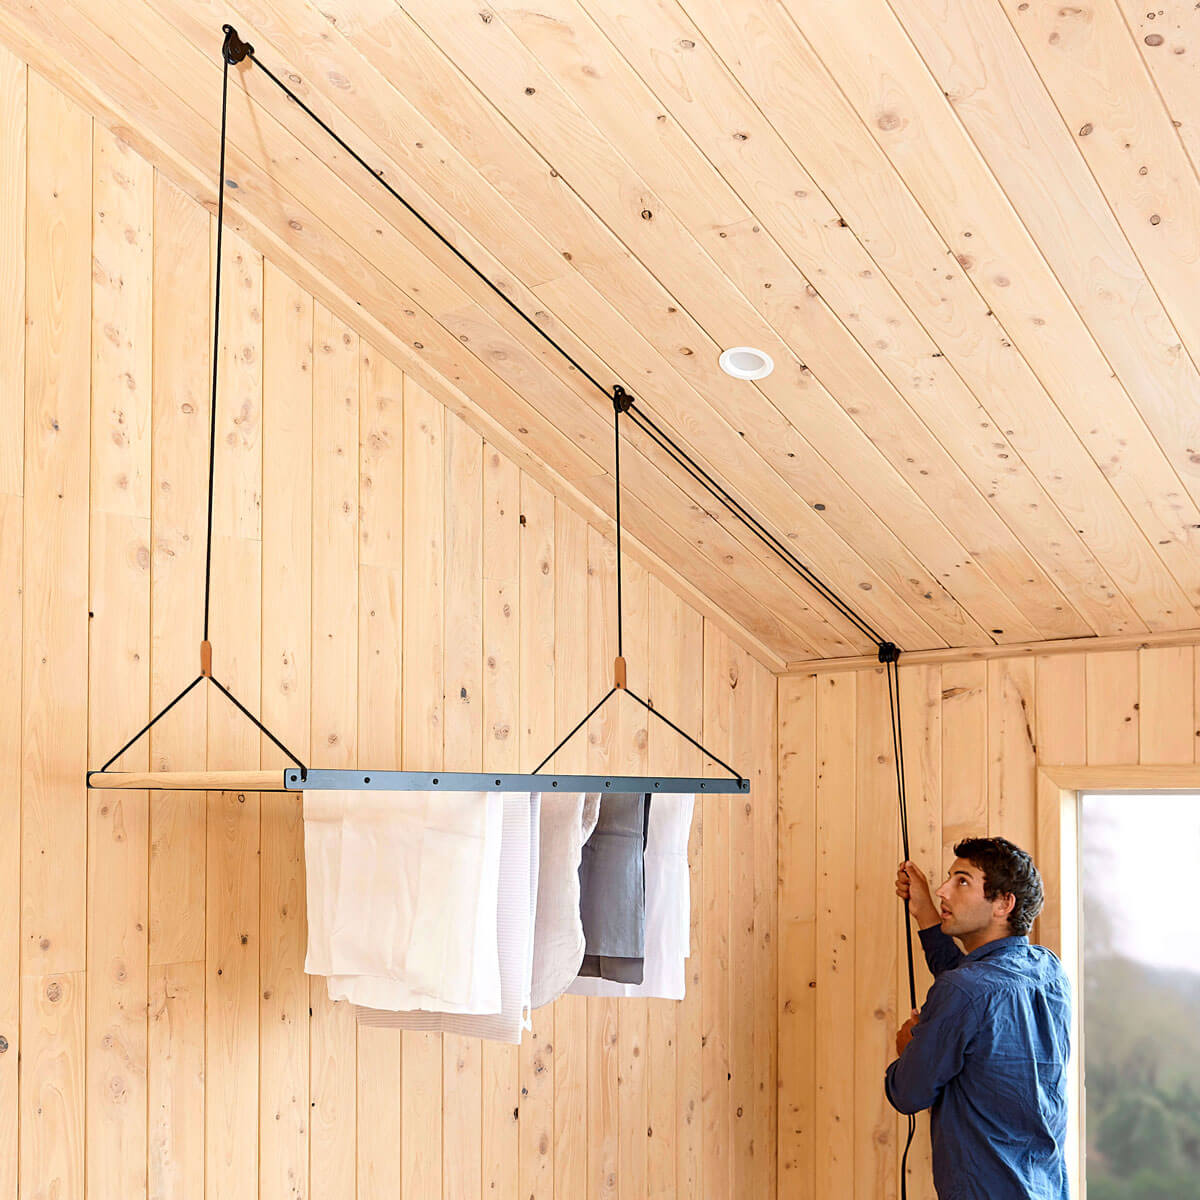

Inspired by New Zealand back country huts and built with the honest materials of American Ash and Aluminium, we’ve made the Ceiling Hanging Drying Rack to go the distance and stand the test of time. We thought that seeing as it will be sticking around for a while we’d better help you out with installing your new pulley maid and get the job done right.
You and your handyman are looking at taking about 45mins to an hour once you’ve got the tools ready, so get a good playlist going, pour yourselves both a cuppa and enjoy the quick and easy process.

Step 1.
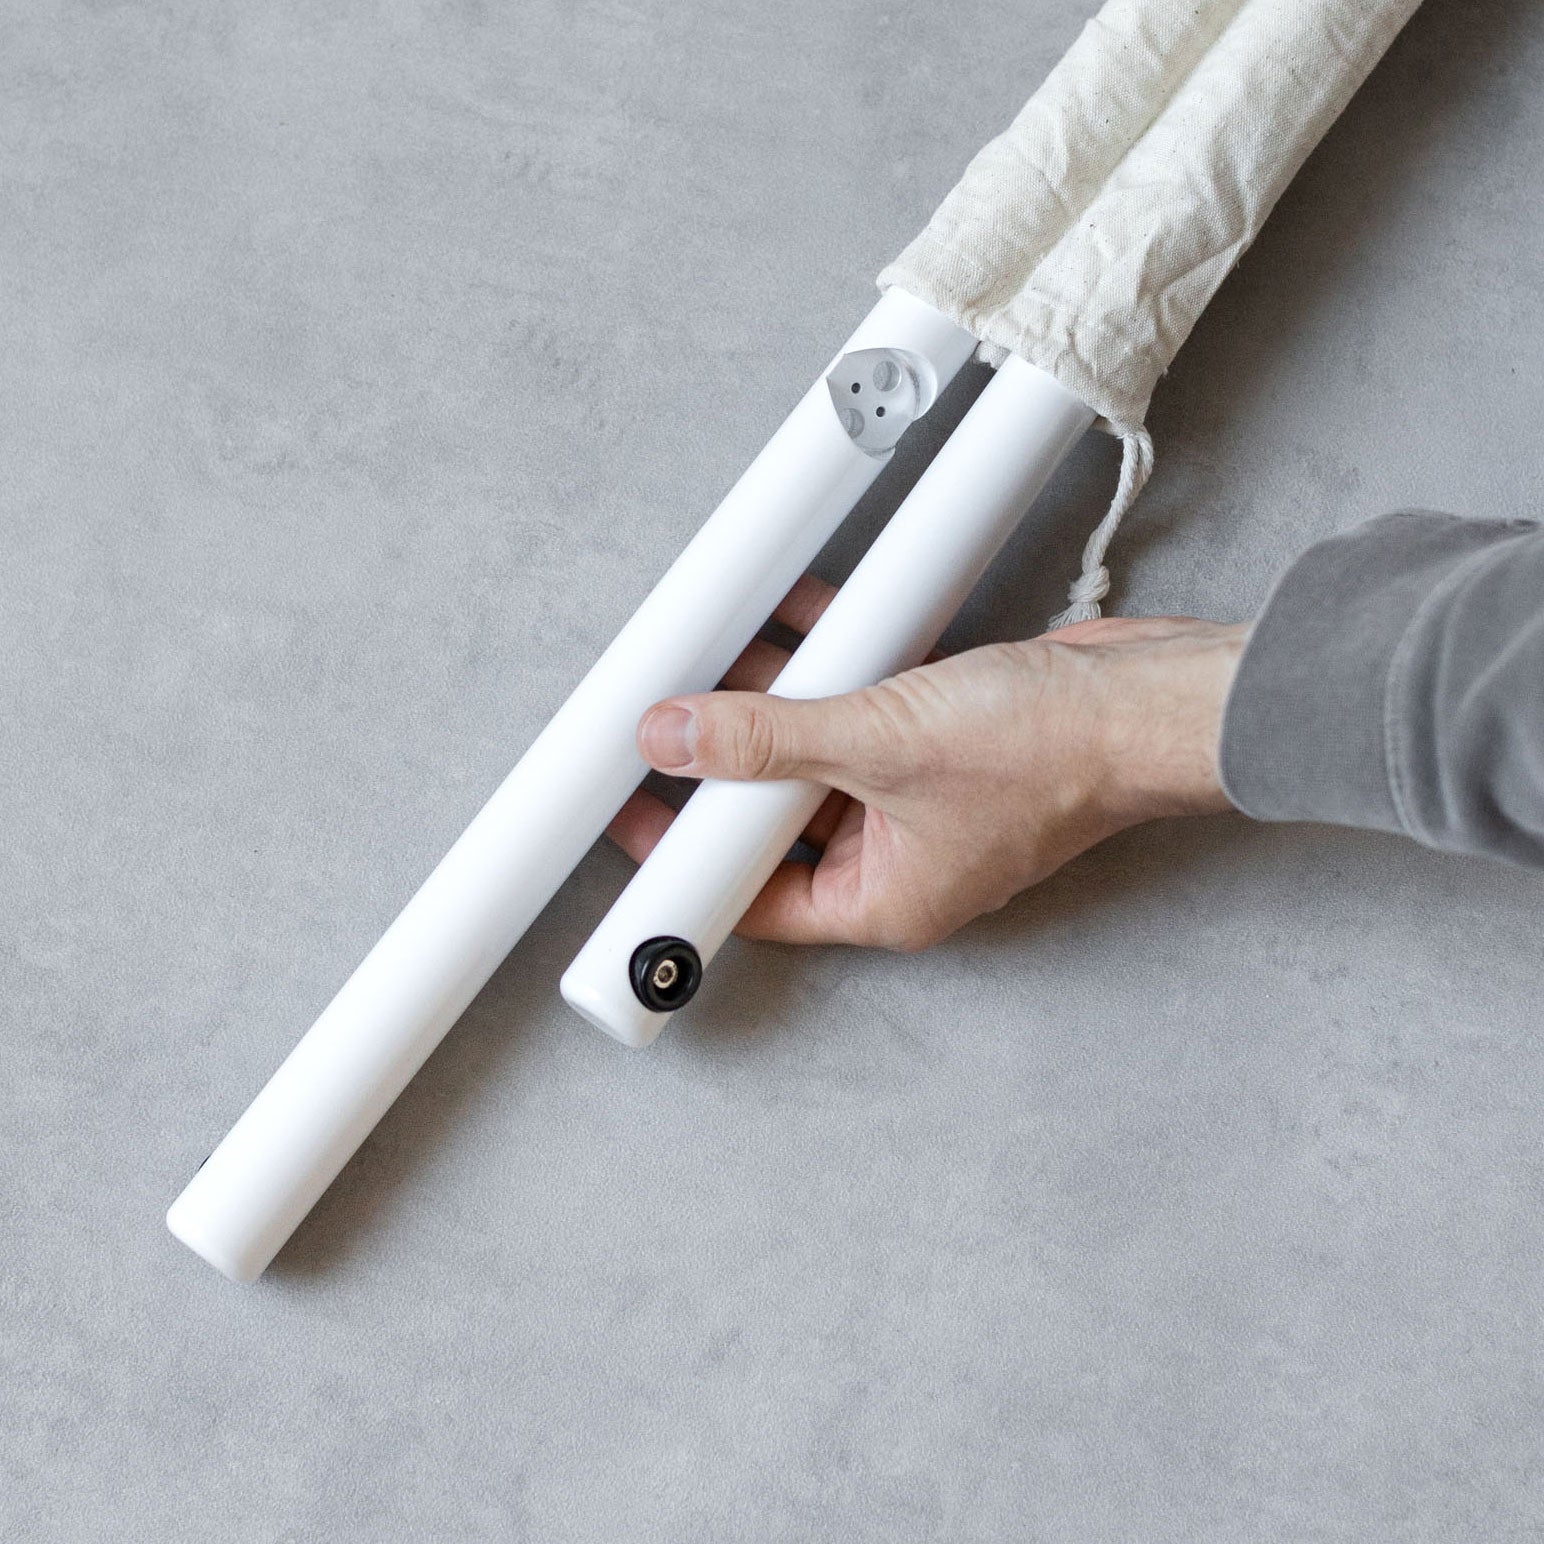
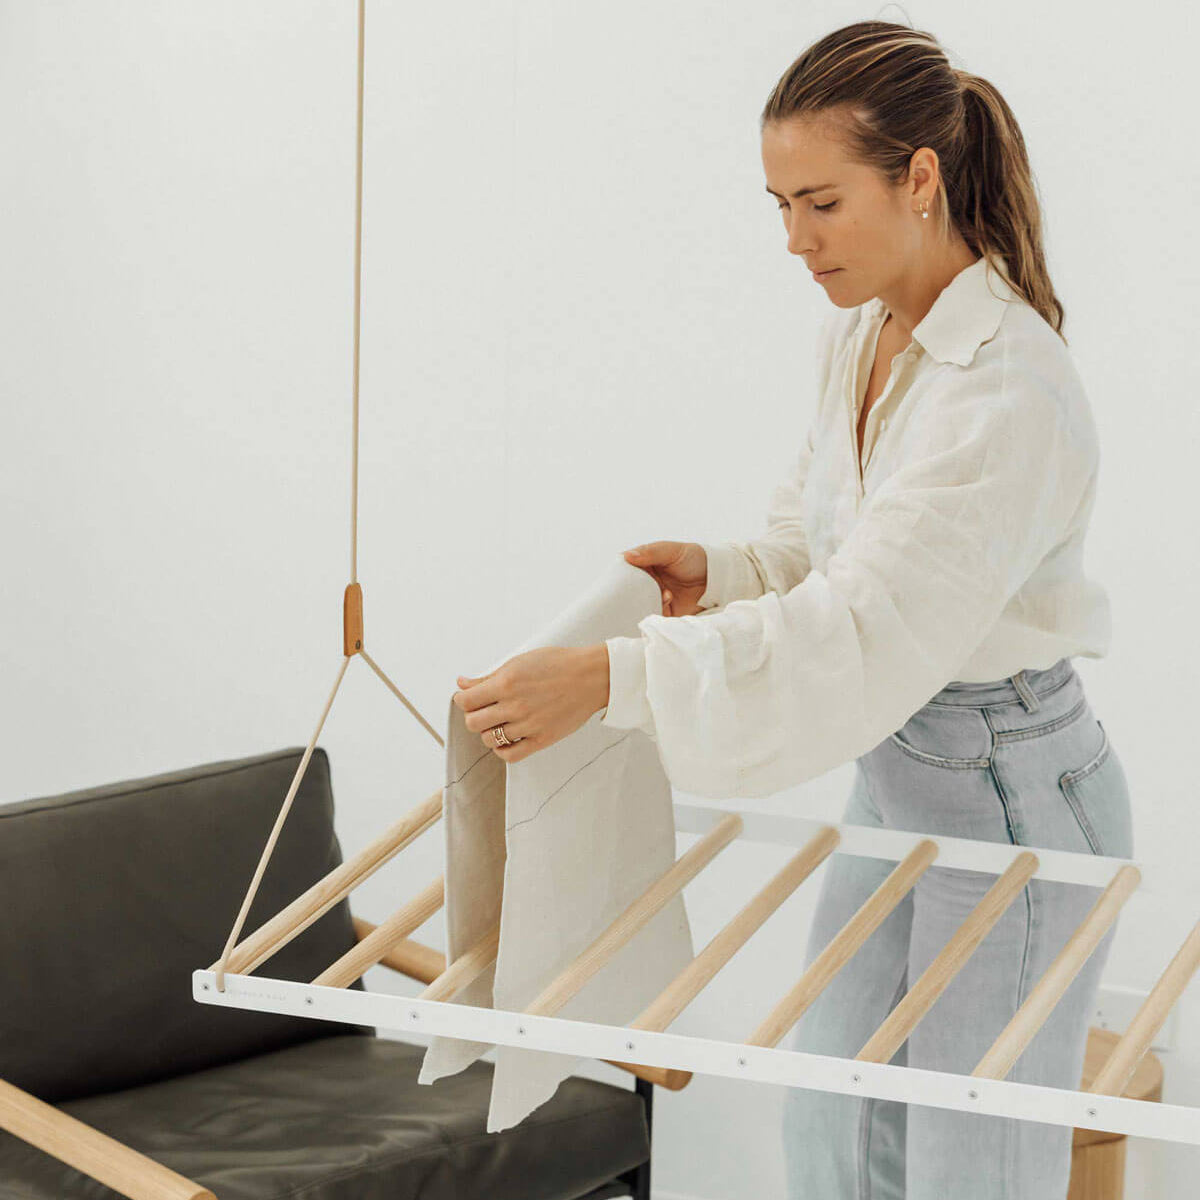
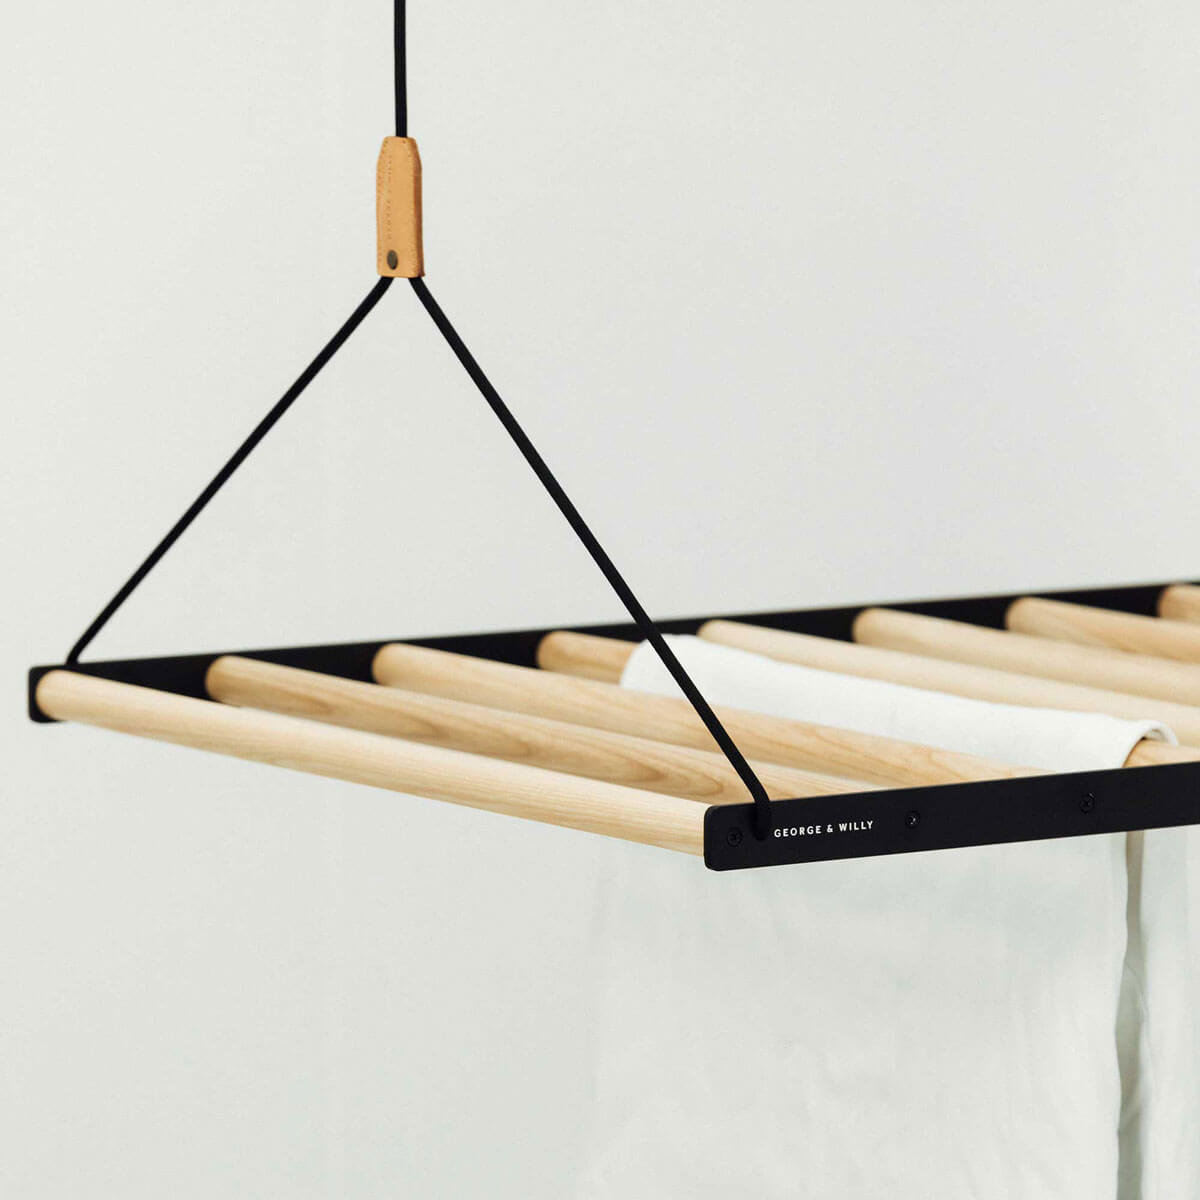
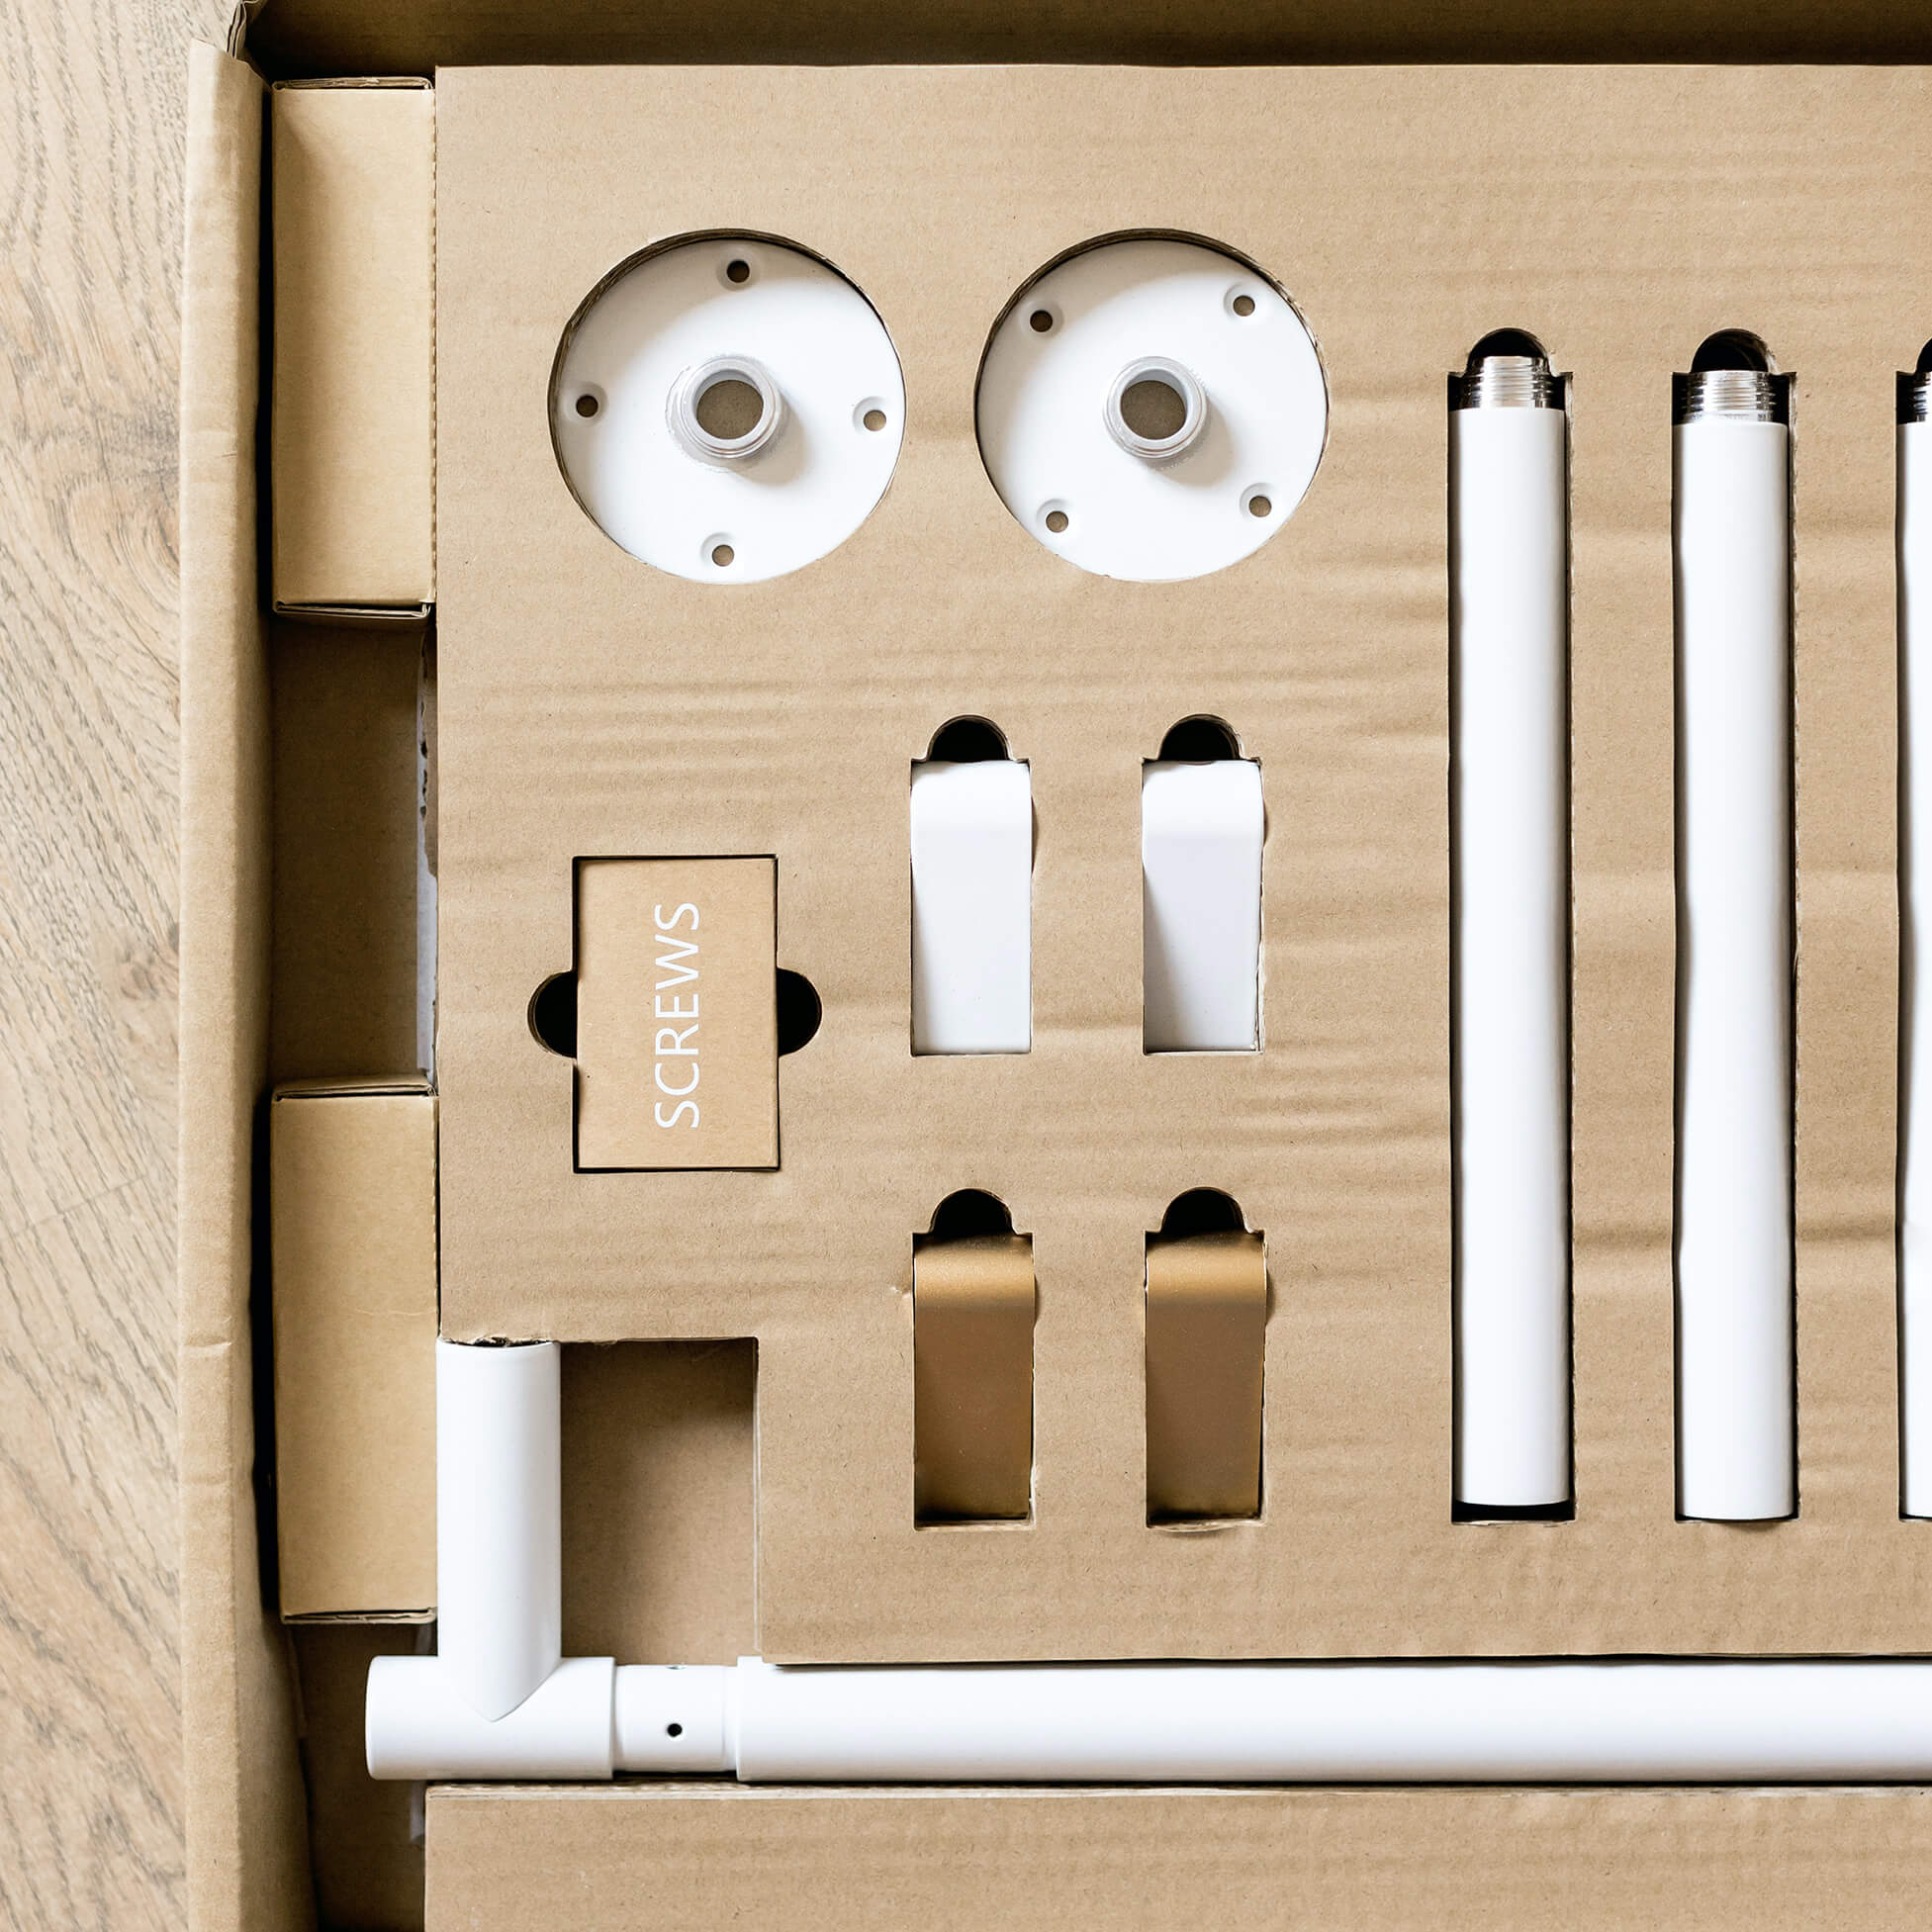
Please use a qualified professional to ensure safe assembly and installation of this product. Before you start assembly please lay your Hanging Drying Rack out on the floor like above, ensuring that the rope is not twisted and in the correct position before installing the dowels.

Step 2.
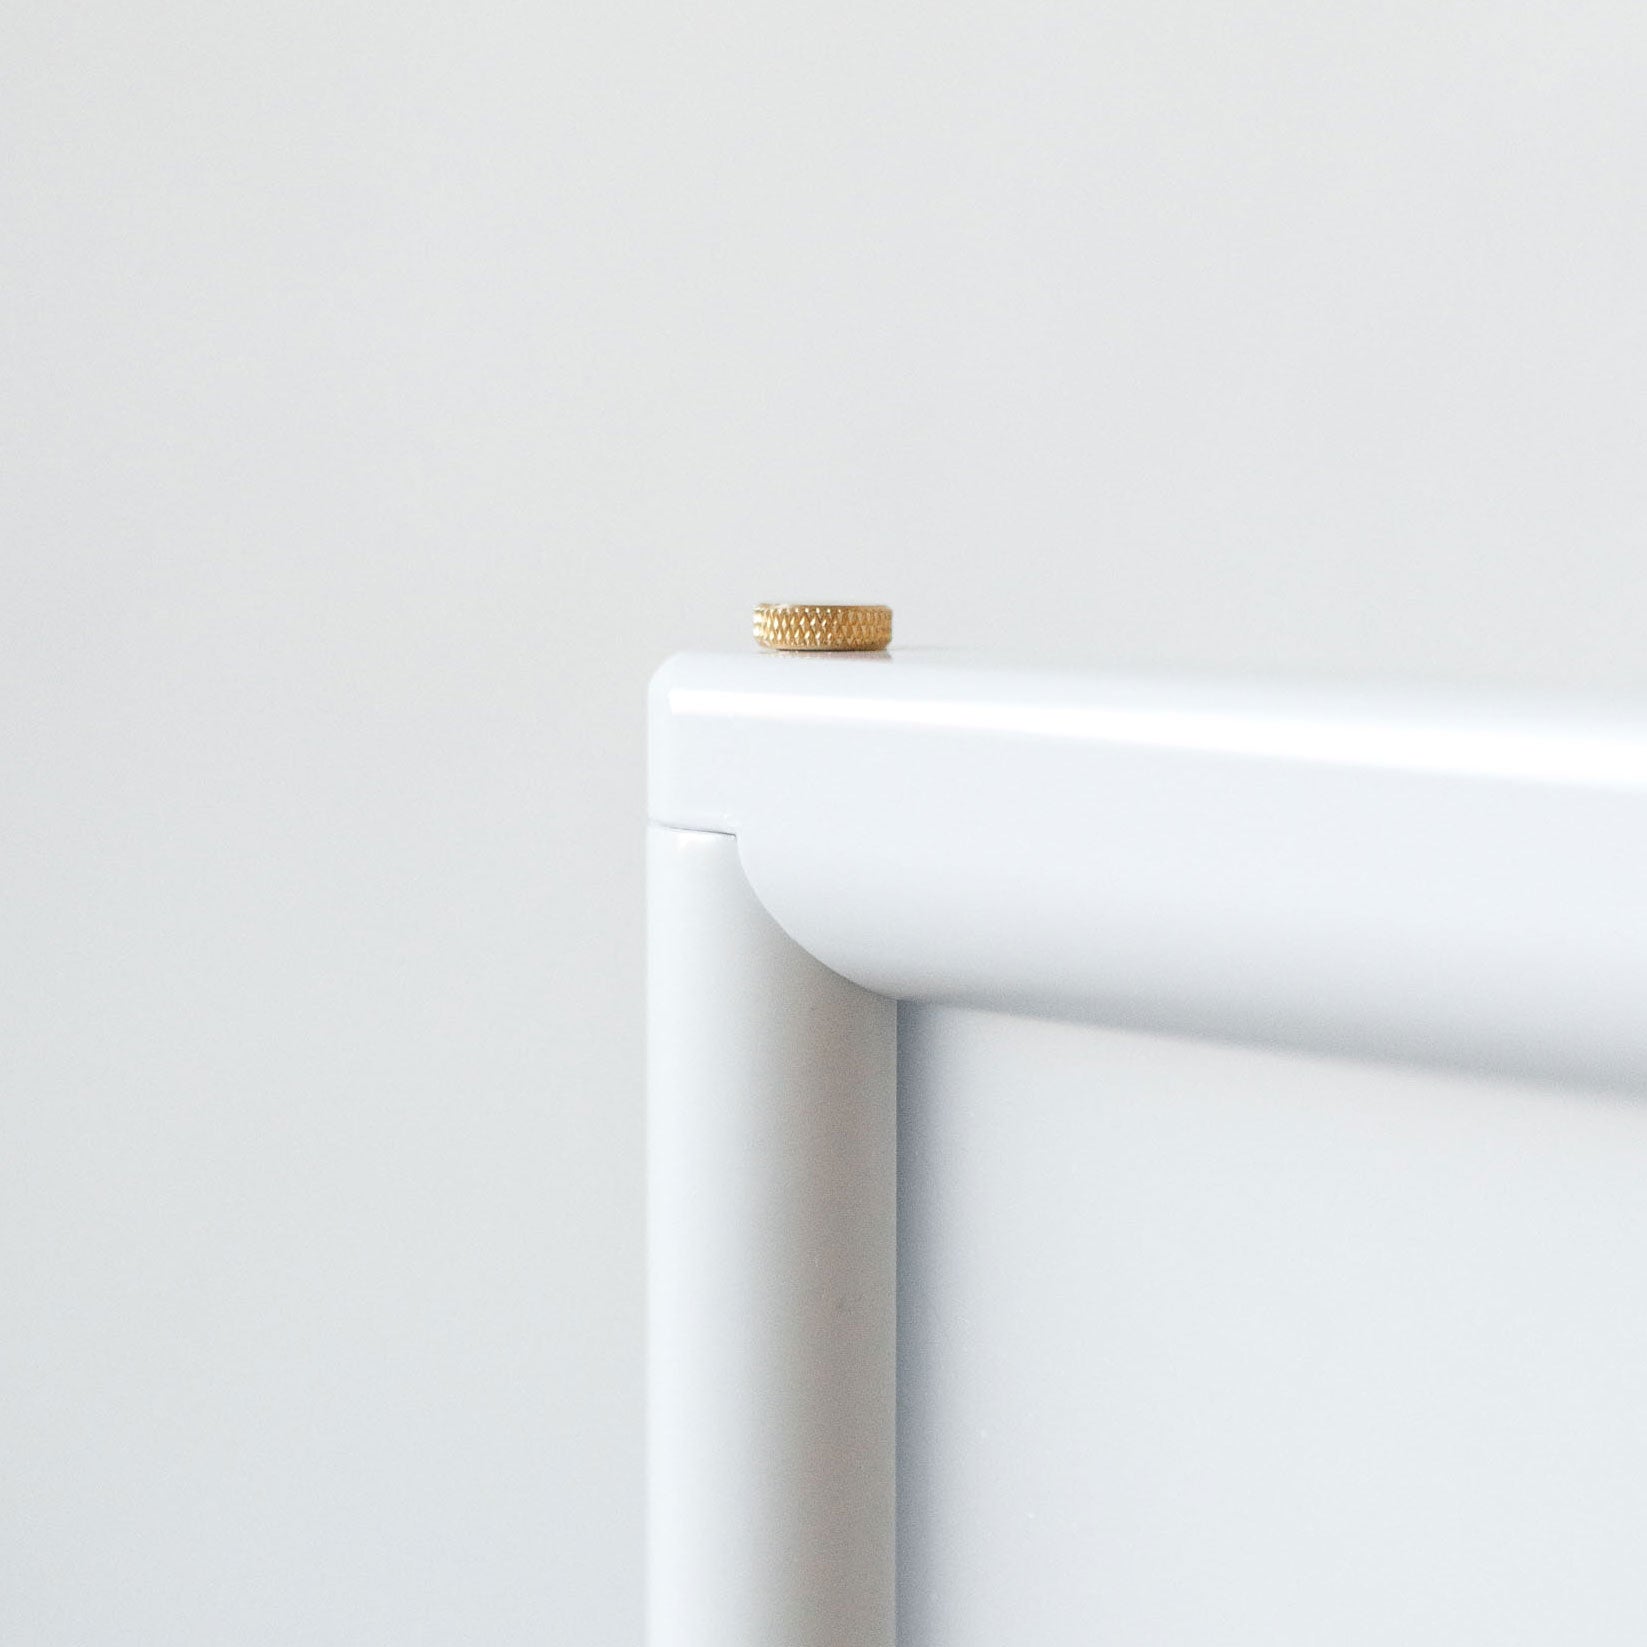
Once you are happy your Hanging Drying Rack is in the correct position place the dowels in the middle evenly so they match up to the correct holes on the outside brackets, using the Allen key to tighten the screws.
Step 3.
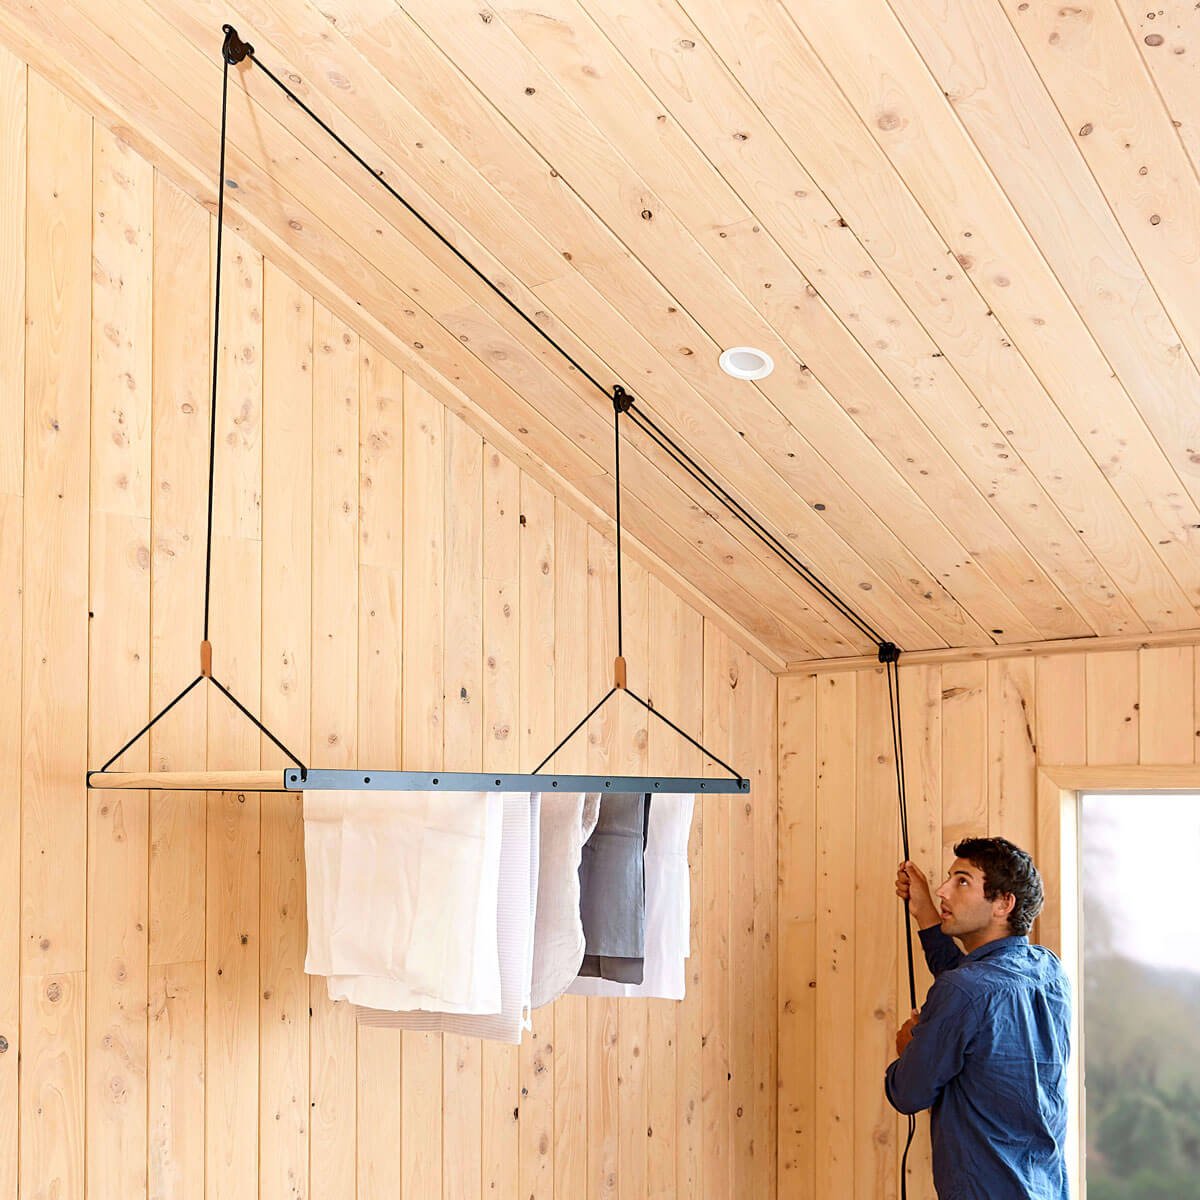
Select a suitable location to install the Hanging Drying Rack. Ensure the chosen space allows enough room for the rack to be raised and lowered easily.

Step 4.
Screw Pulley (1) into the ceiling. Make sure the pulley is secured to a beam.

Step 5.
Install pulley (2) 1085mm back from pulley (1). Ensure they are perfectly aligned.

Step 6.
Install Pulley (3) further back from pulley (2), close to the corner of the ceiling and wall. Ensure all three pulleys are perfectly aligned.

Step 7.
Install the Rope Cleat vertically below pulley (3) on the wall. Please ensure the screws find a stud. All three pulleys and the rope cleat must be aligned.

Step 8.
Thread Rope (A) through Pulley (1). Continue across to pulley (2) and then through pulley (3).

Step 9.
Thread Rope (B) through Pulley (2). Continue across and through pulley (3). Pull both ends of rope (A + B) until the Hanging Drying Rack is raised off the ground. Adjust each end accordingly until the rack becomes level in the air - a builder's level should be used for complete accuracy.

Step 10.
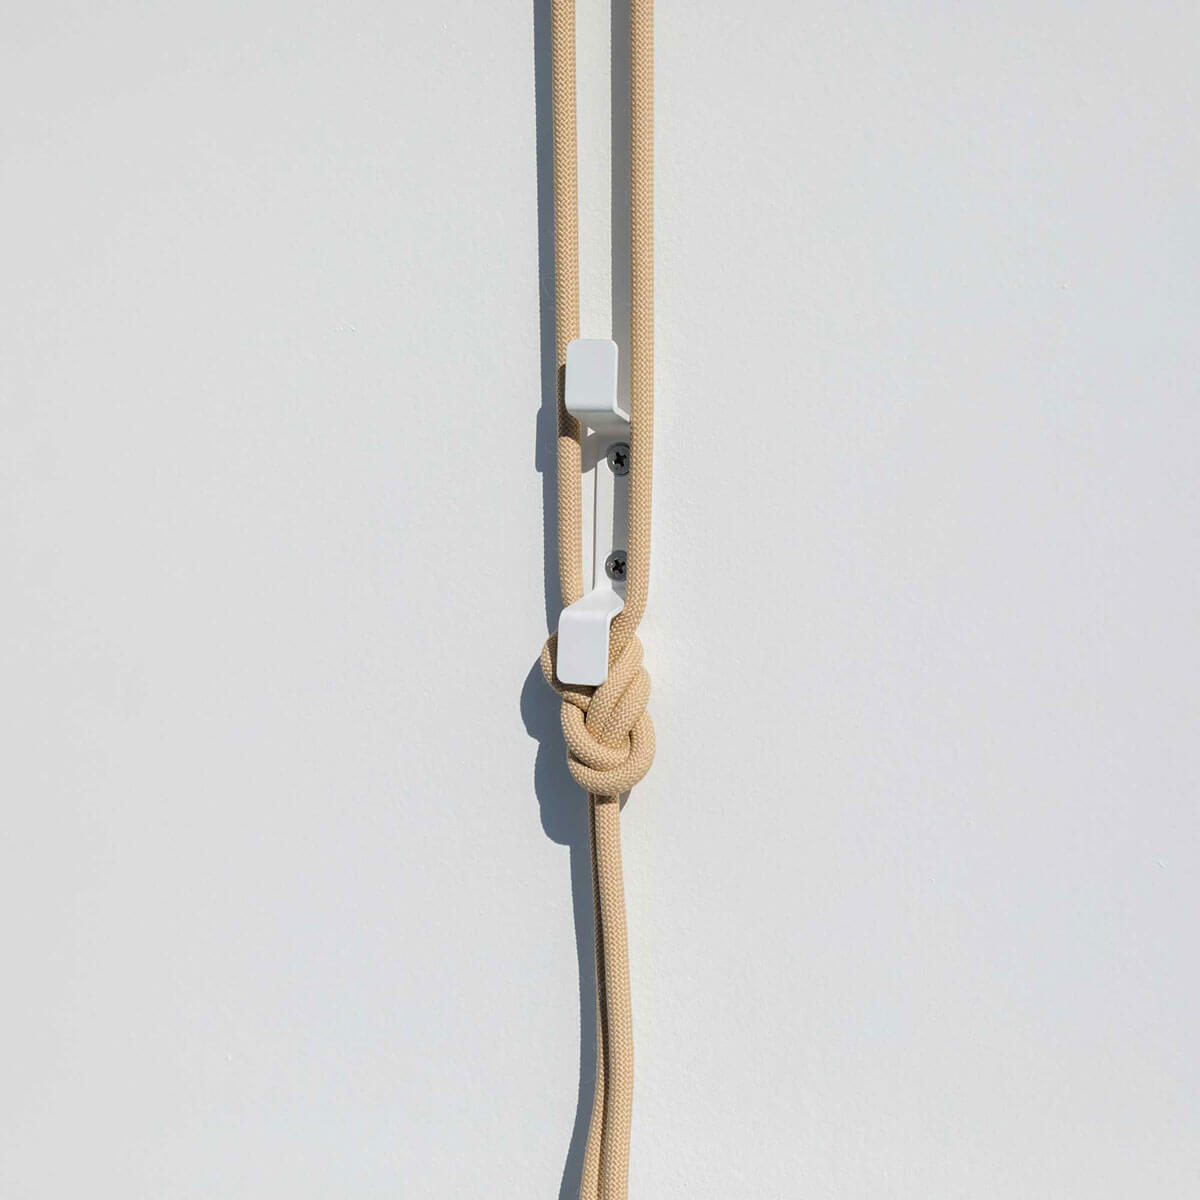
Raise the Hanging Drying Rack to the desired height attended for use (chest height recommended). Tie a knot in the two ropes just behind pulley (3).This stops the rack from lowering any further. Tie off rope around the cleat. Cut any excess rope off and melt the ends for a clean and tidy finish.

Step 11.
We recommend tying two separate knot positions to sit under the cleat. Trim any excess rope off.

Step 12.
To keep excess rope out of reach, loop the rope up over the cleat.

Now stand back and enjoy! Your Ceiling Hanging Drying Rack is now safely installed.
Please note: that when the Hanging Drying Rack is in its up right position, take extra care when lowering as the weight of the rack will increase when fully loaded with garments when off the cleat. The minimum height of the cleat needs to be installed at 170cm/67.0" from the ground. Allow for the droop of the loop to sit over the cleat once it is pulled to its correct position. When the rack is in its highest position no rope should hang lower than
140cm/55". We recommend increasing the cleat height if it is still in reach of
young children.
FAQS
How low does the Ceiling Hanging Drying Rack hang from the ceiling?
The Ceiling Hanging Drying Rack hangs roughly 8"/20cm. The triangle on the rope stops it from getting flush with the roof but is necessary for stability.
Can we get the Ceiling Hanging Drying Rack made to a custom width or length?
We only make the one size and we can not change the dimensions of the laundry hanging rack, sorry.
What tools do you need to install the Ceiling Hanging Drying Rack?
The pulley maid can be installed using a drill by itself, however, we recommend an experienced builder installs the Hanging Laundry Rack as you have to ensure that the fixings are secured into solid timber in the roof.
How much weight can the Ceiling Hanging Drying Rack hold?
The Laundry Drying Rack can easily hold a full load of clothes. E.g. if you loaded the Ceiling Hanging Drying Rack up with soaking wet towels, it would be fine, it just might be a bit heavy to pull up. If you were wanting to hang something else on the Hanging Laundry Rack, like pot plants, that is at your own risk.
What is the maximum ceiling height for the Ceiling Hanging Drying Rack?
the maximum height is a 4-meter high stud. The rope on the Hanging Drying Rack is 8 meters long.
Can you install the Hanging Drying Rack by a fireplace?
While you can not install it directly above a fireplace, in case something was to drop and catch fire, you can definitely install the Ceiling Hanging Drying Rack in the same room as a fire. That is the best place for the hanging rack as fires create so much heat in the roof space!
We would love to see how you are using your Ceiling Hanging Drying Rack! Tag us in your photos @georgeandwilly