


How to Make a Wooden Sign
The wooden sign is one of our projects which made it out of the sketchbook but never made it out of the workshop. The ideas was a simple blade sign which came out from the wall, rather mysteriously with the fixtures hidden (the original design has the metal components recessed into the wood).
We wanted a wooden sign which would weather over time and fade like an old wooden boat shed.
With this simple design, it would be easy to interchange the sign and you could have a few options.
It would work well for a coffee shop to have one block of wood which said open and one that said closed and they could interchange them each day.
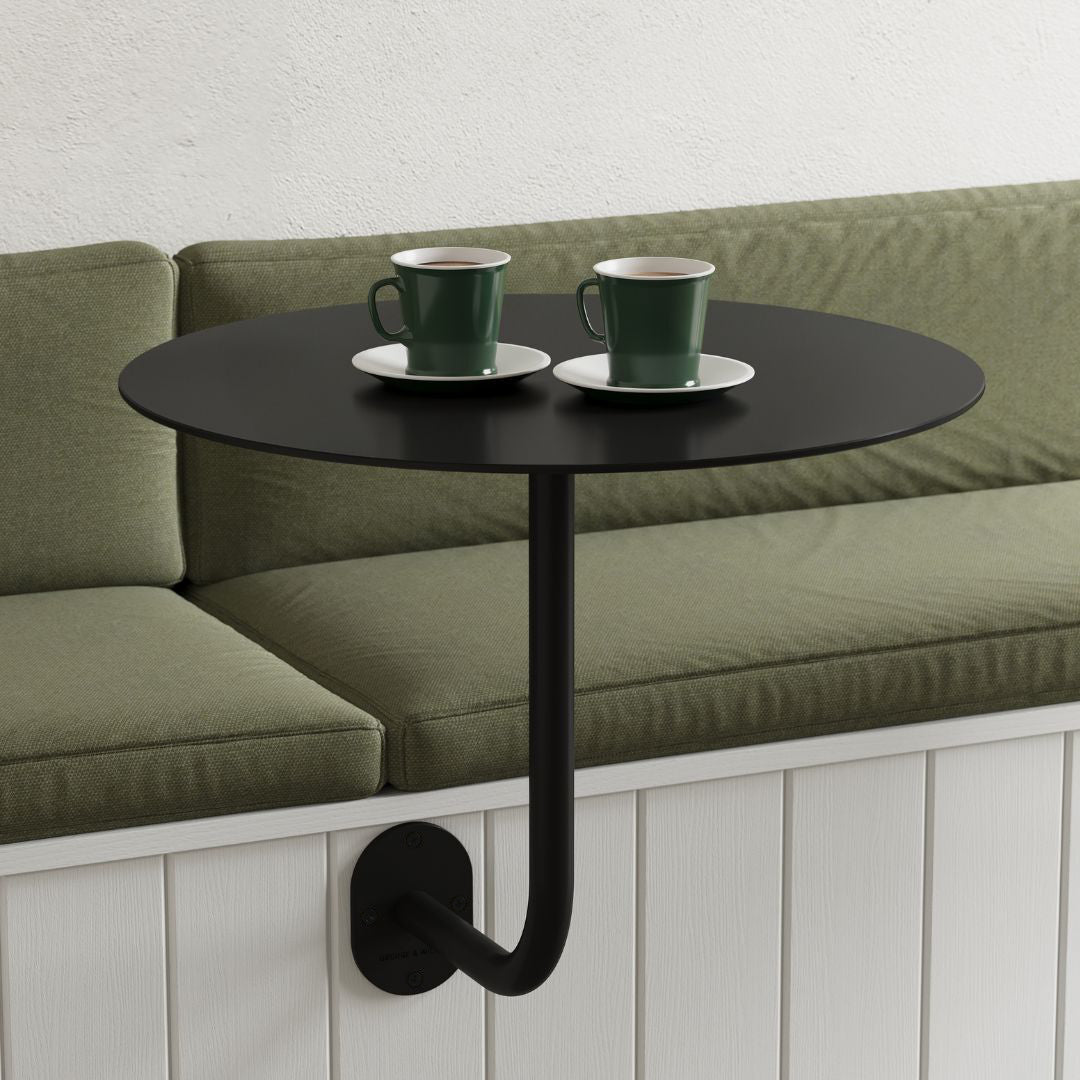
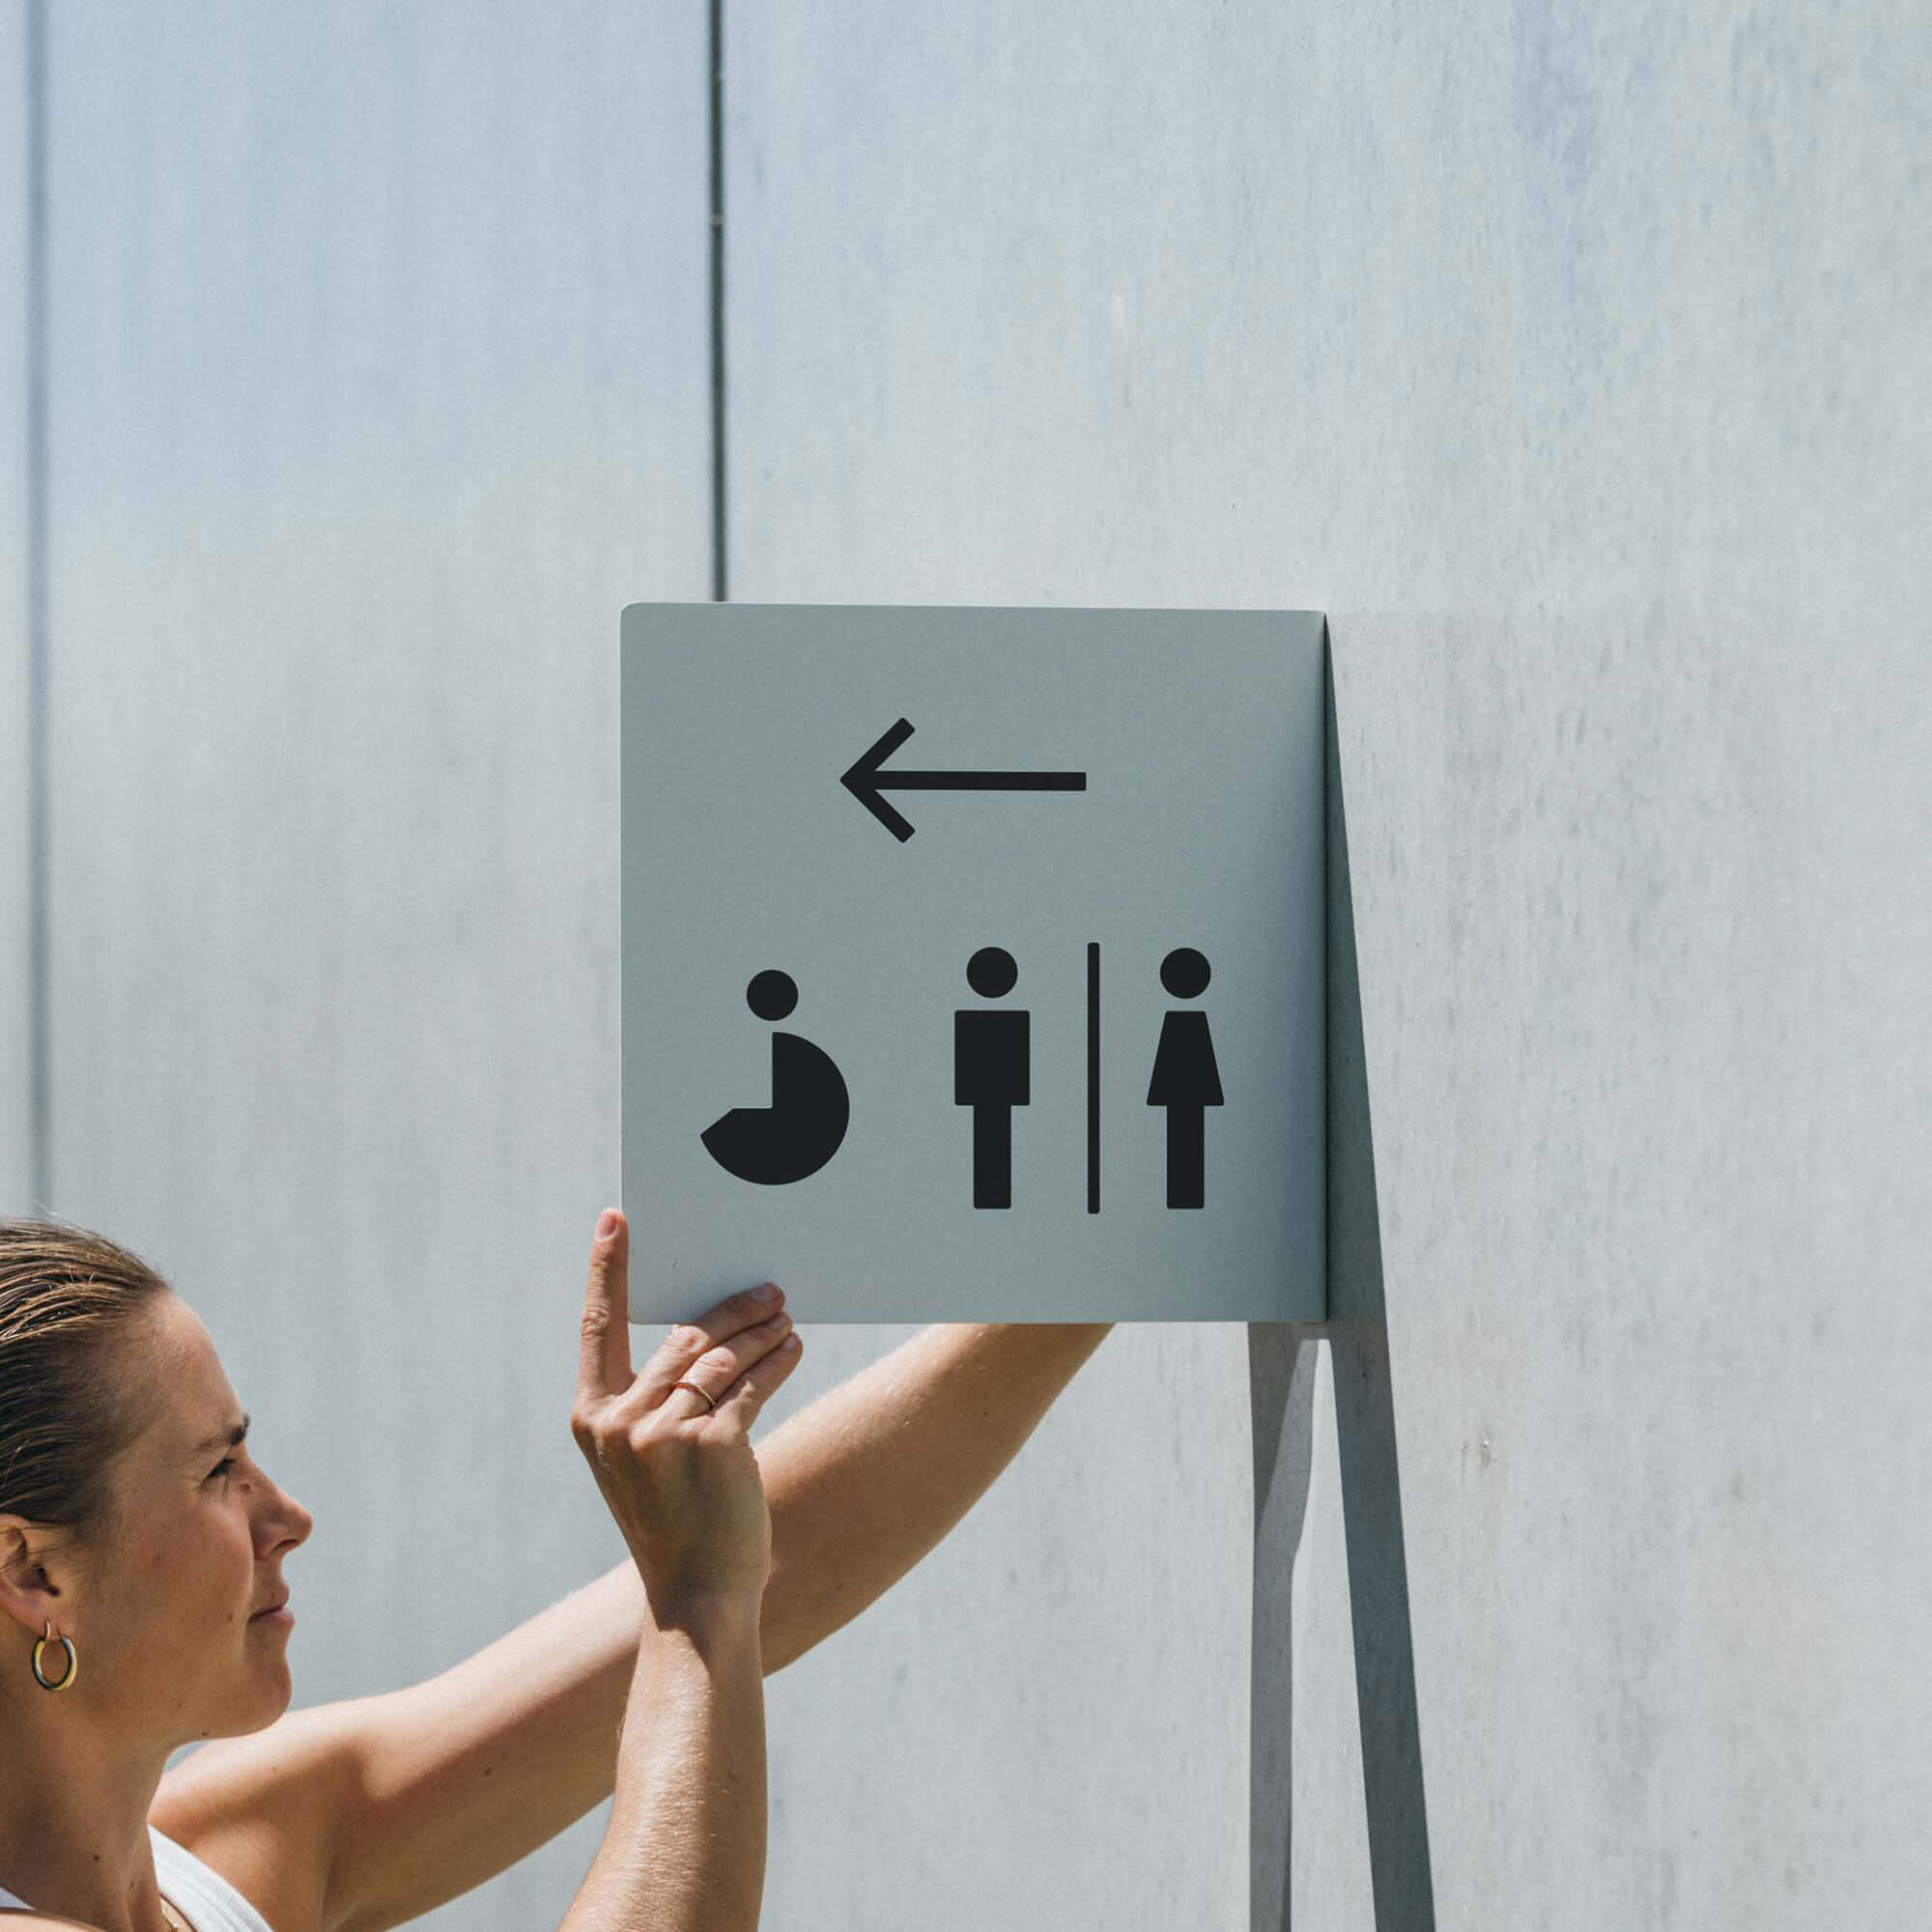
We now use this sign in our workshop above the bathrooms as a simple yet effective way to let people know where the bathrooms are.

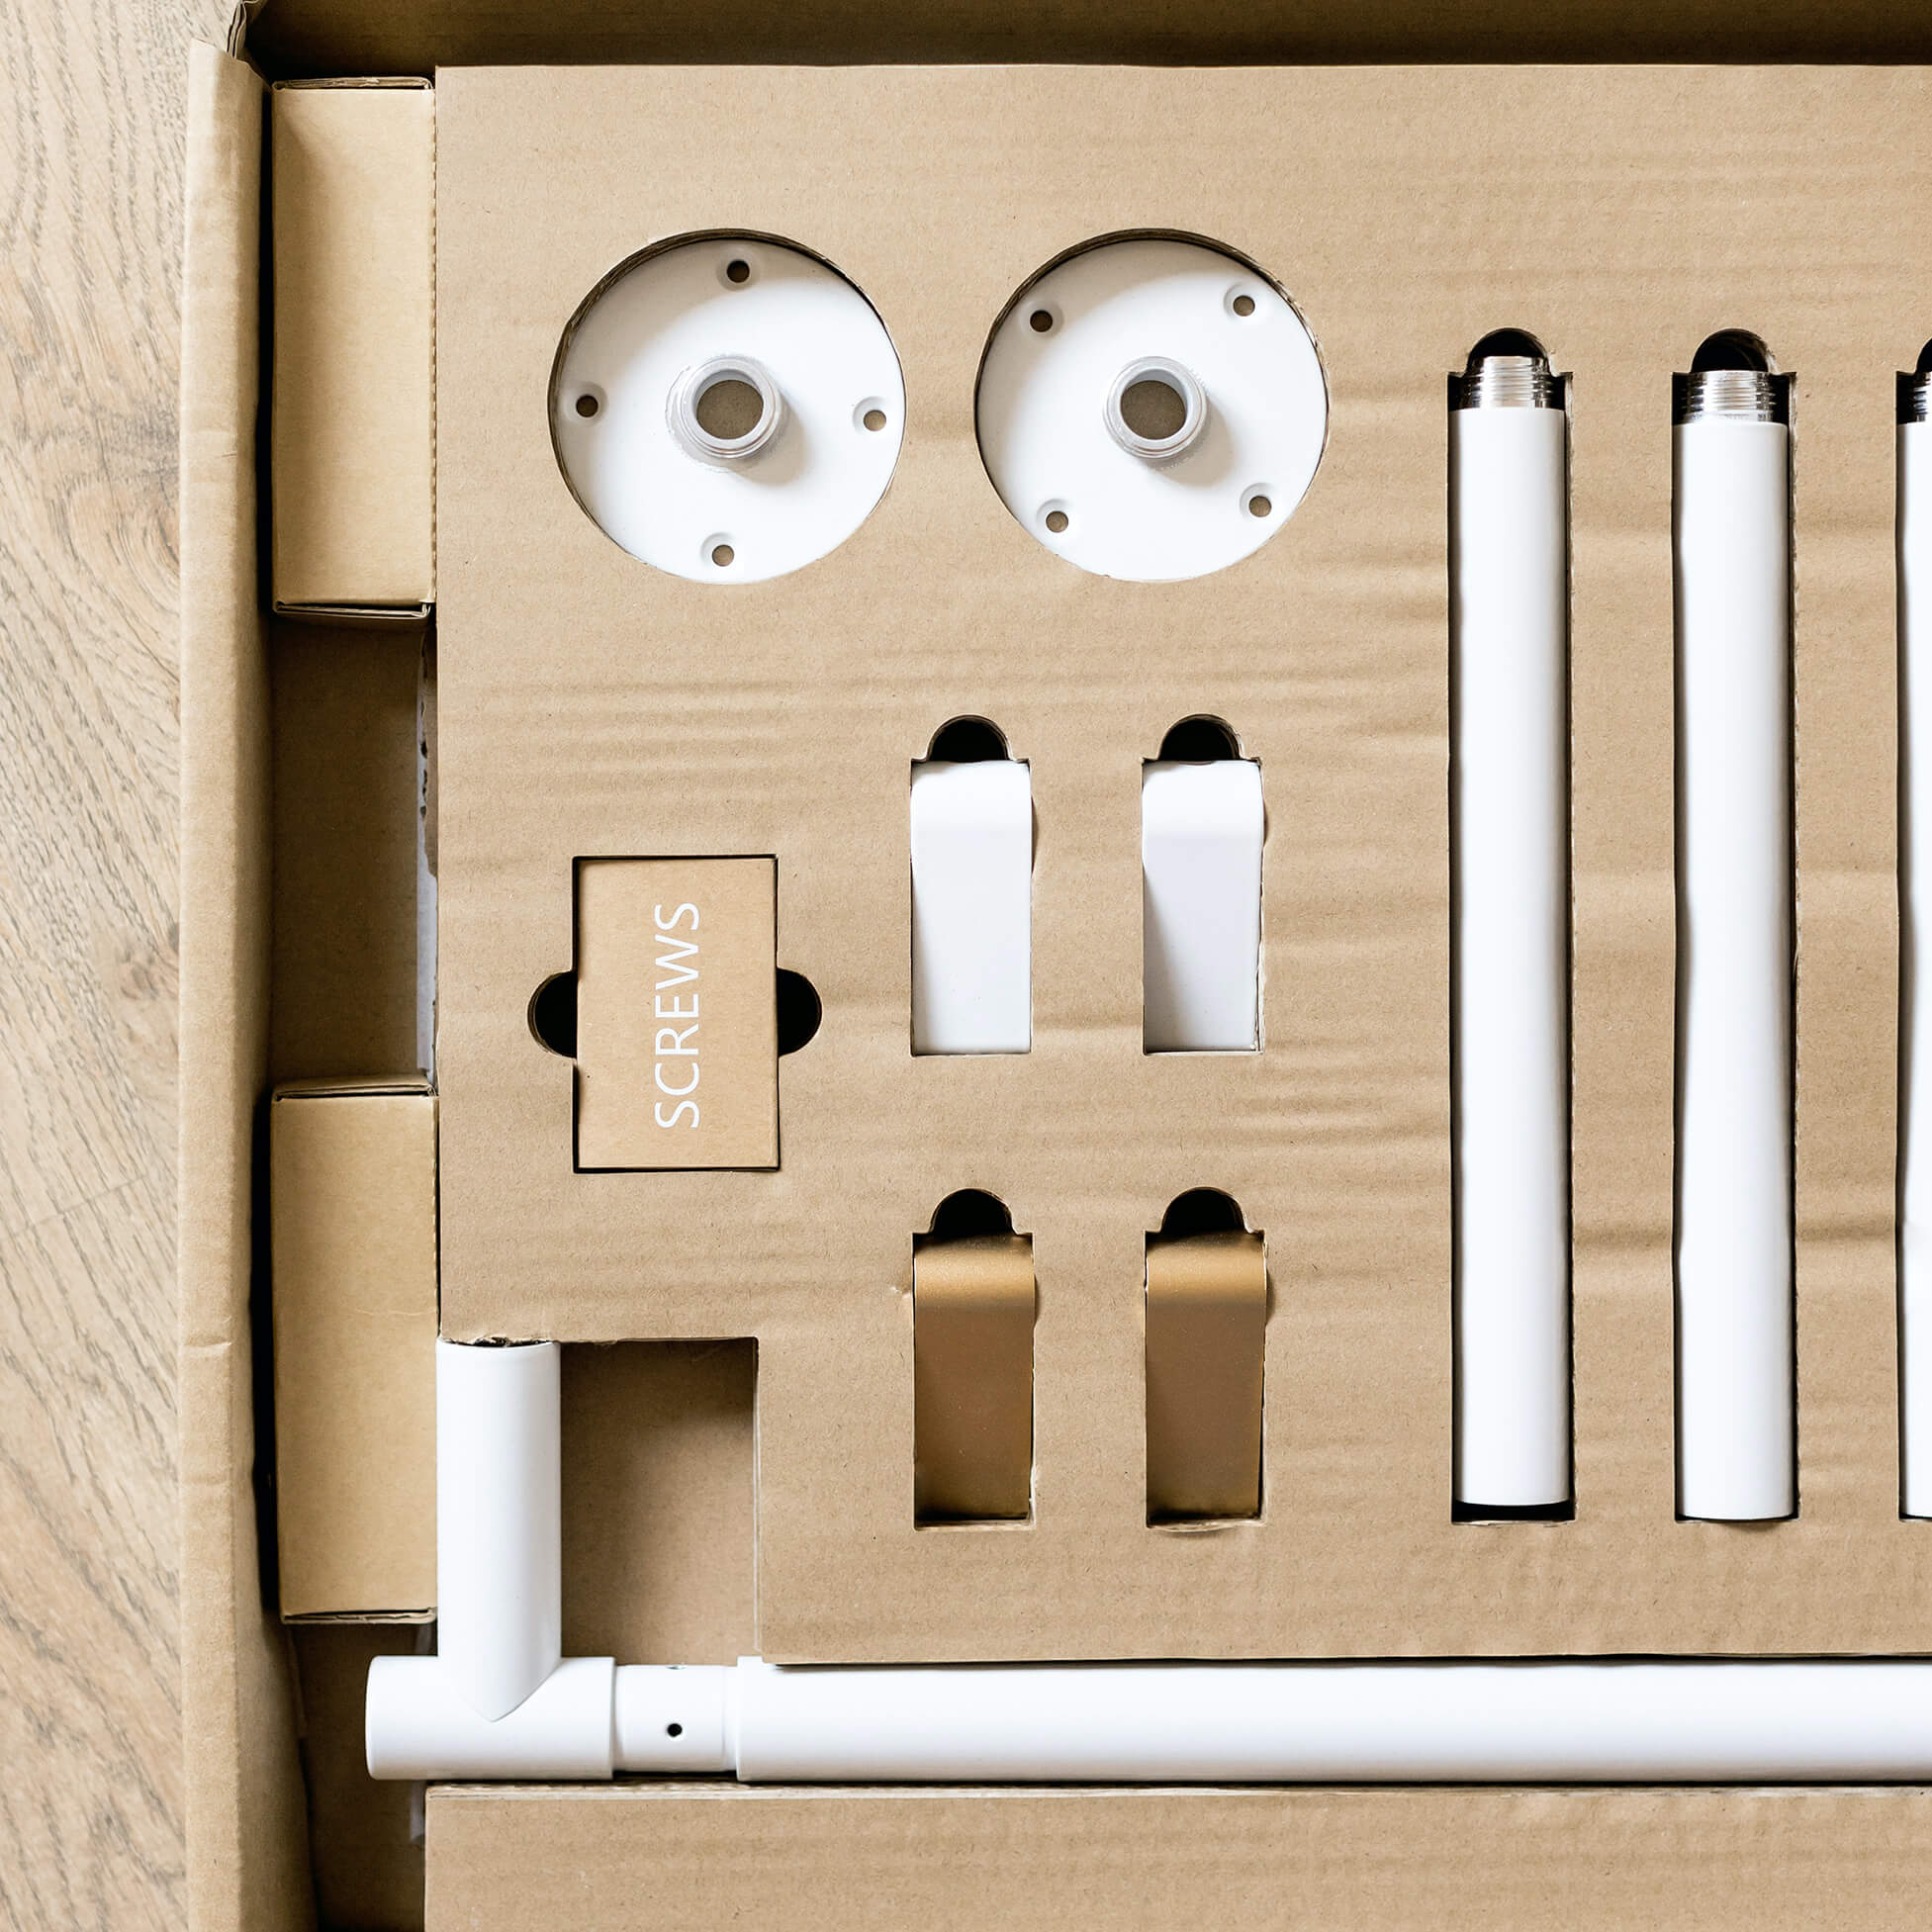
What You Will Need to Make a Wooden Sign
1 x can-do attitude.
1 x engineer who knows what they are doing
1 x 450 mm x 60mm x 140mm piece of wood of your choice (we joined two pieces of scrap wood)
4 x M6 screws for mounting, these will depend on what you are mounting too
1 x Screw for wood to steel
Steps for How to Make a Wooden Sign
Step 1.
Find a nice piece of wood, we used macrocarpa, and cut it down to the specified dimensions (450x60x140mm). We actually used two pieces of scrap wood we had lying around and glued together so it was big enough. You could even do this with multiple pieces of wood, to create the face for your wooden sign.

Step 2.
Take the drawings below to your local engineer to get them to create the Steel Bracket. They need to drill the 4mm plate and then weld the two pieces of 10mm rod onto it.
Note: If you are wanting to make the wooden sign quickly and do not have access to an engineer, you can still use the same mounting technique. You can get two big 200mm coach bolts and screw them into the wall with 100mm left protruding from the wall. Then cut the head off the bolt and slide the sign over the bolts, rather than having to get a steel bracket made.

Step 3.
Mark out the holes for the Steel Bracket on the wood and drill these out. You may want to put the wood in a vice to hold it. Just use something soft on the jaws so you don’t damage the wood. Drill the holes 100mm deep. You may need to drill them slightly larger than the Steel Rod. Also, drill the hole on the top of the sign that will be used to fix the wood to the steel plate.
Step 4.
Sand the wood so it's nice and smooth! If you have access to a router use this to round the edges. Rub the whole thing with Linseed oil or similar to make it last. You’re almost there!
Step 5
Once the oil has soaked in apply your artwork. An easy and tidy way is to get vinyl decals of your branding or message or alternatively you could hand paint it.

Step 5.
It’s time to mount the Wooden Sign to the Wall. Fix in one corner of the bracket to your desired location. Using a level, screw in the opposing corner to ensure your sign is vertical. Fix in remaining screws. Slide on the wooden sign and fix the final screw into the top hole on the wood to stop it from being able to slide off. Nice work! Enjoy the fruits of your labour.

The Wooden block before sanding and finishing.

Drilling the holes in the wooden sign. We are using a drill press here, but you can easily use a normal drill.

The holes in the base of the wooden sign after drilling.

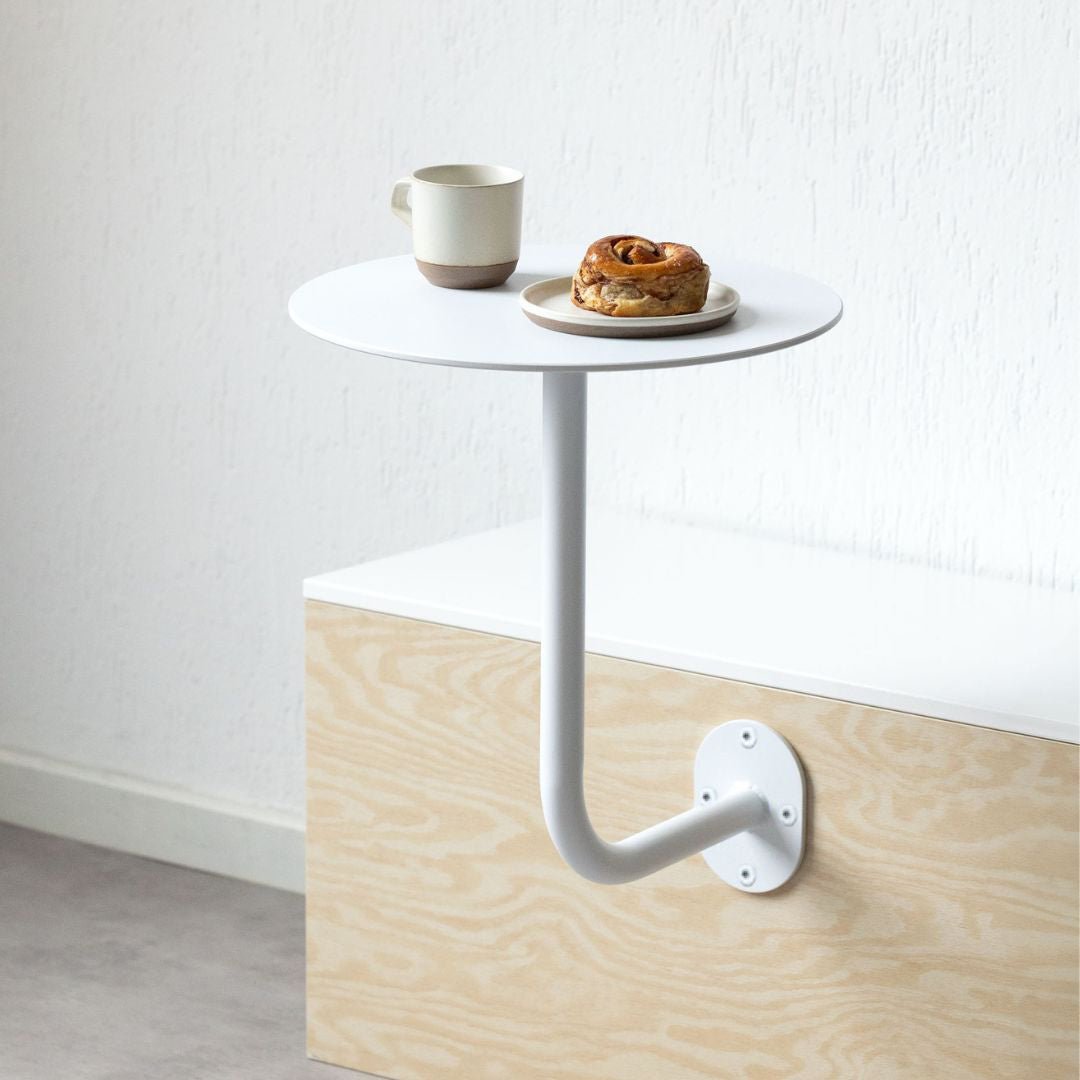
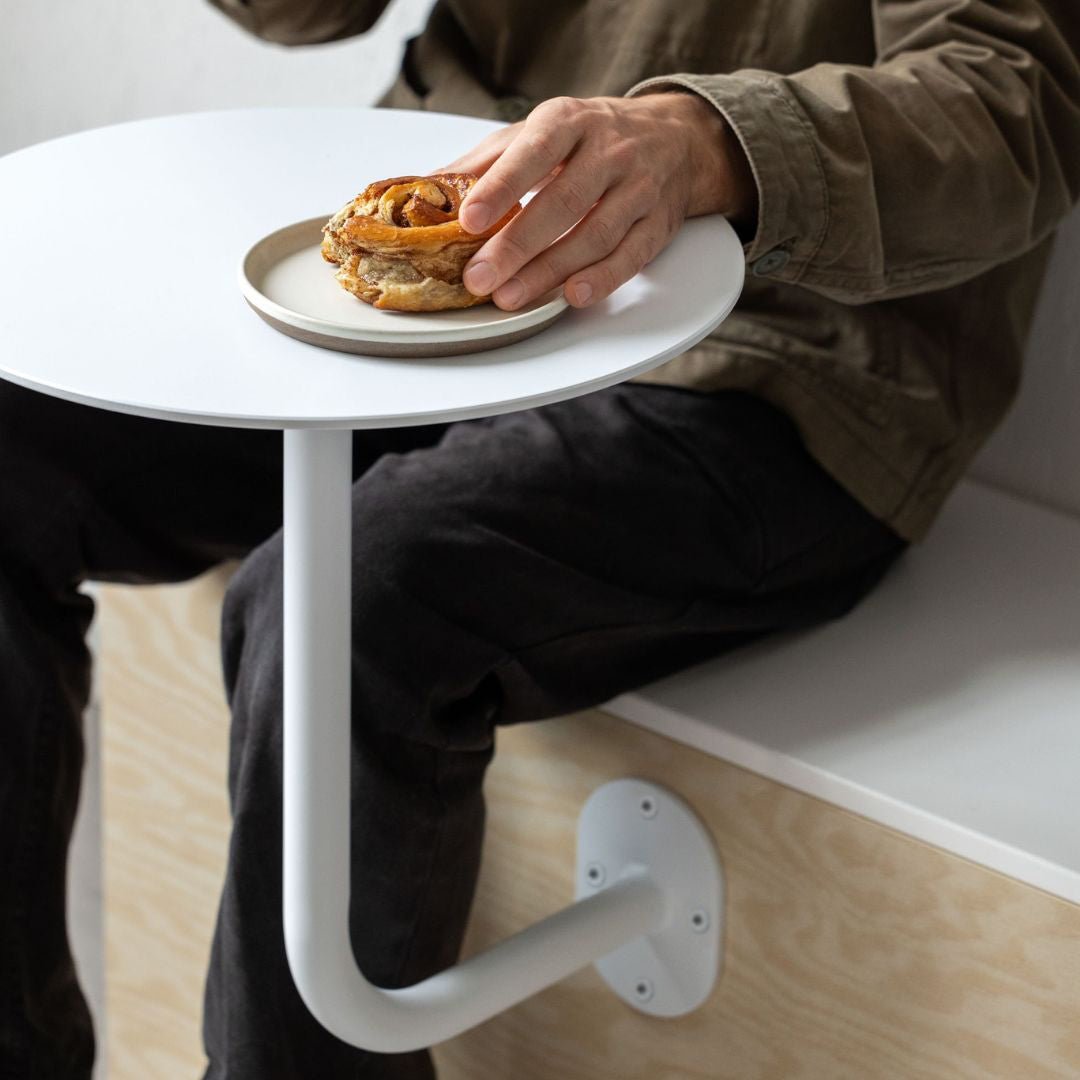
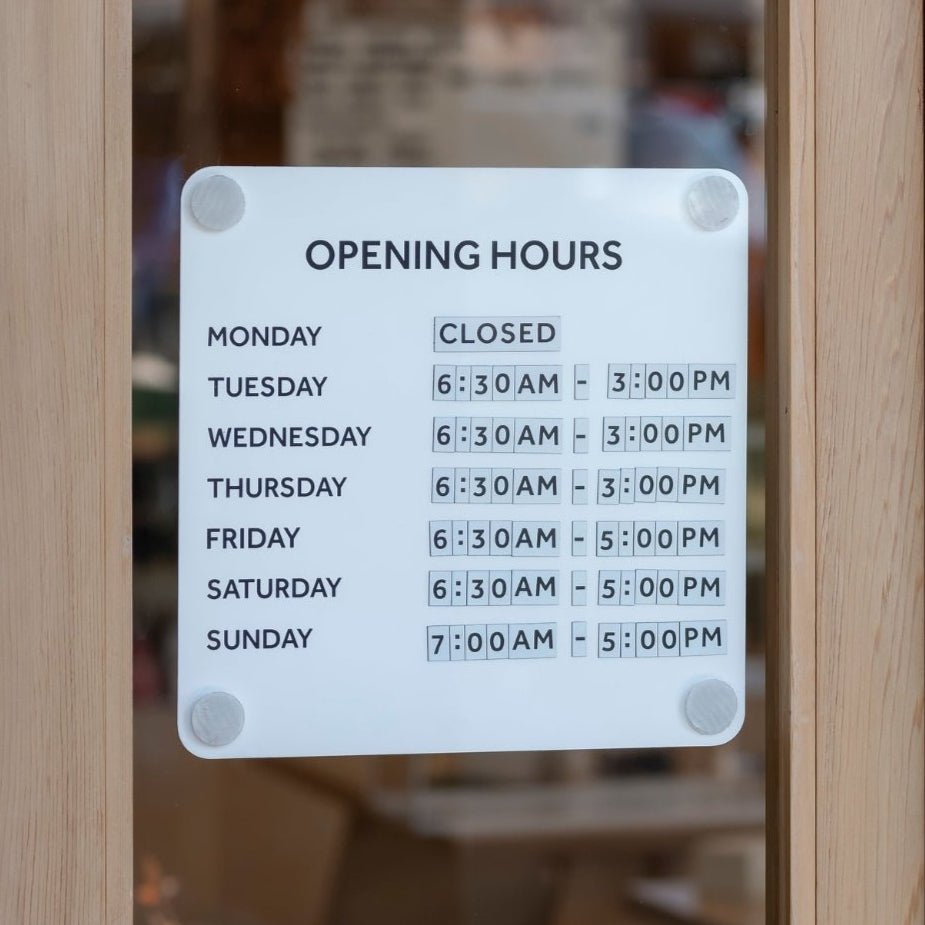
The wooden sign in the finishing stages! Being put onto the wall

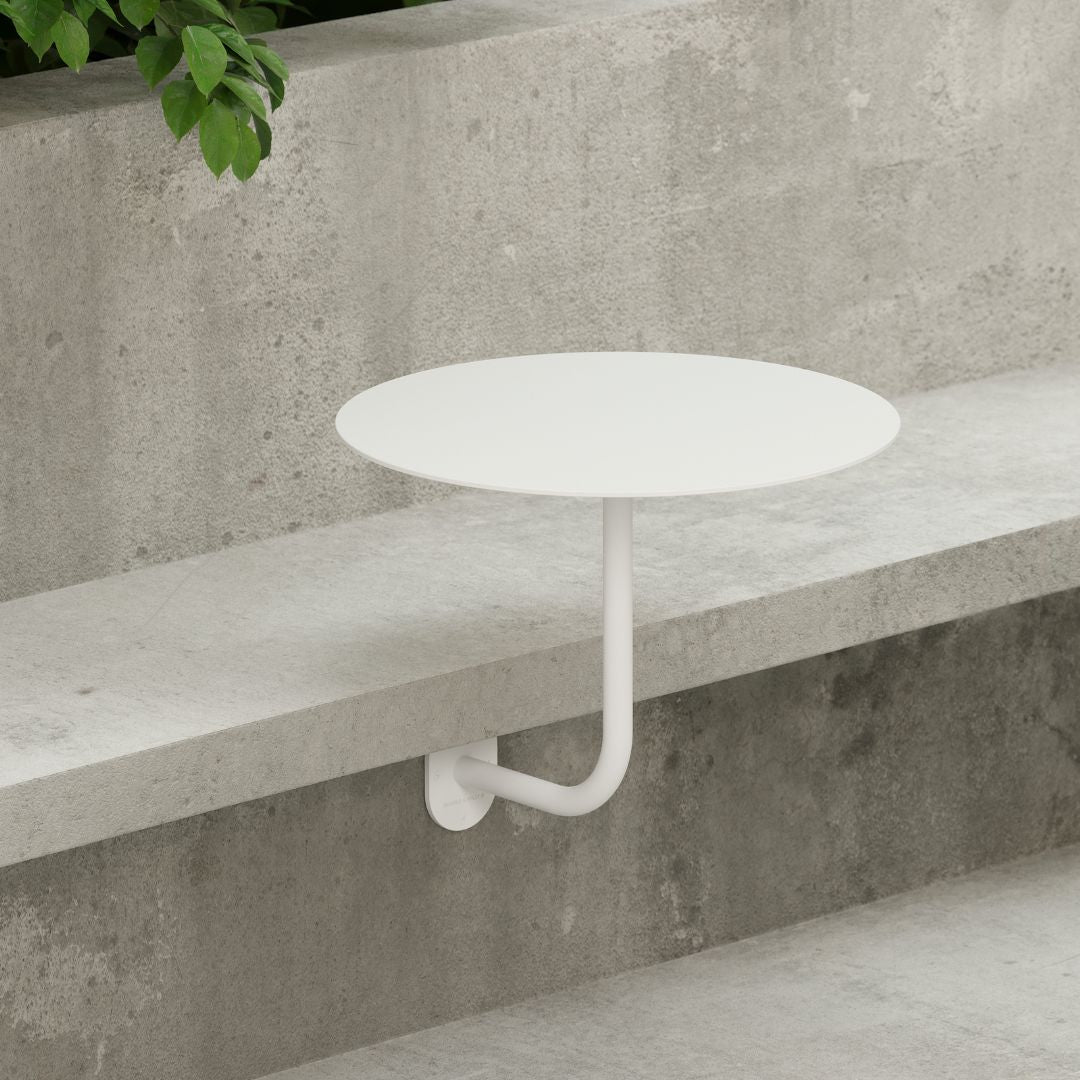
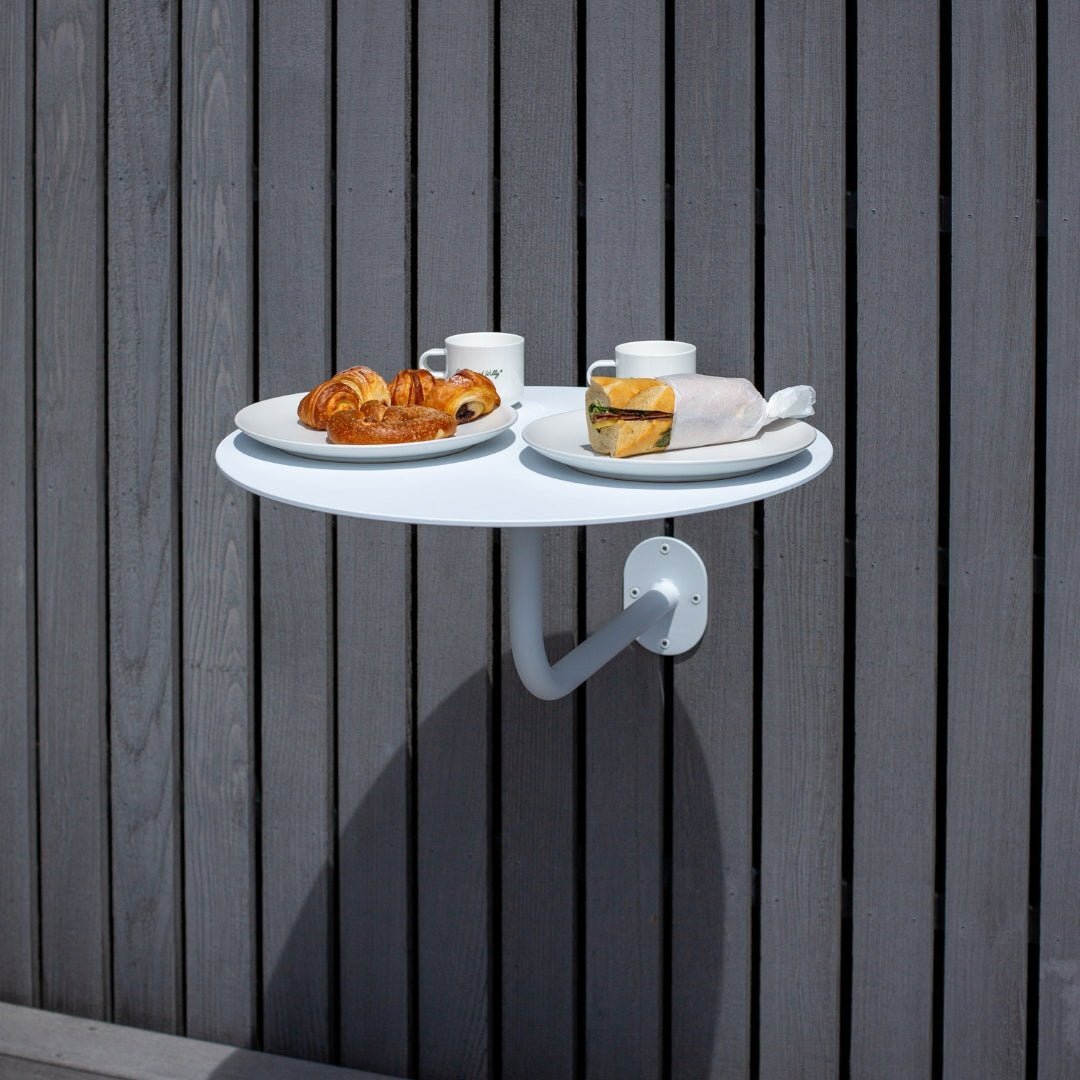
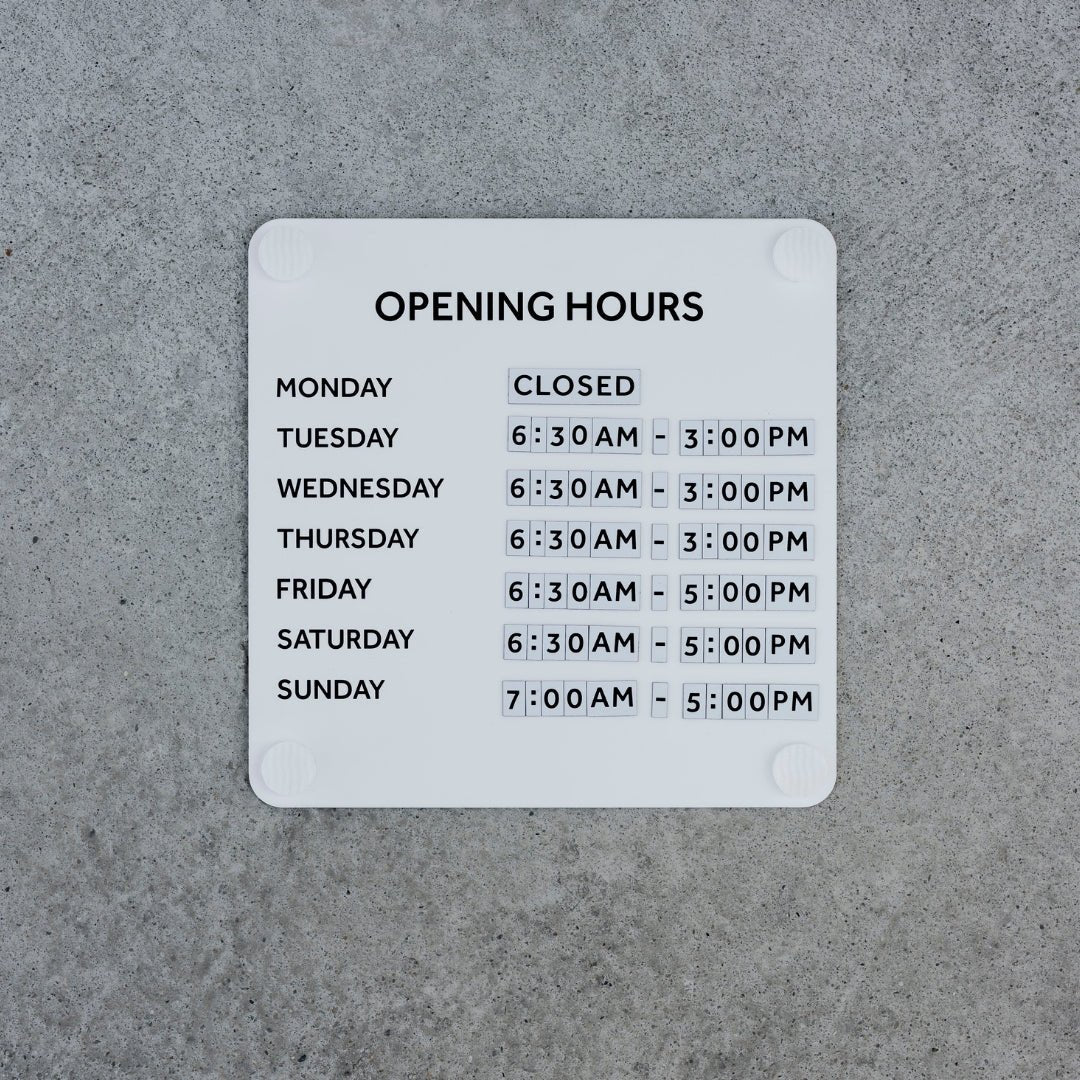
The Wooden Sign outdoors on a concrete wall.
We hope you enjoyed reading our guide on how to make a wooden sign! Half the fun of the sign is the imperfectness of it and after a year or so of wear and tear, it starts to really look the part.
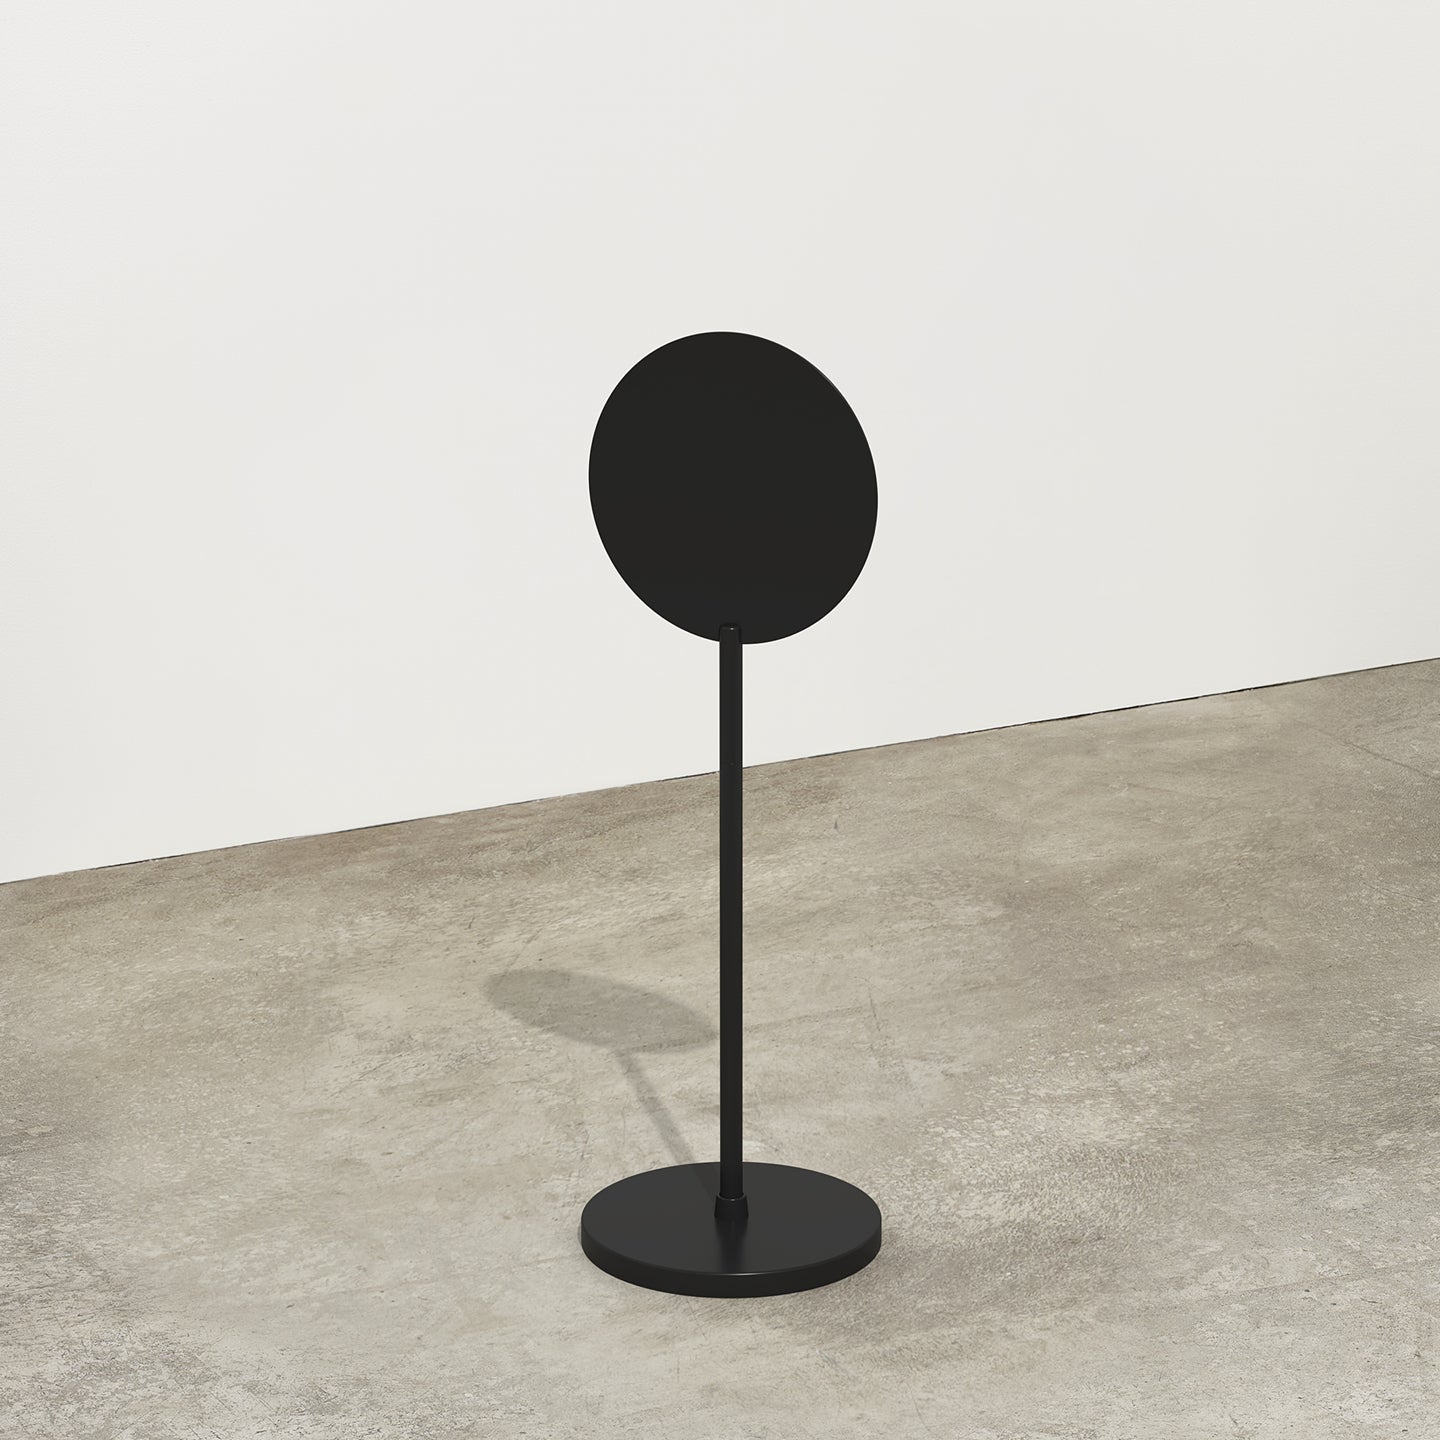
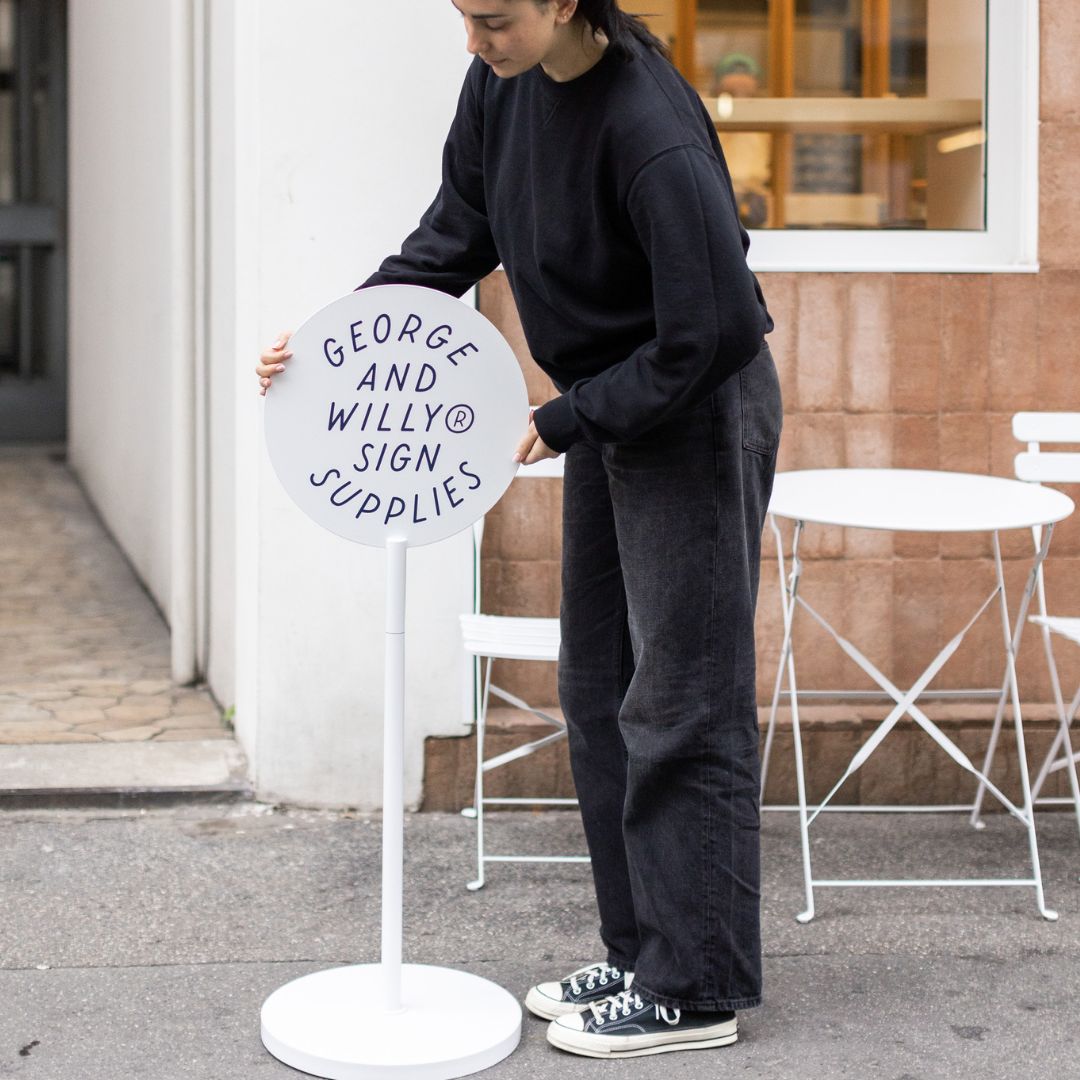
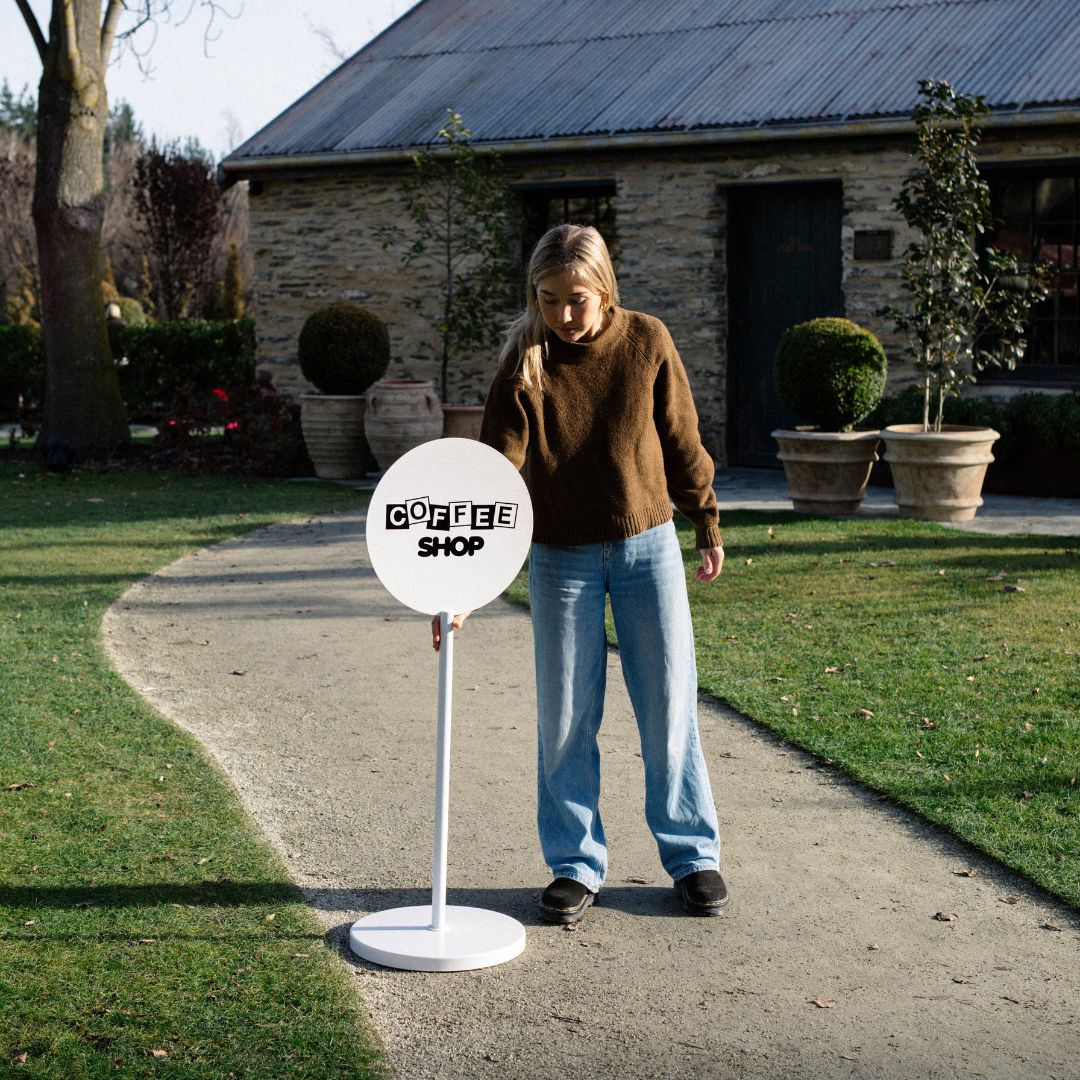
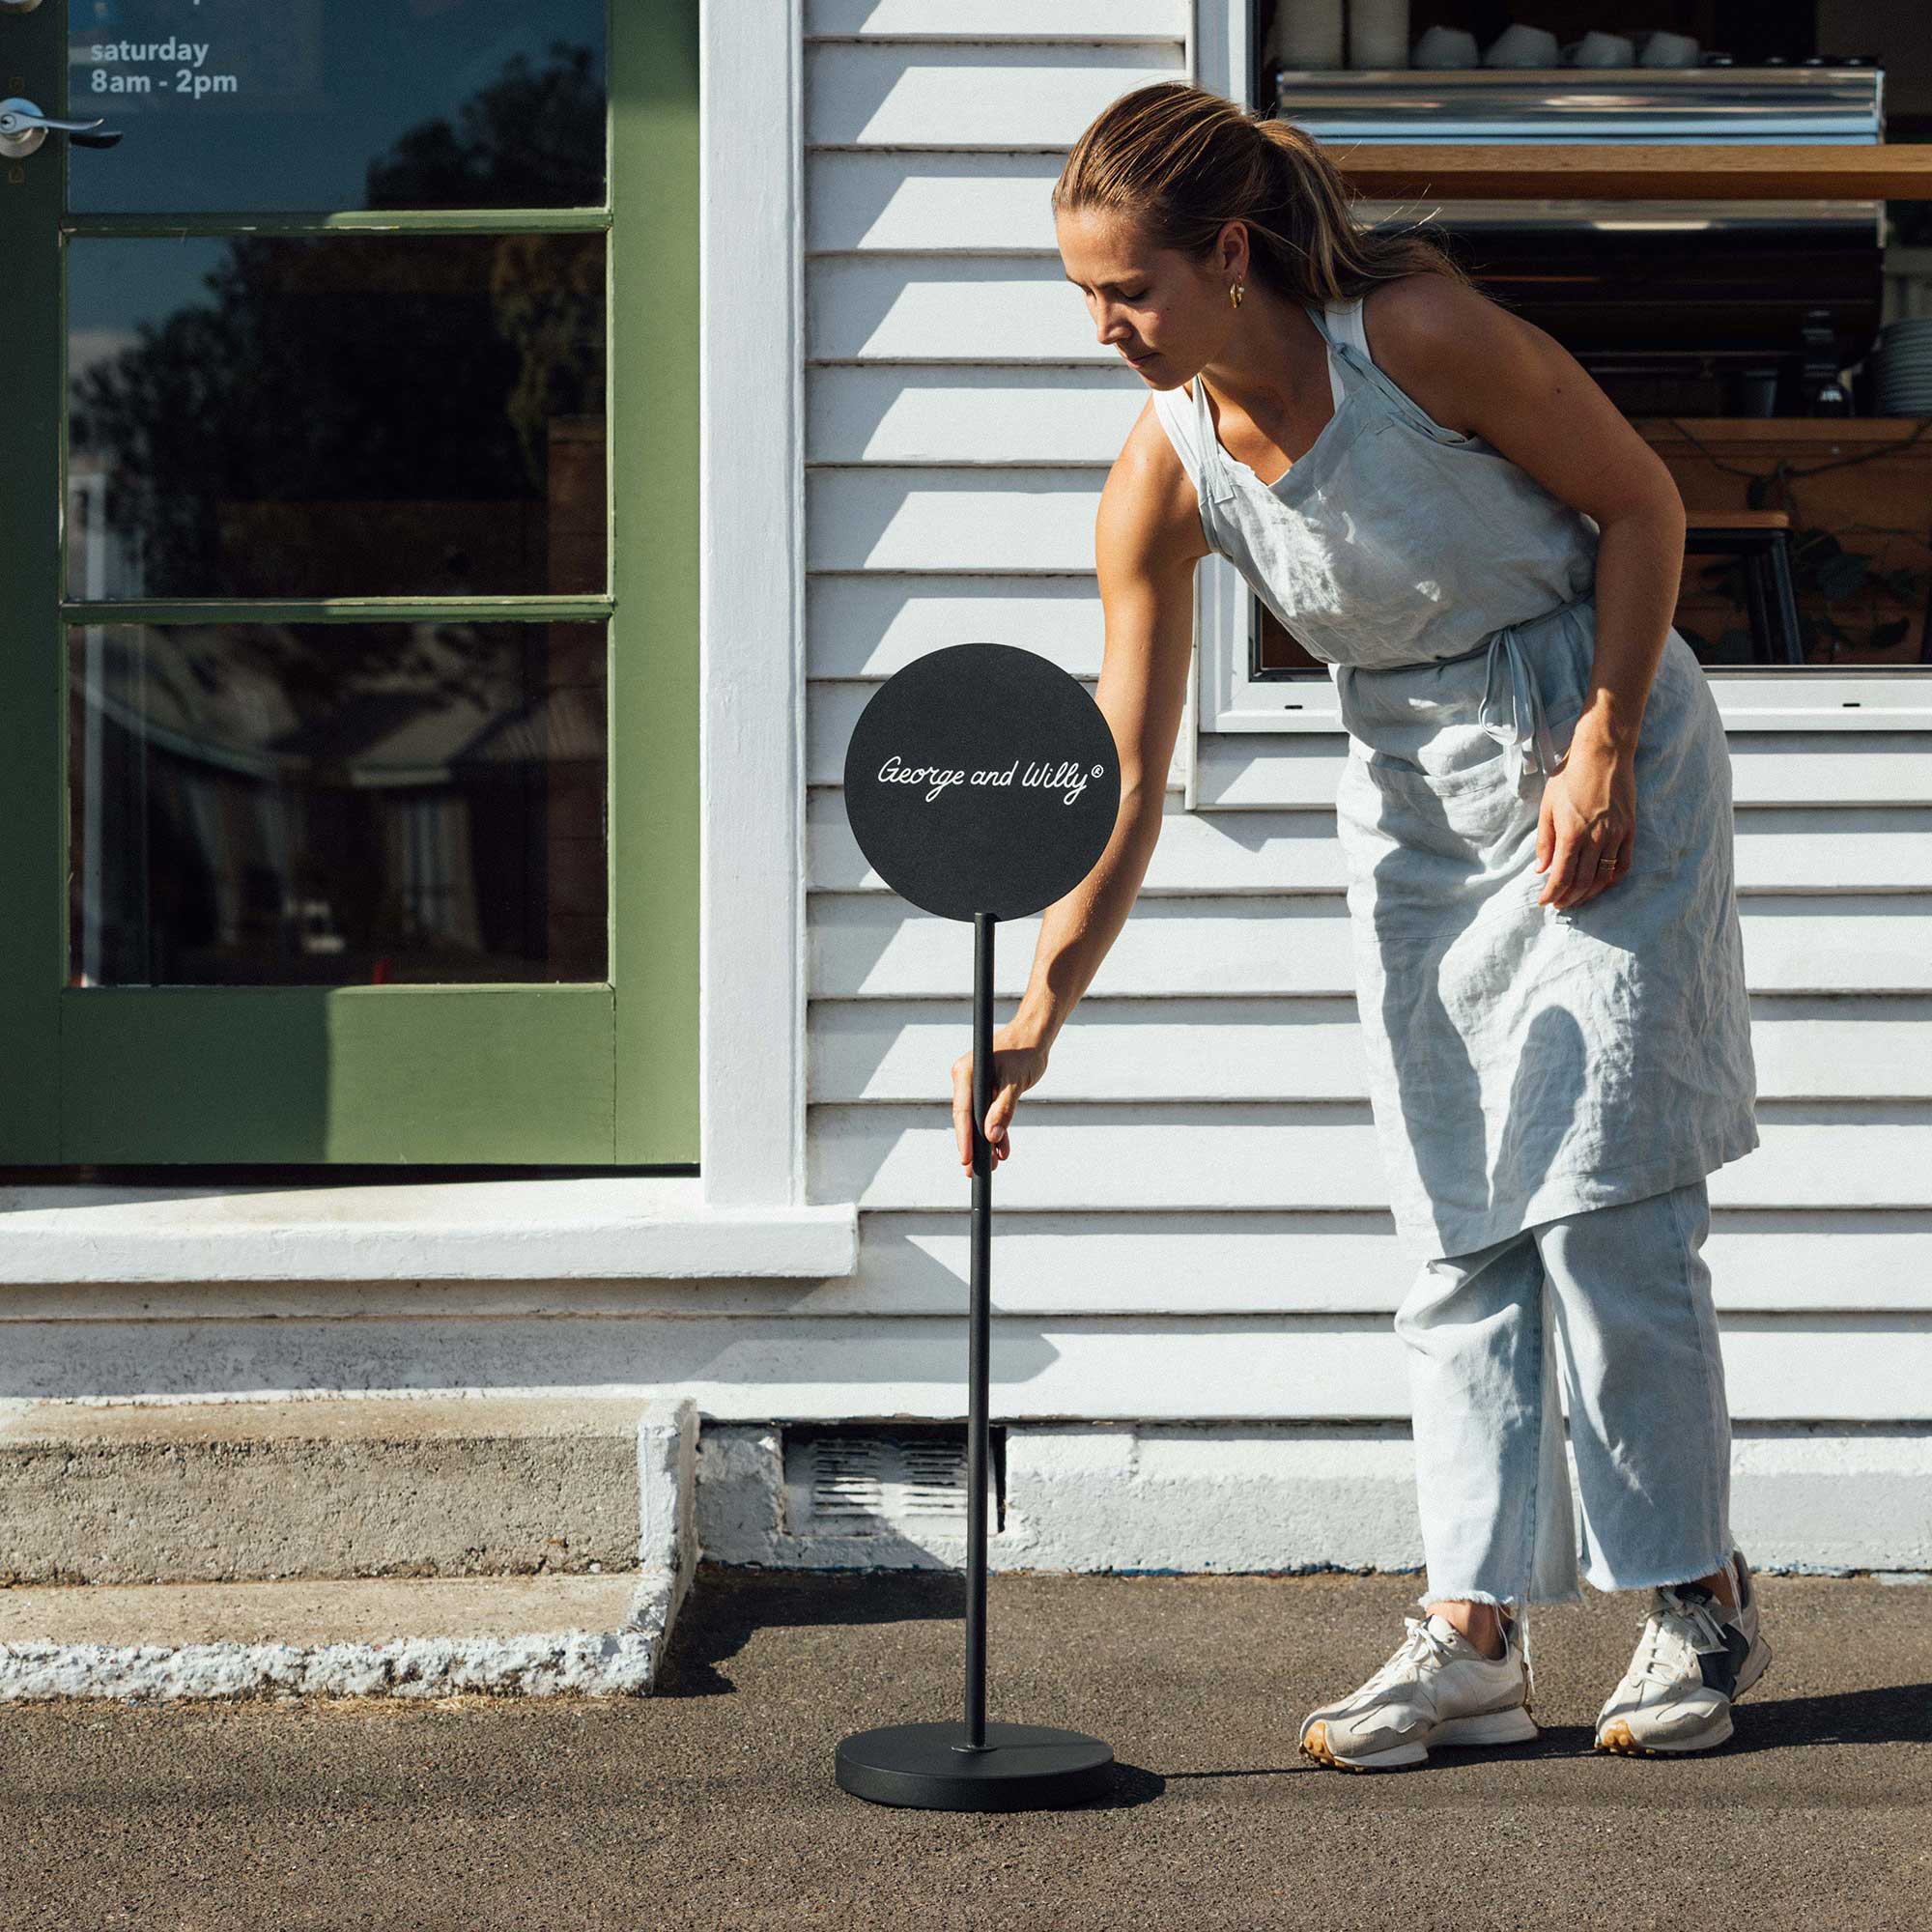
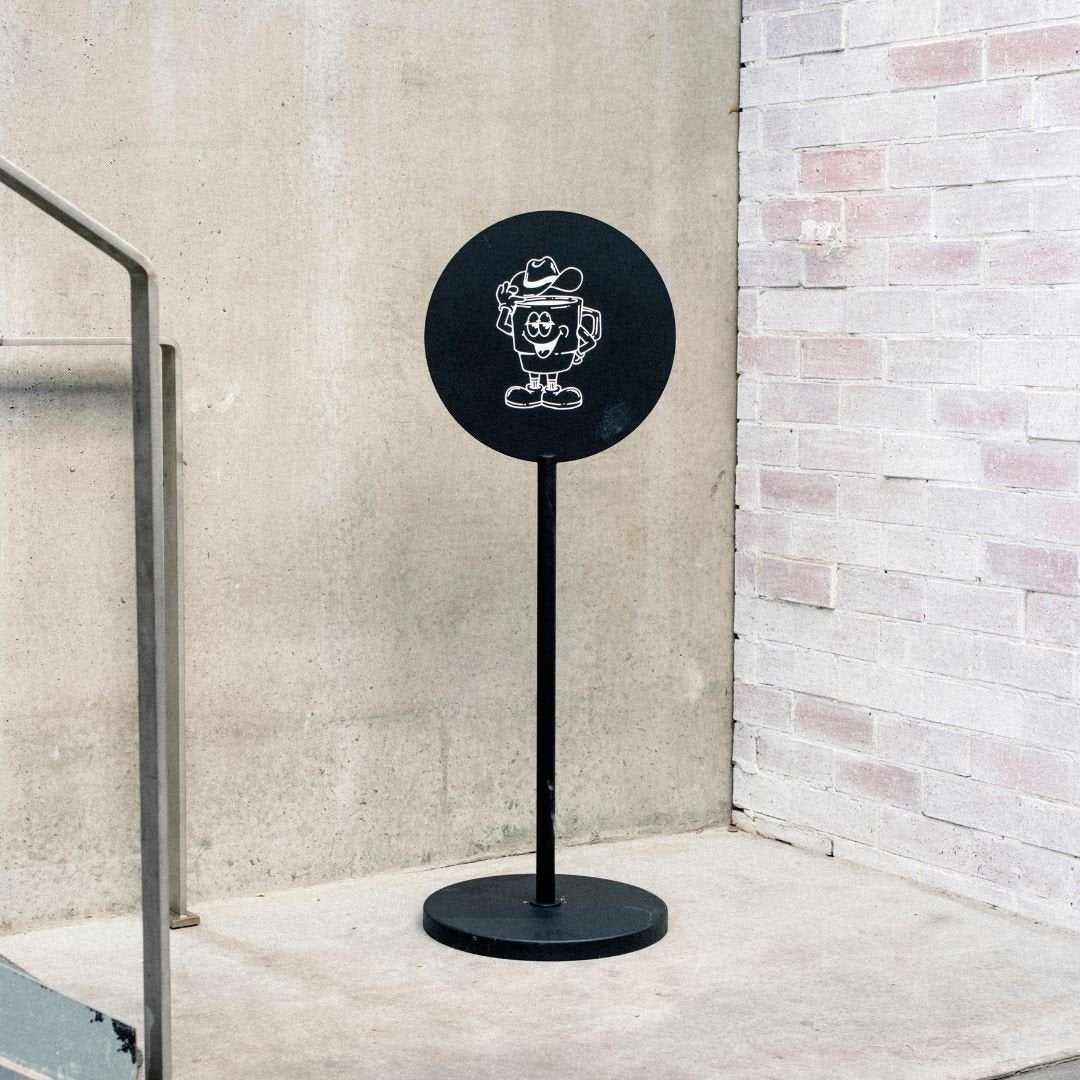
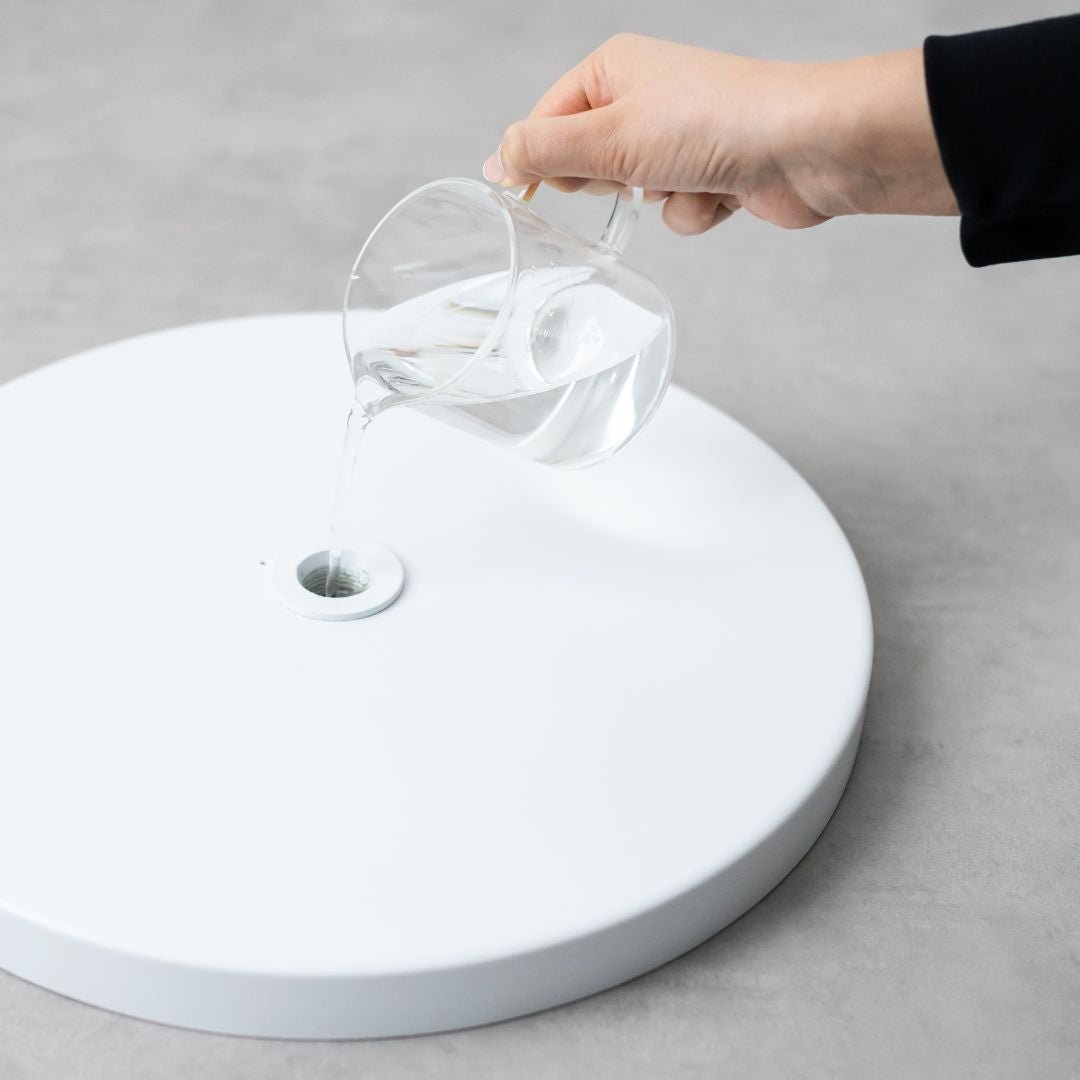
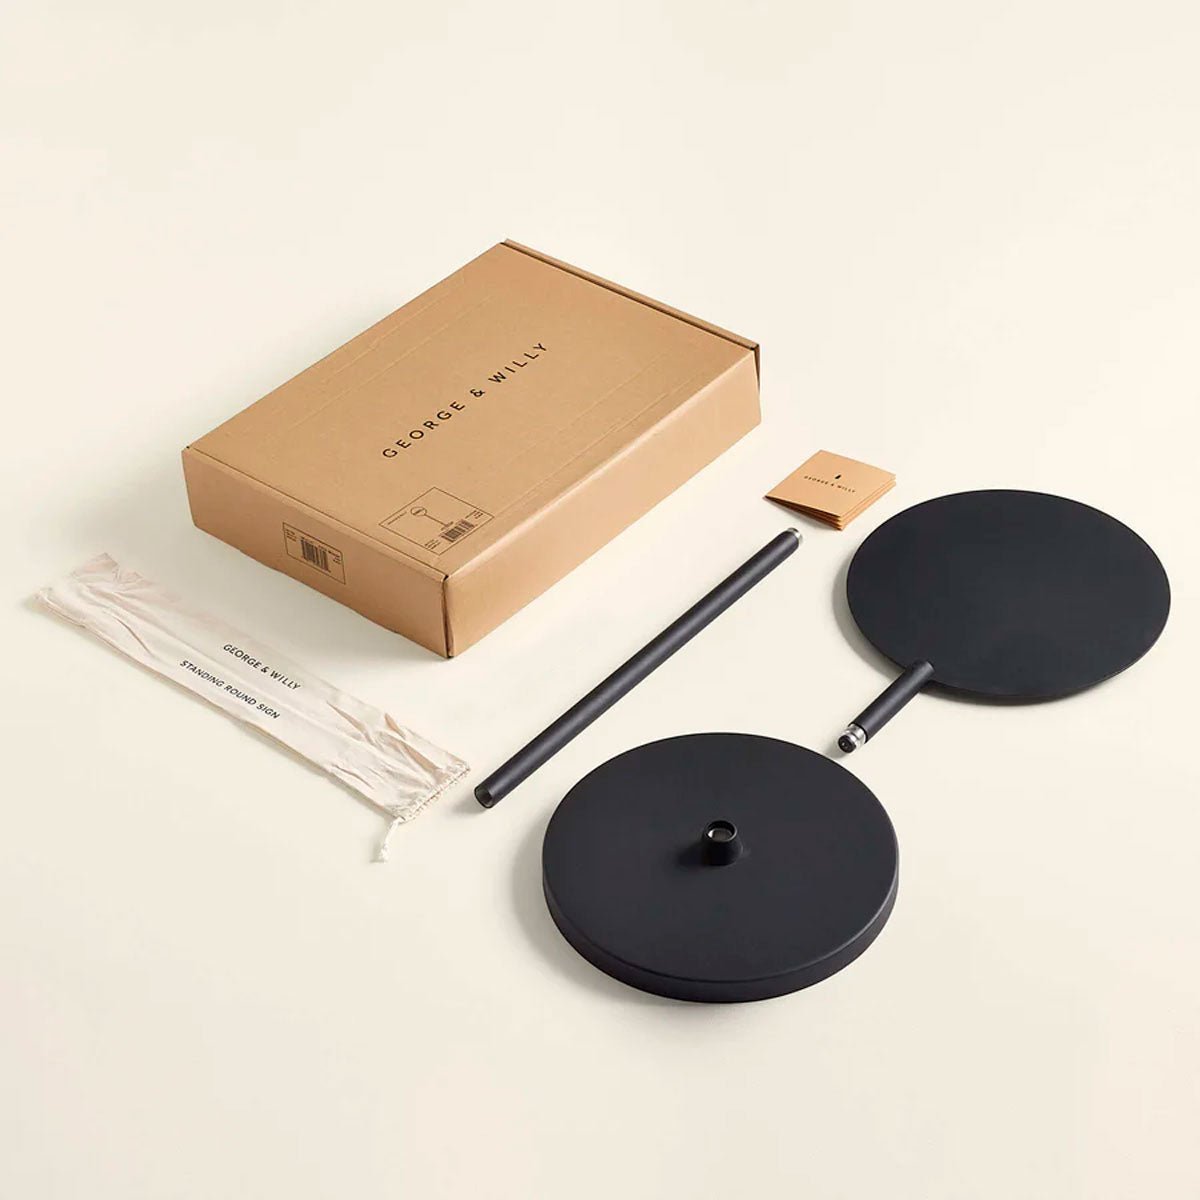
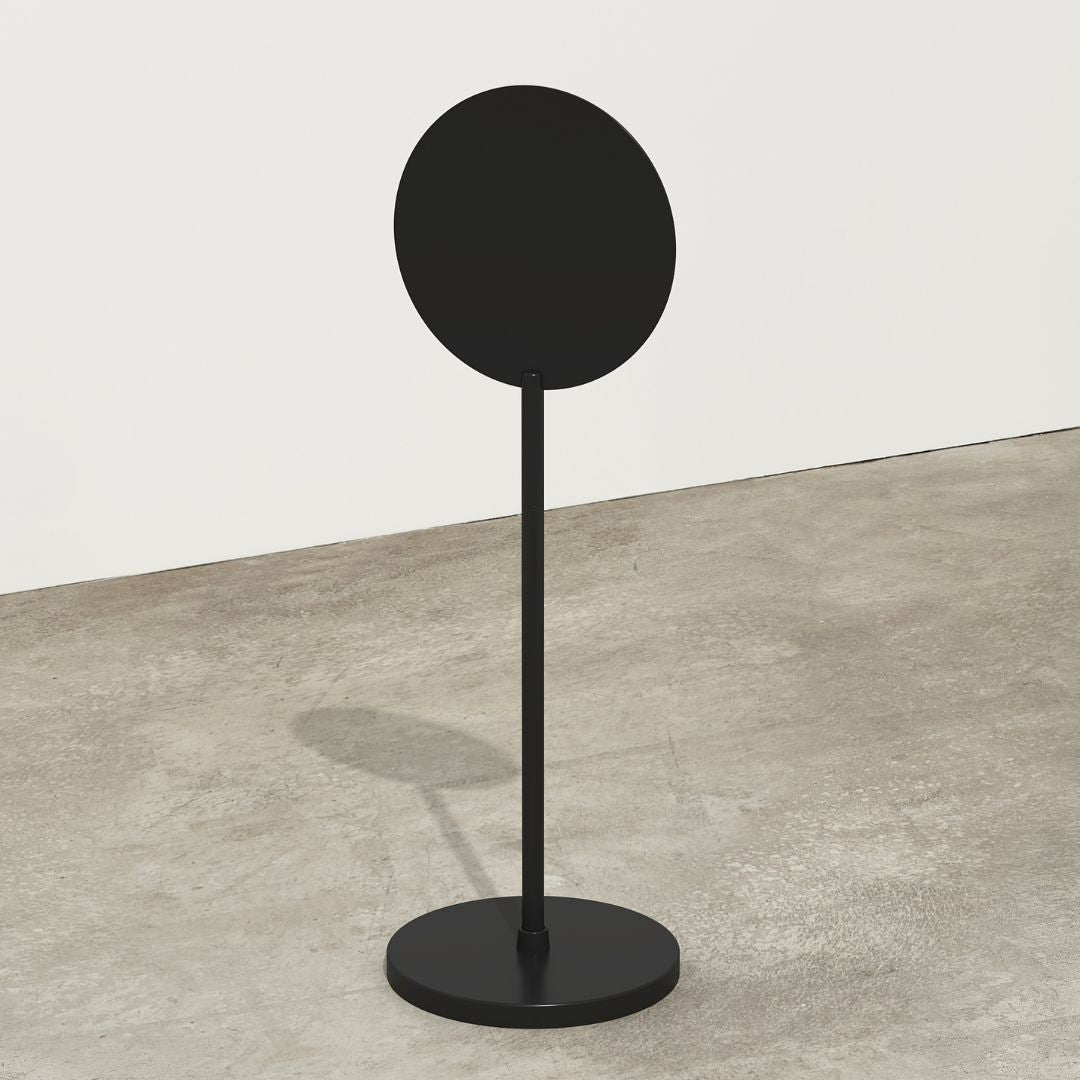
If you are after a simpler and more durable solution to outdoor signage, we also make our Round Sign which keeps a clean, simple look for many years, or its little brother, the Circle Sign.
If you have any questions or comments then get in touch with us.
For more tutorials and tips, take a look at the below:
How to Get Your Sign Powder-Coated
How to Apply your Branding to a Sign