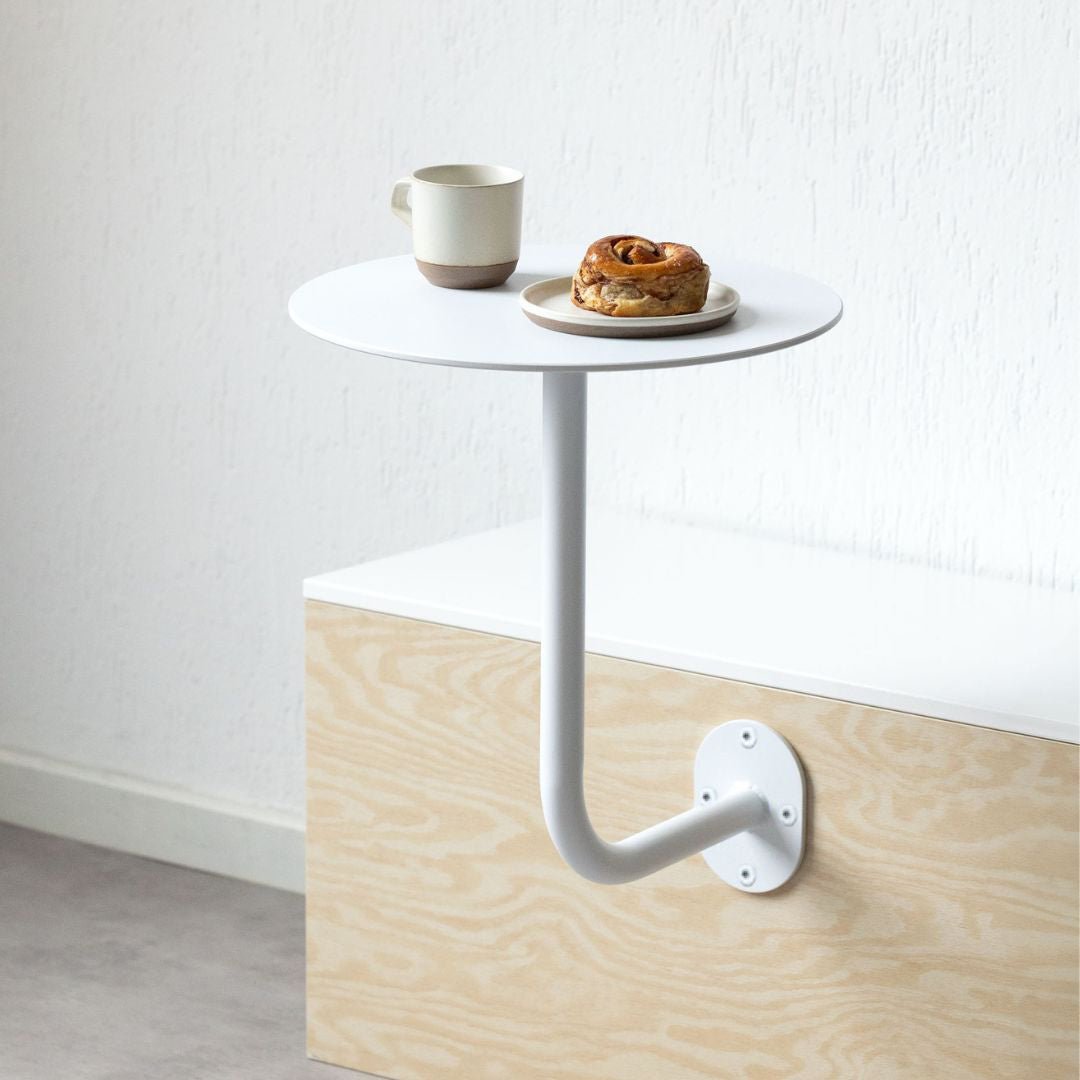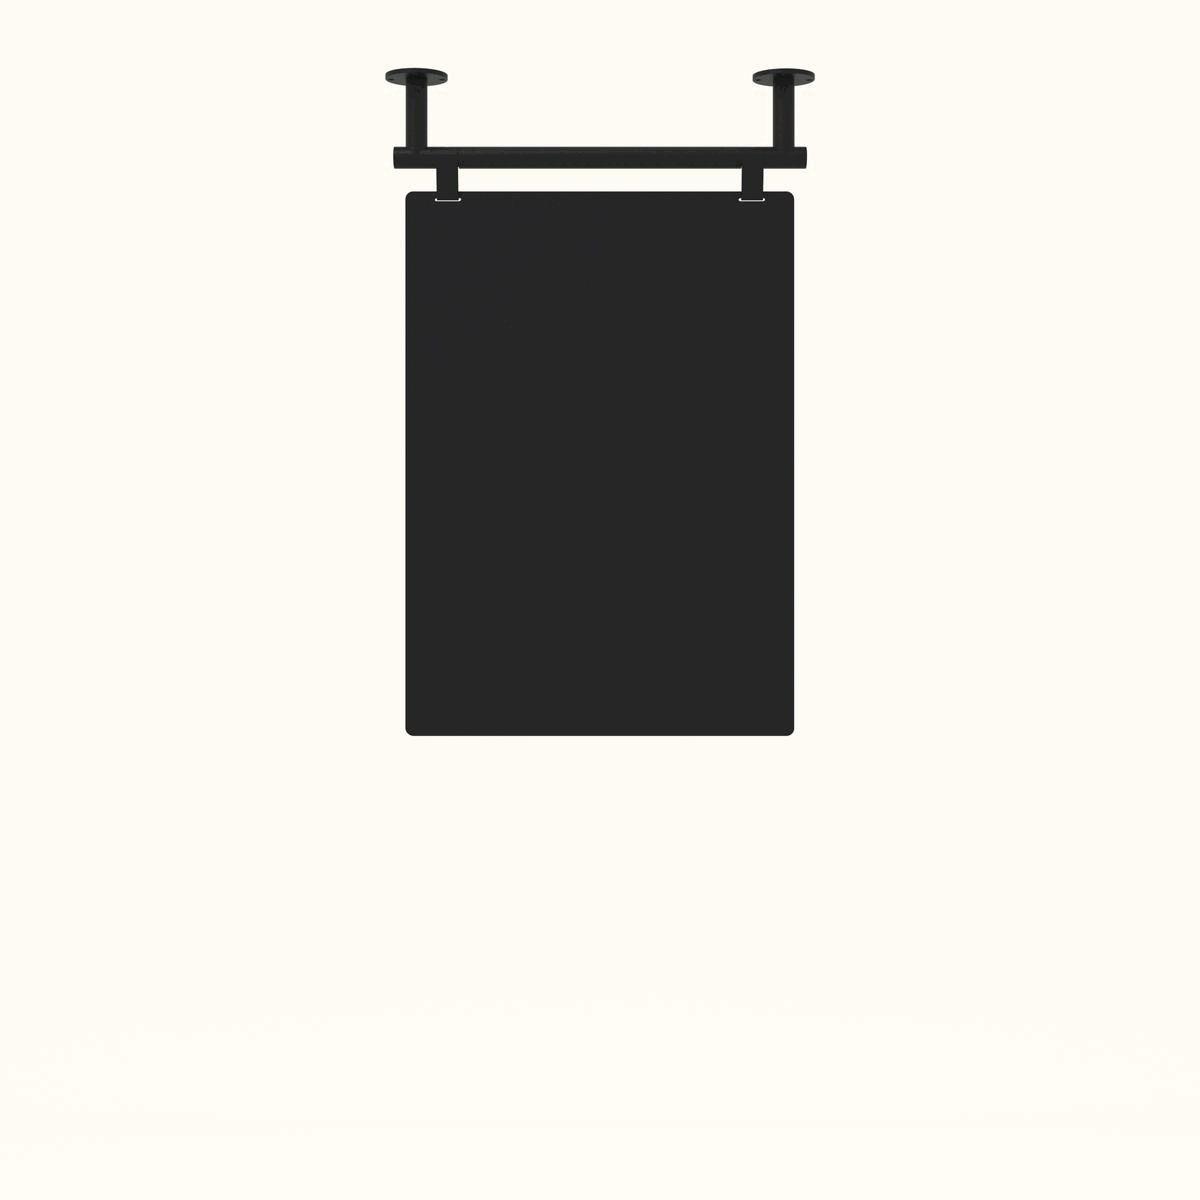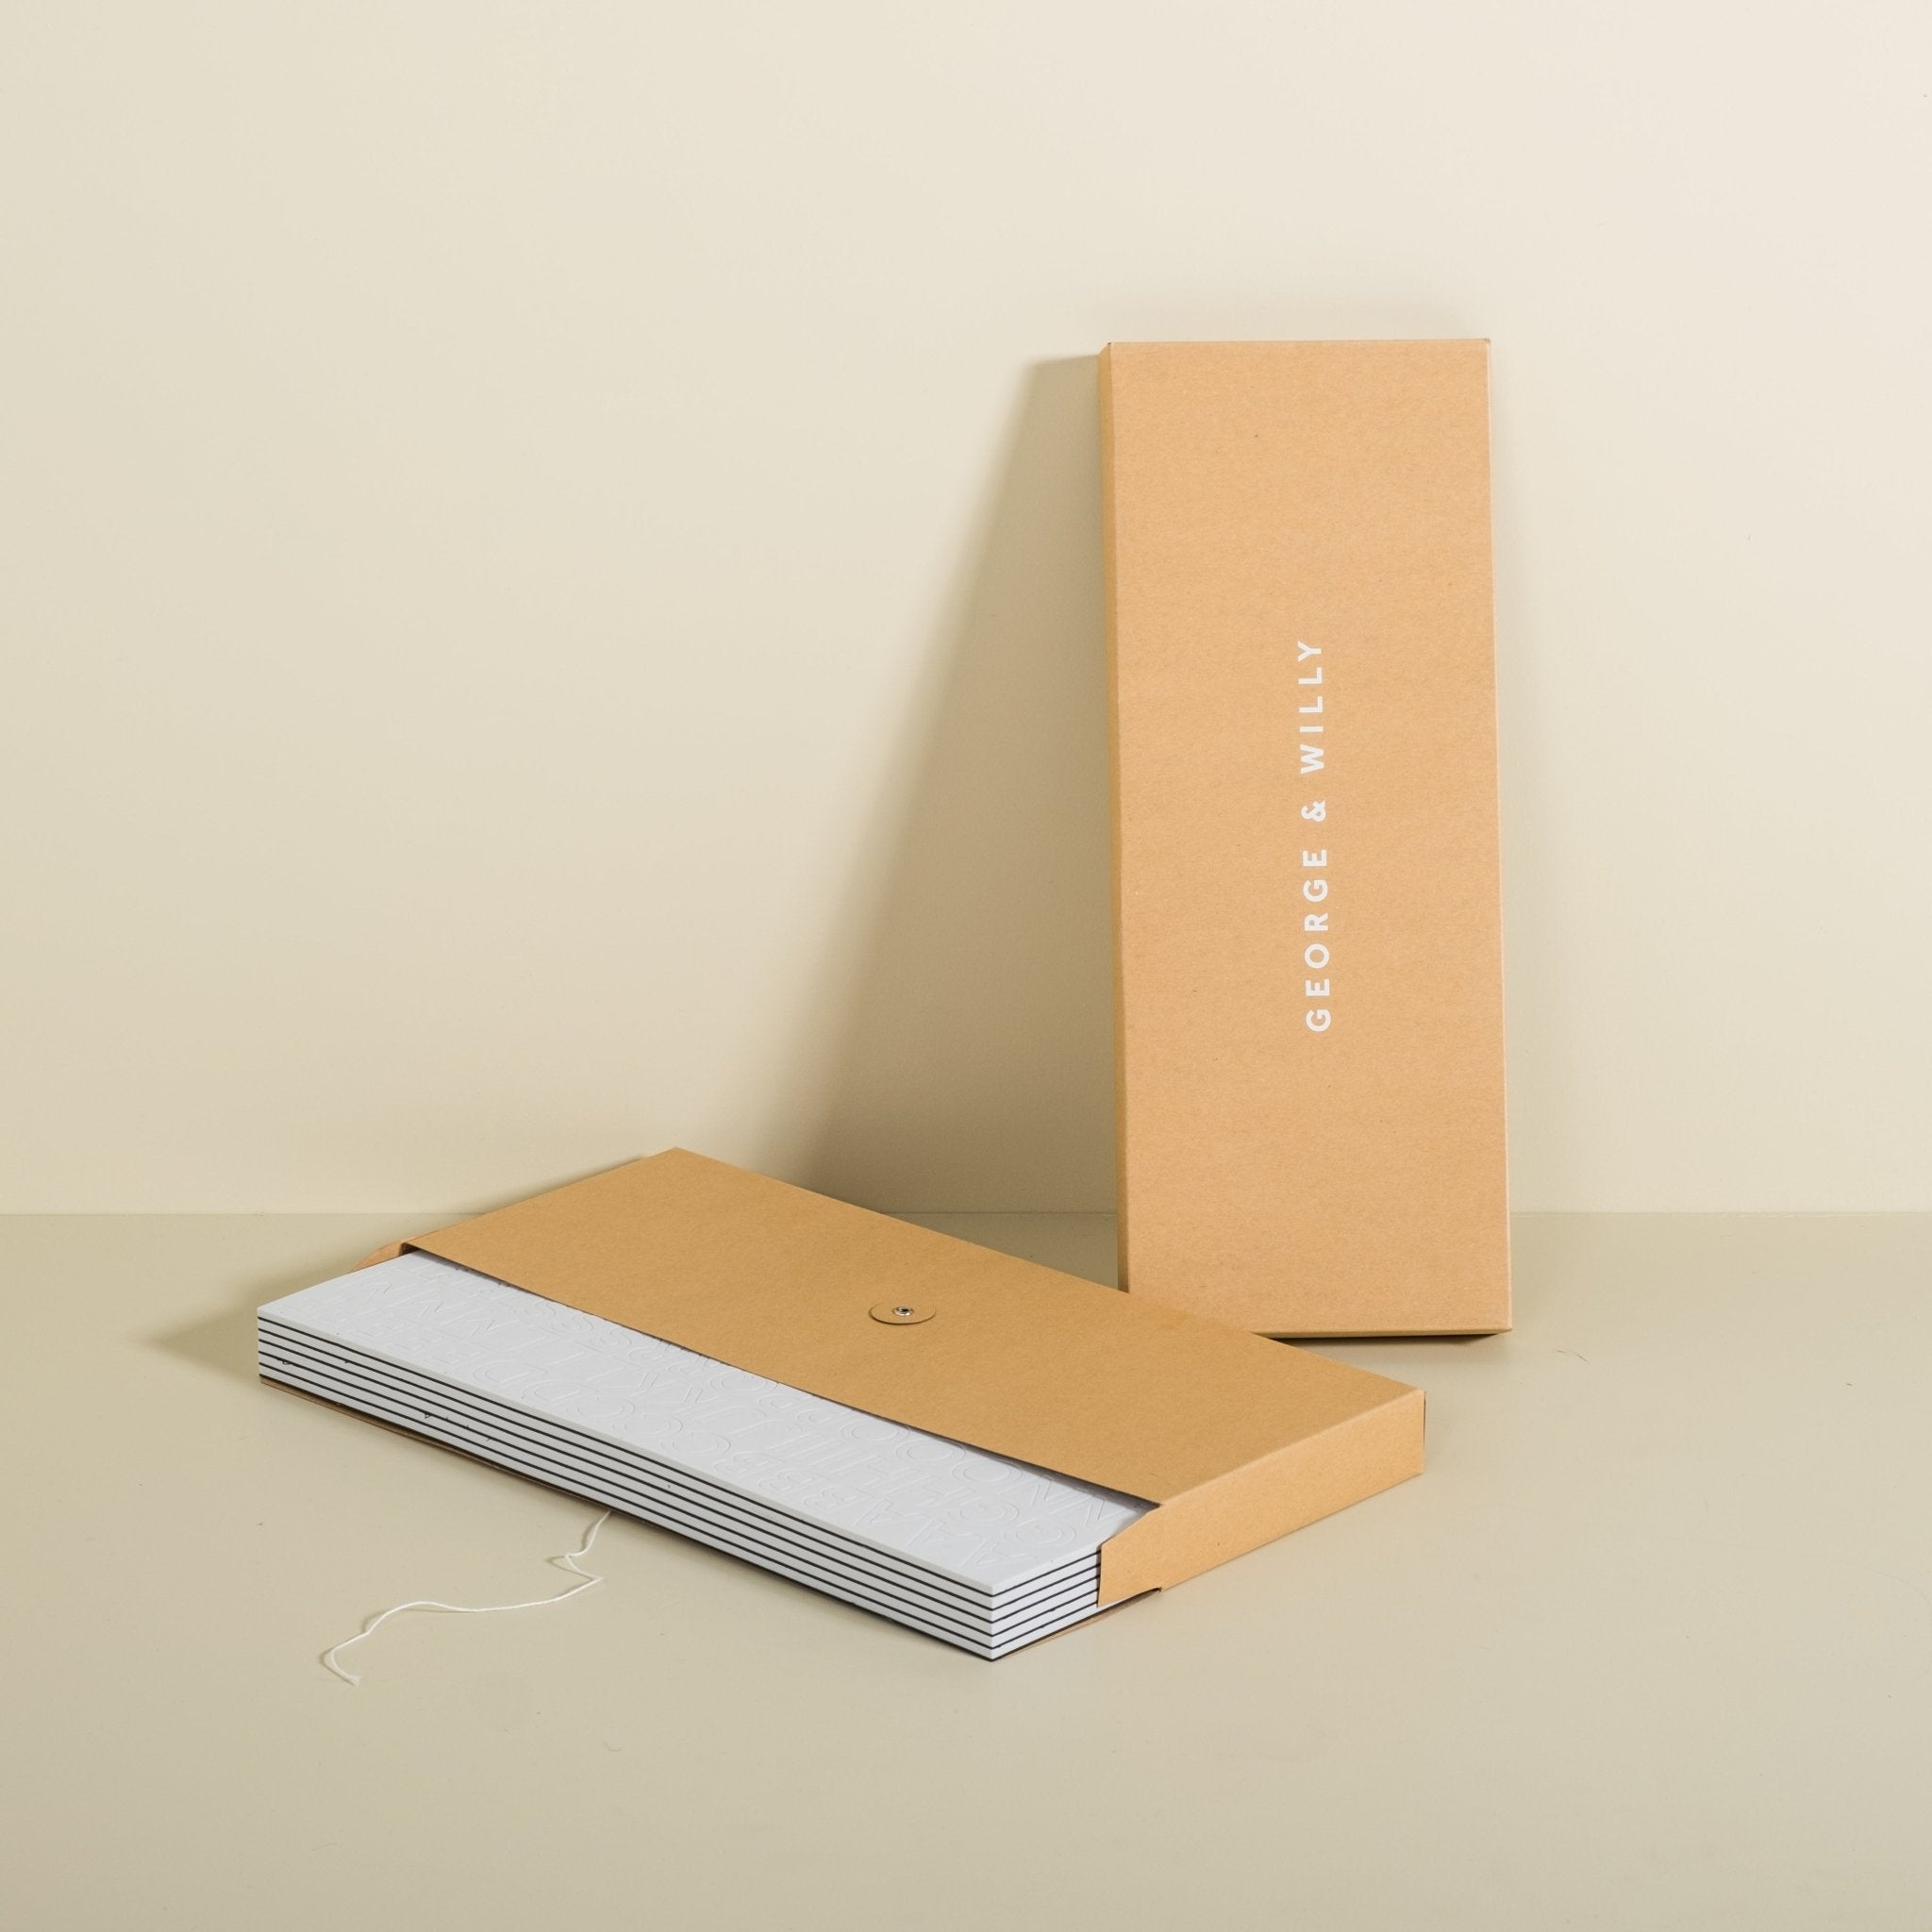


Through timeless design and honest materials, we’ve made this Paper Roll Holder to go the distance and stand the test of time. So we thought we’d better help you out with installing your new creative accessory and get the job done right.
You or your handyman are looking at taking about 30-45mins once you’ve got the tools ready, so get a good playlist going, pour yourselves both a cuppa and enjoy the quick and easy process.


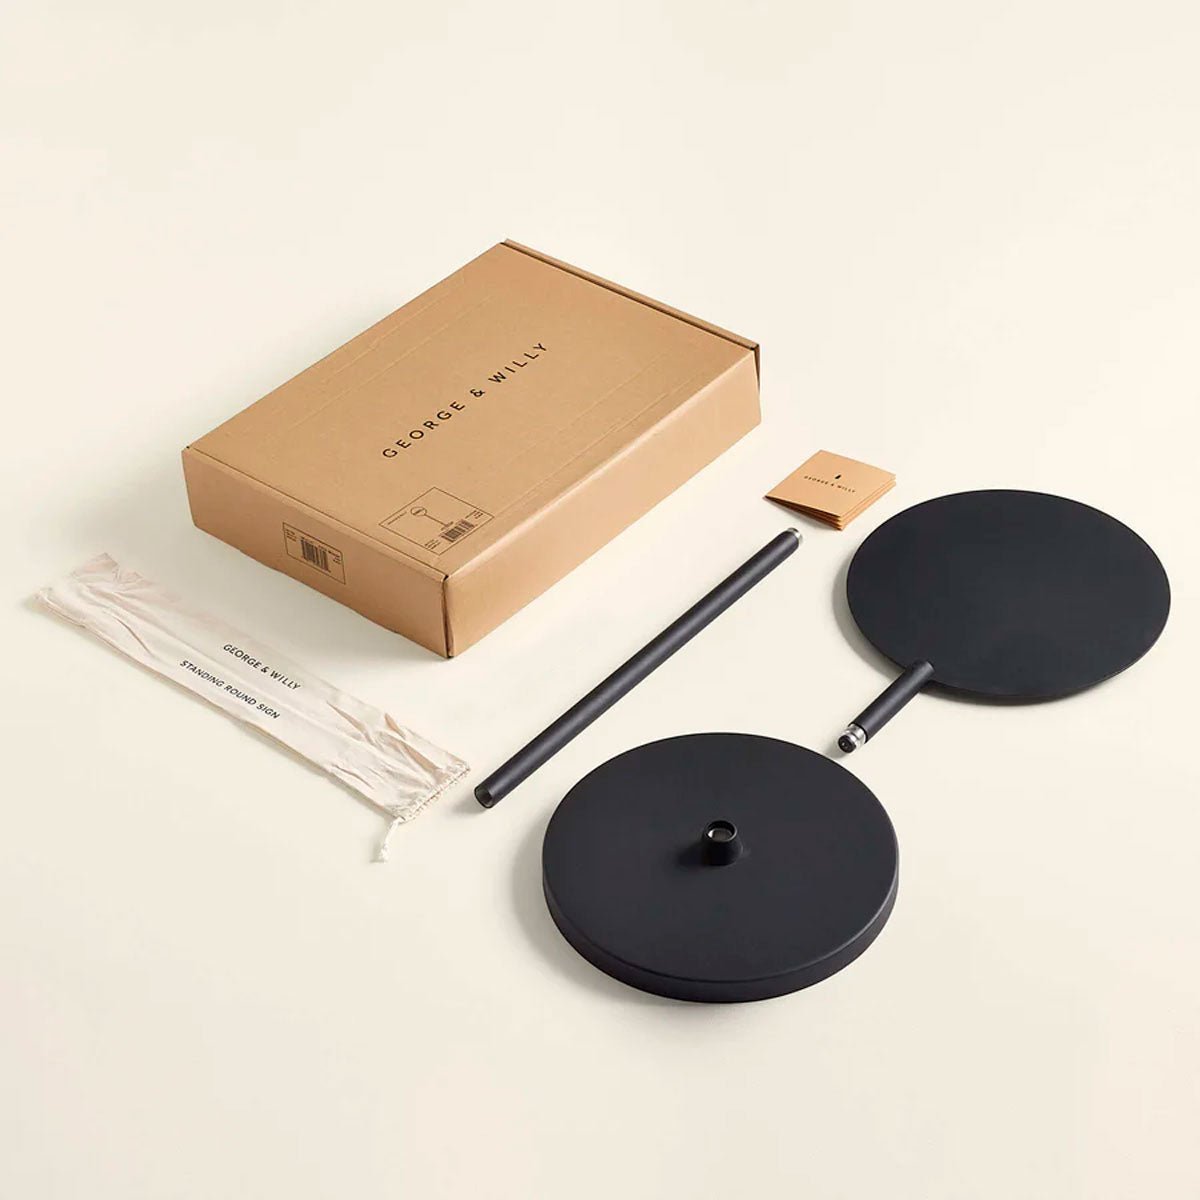
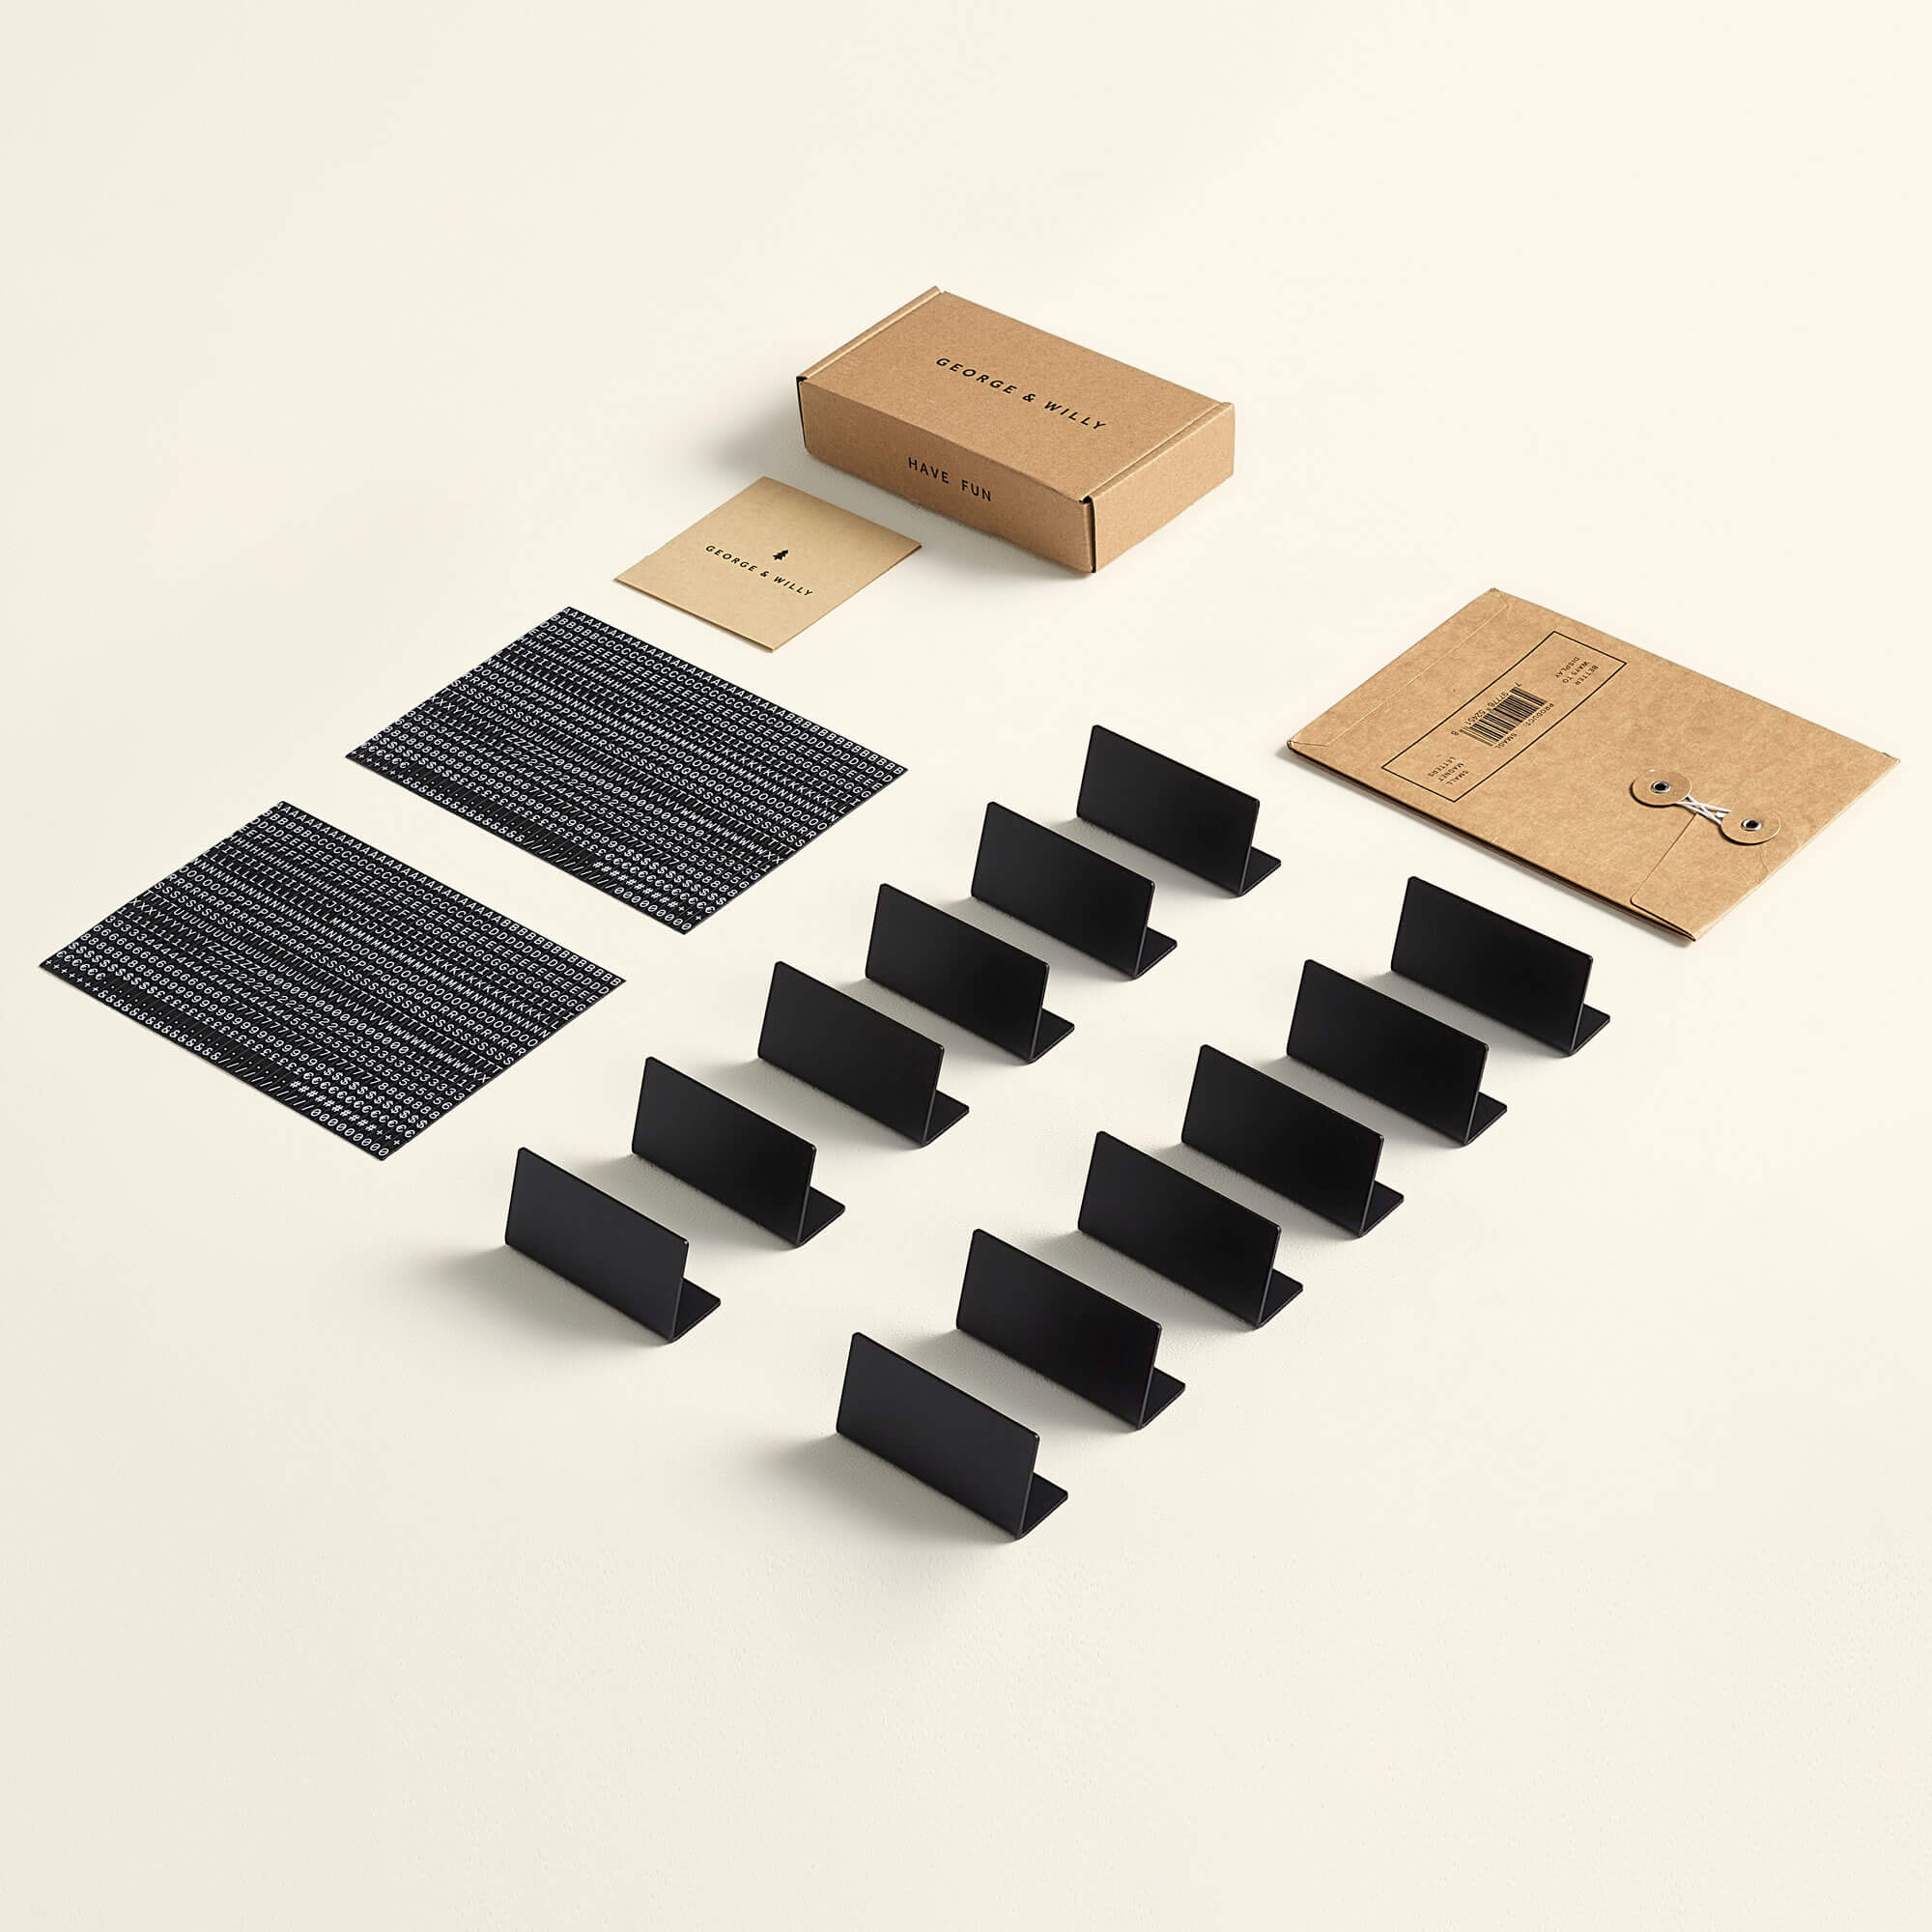
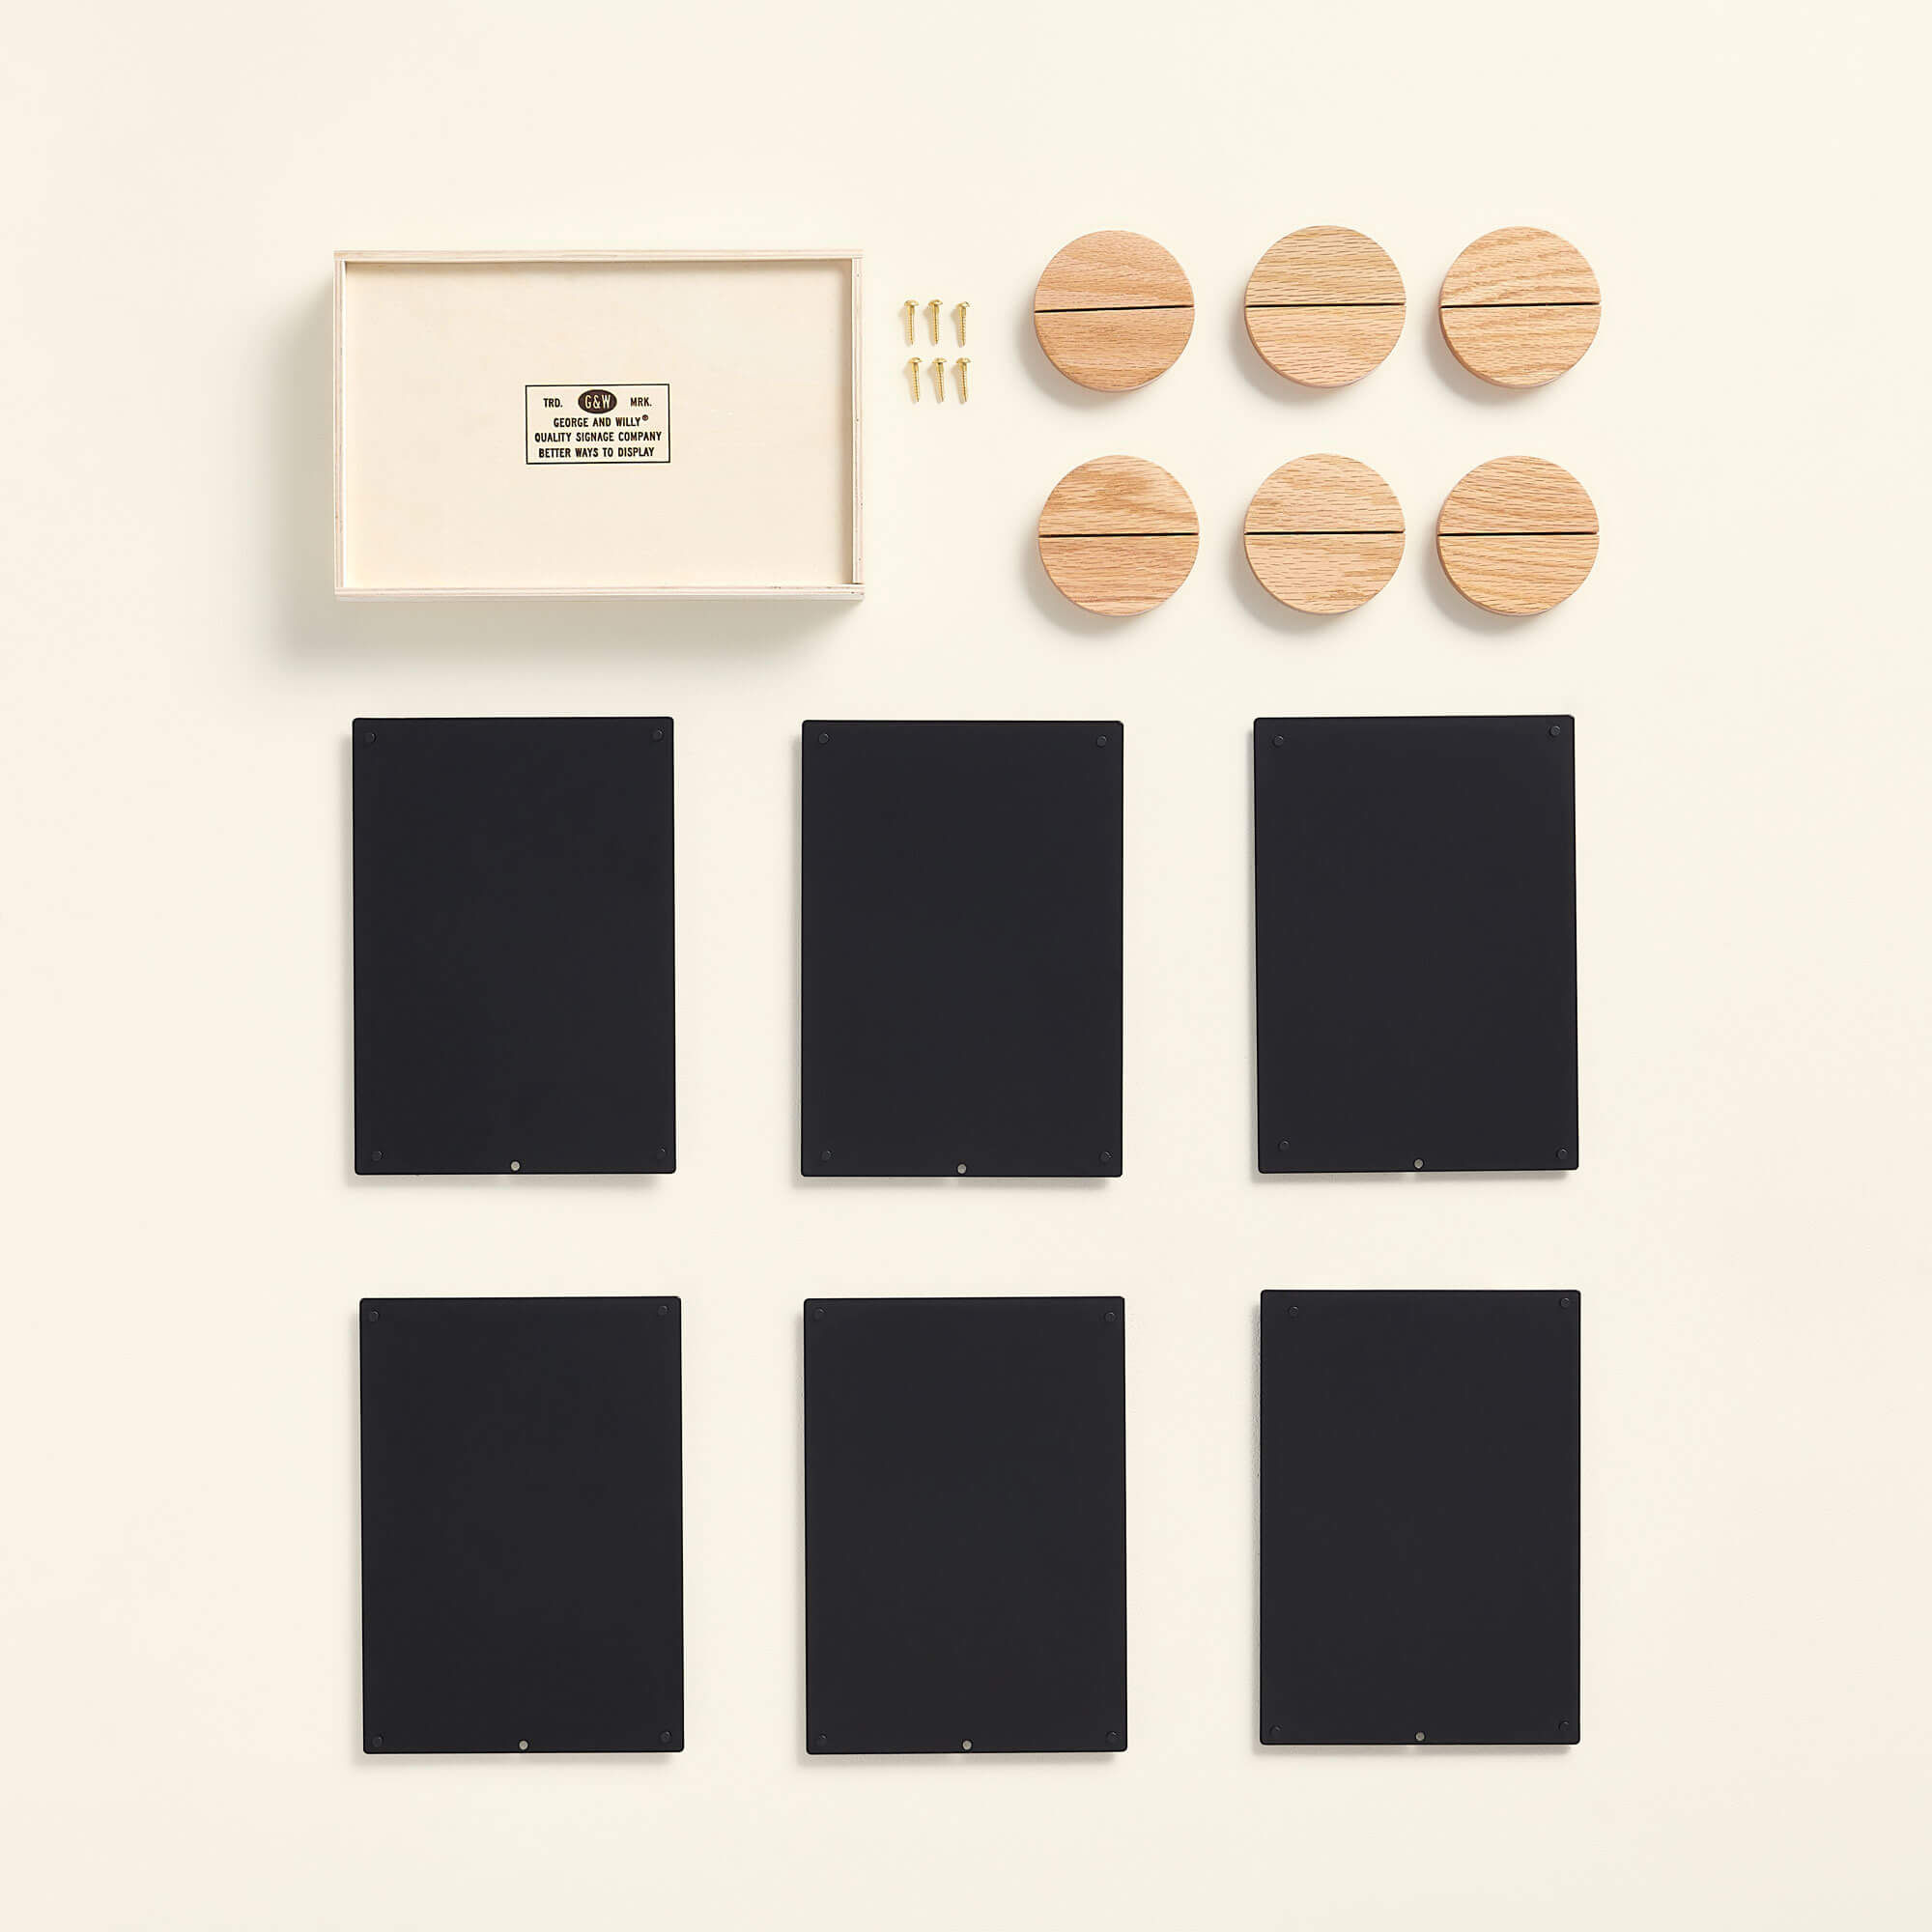
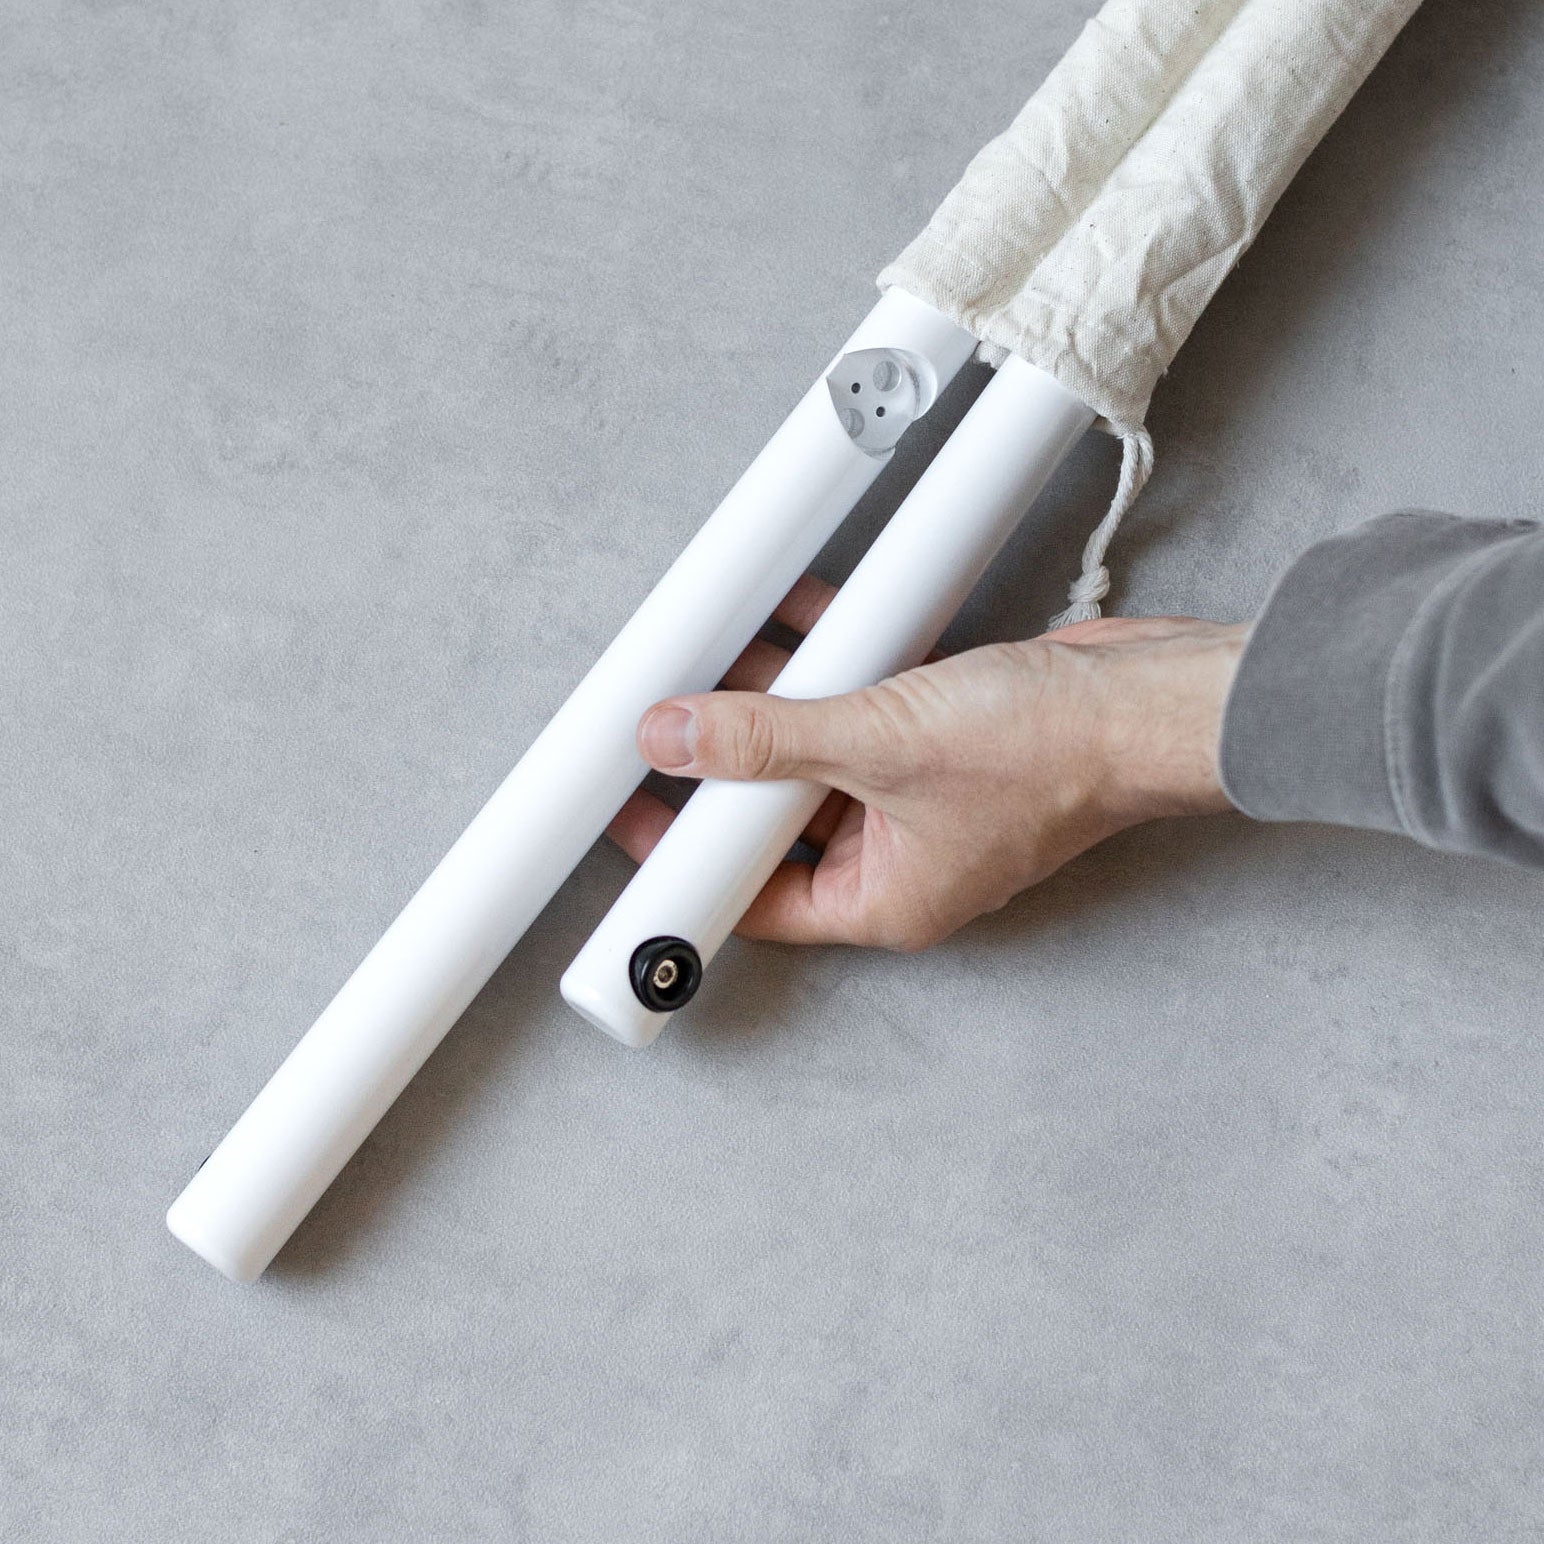
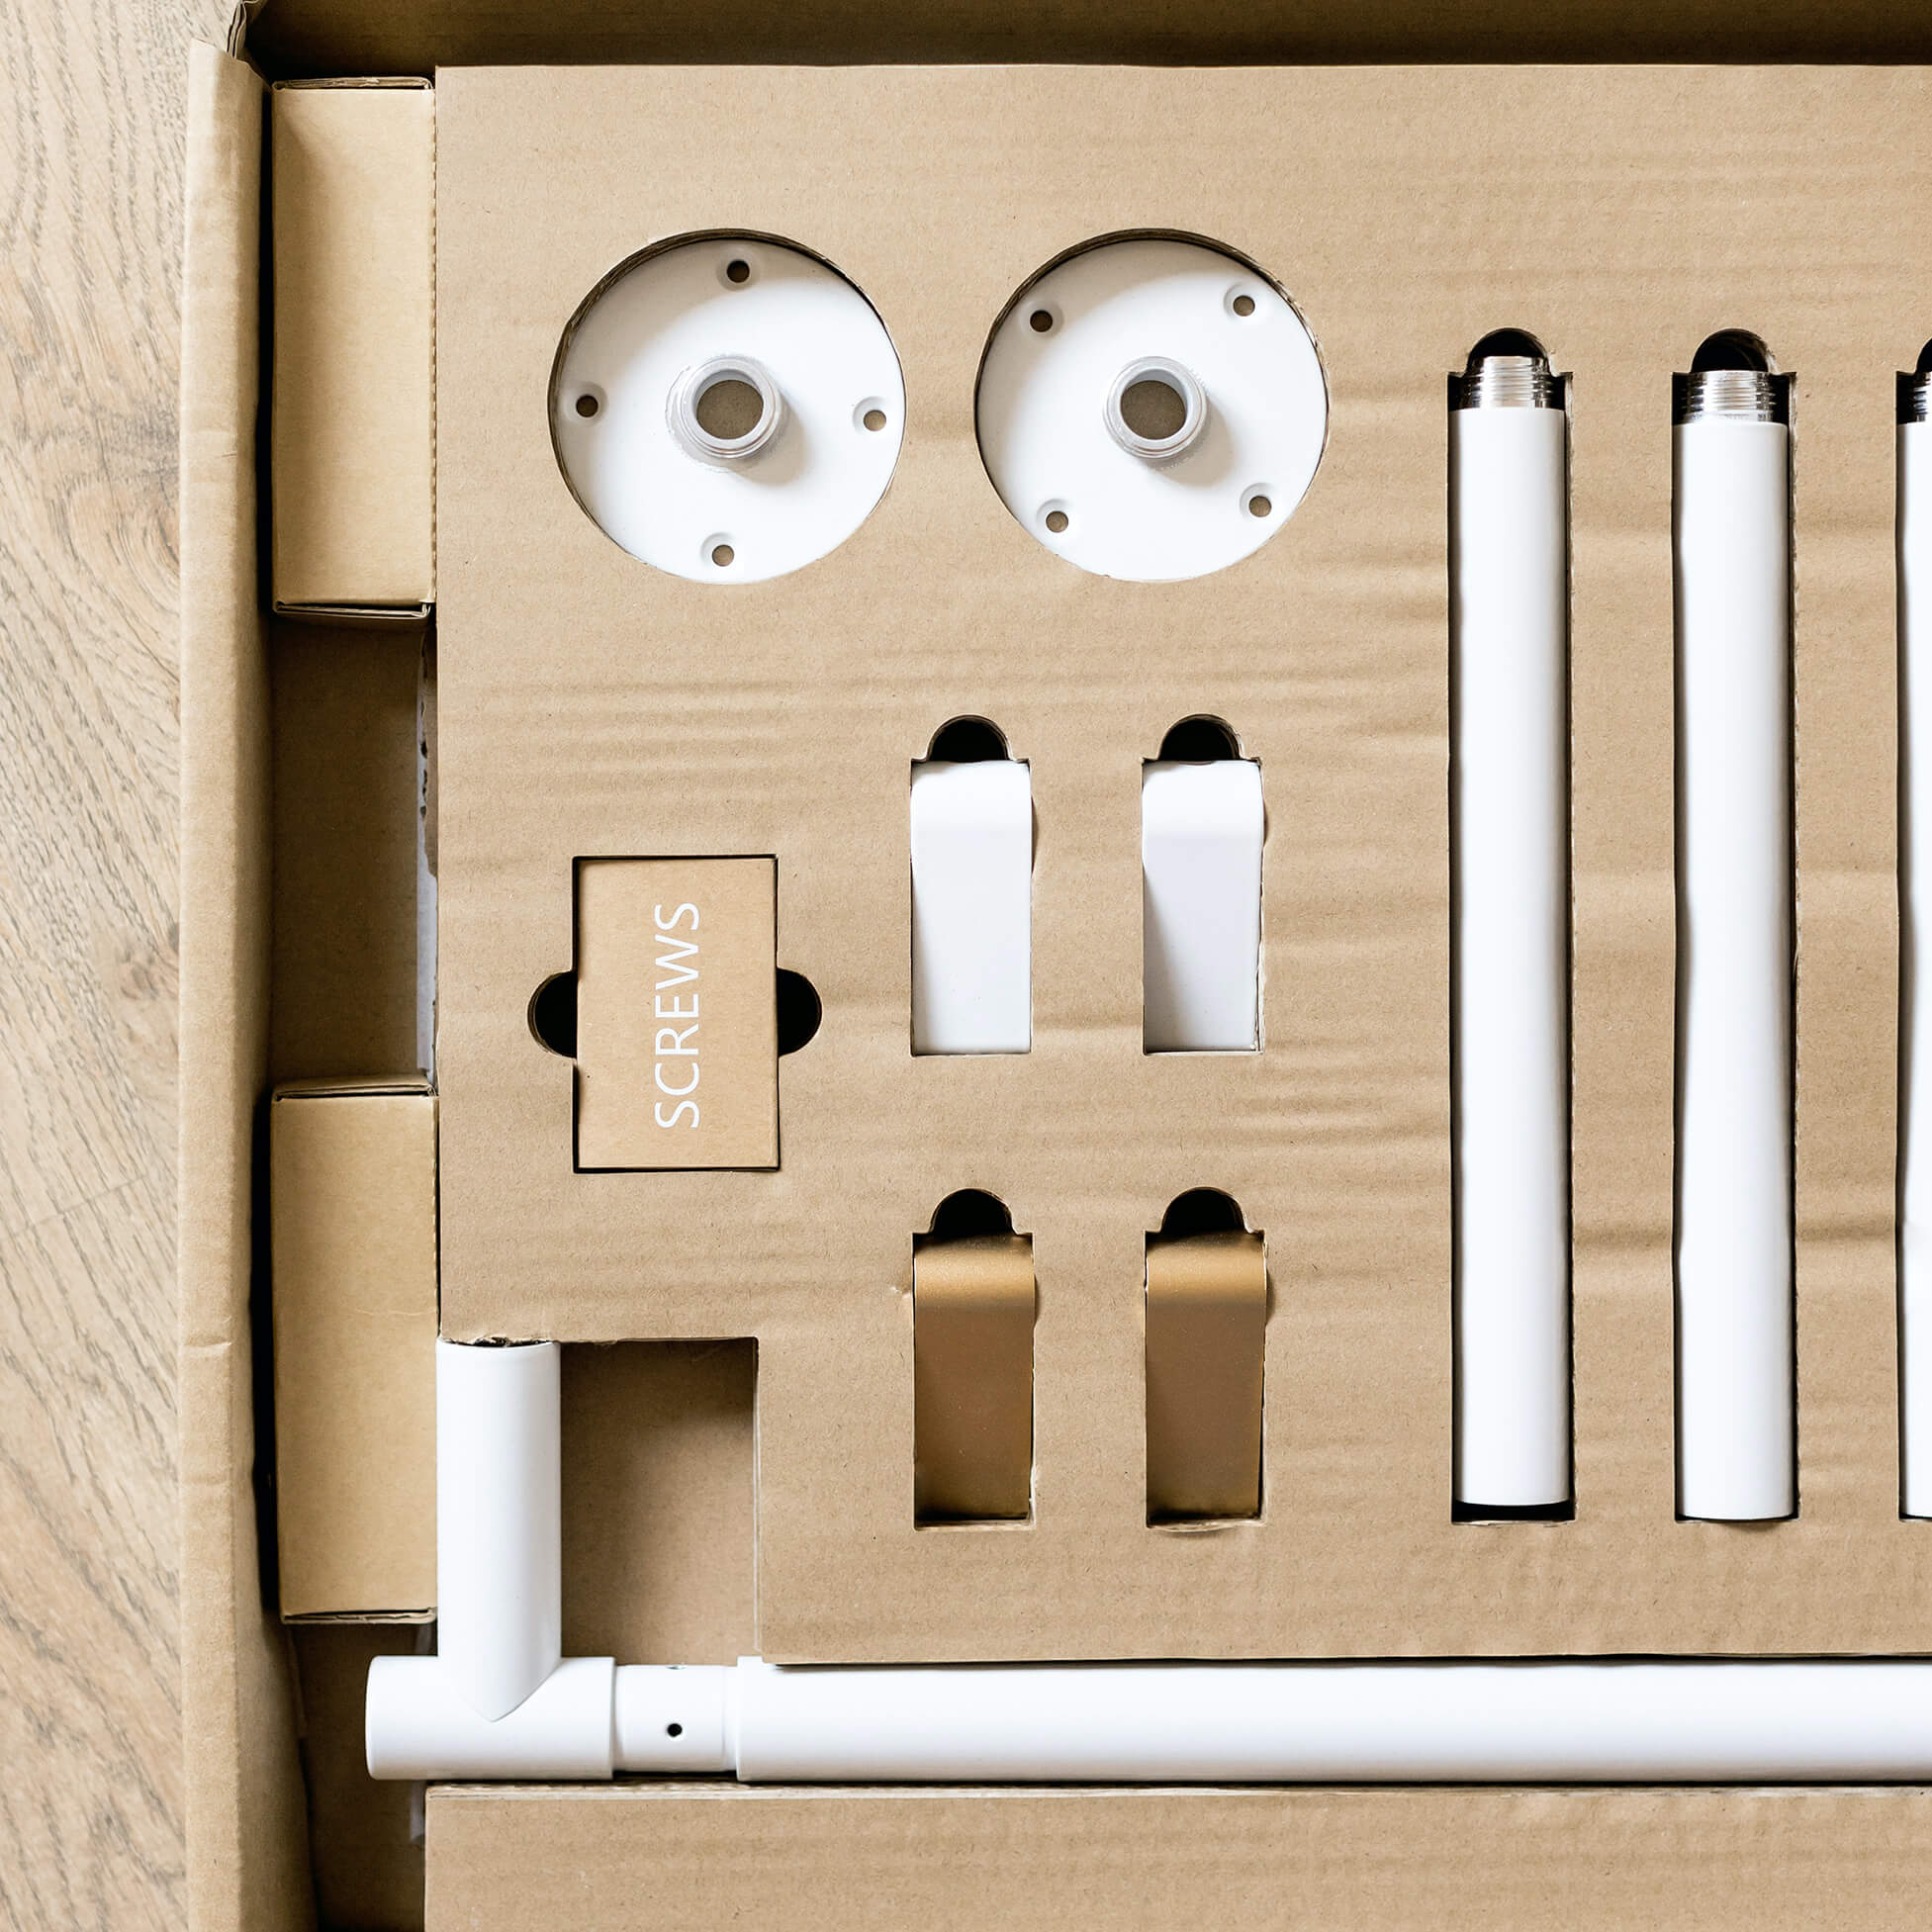
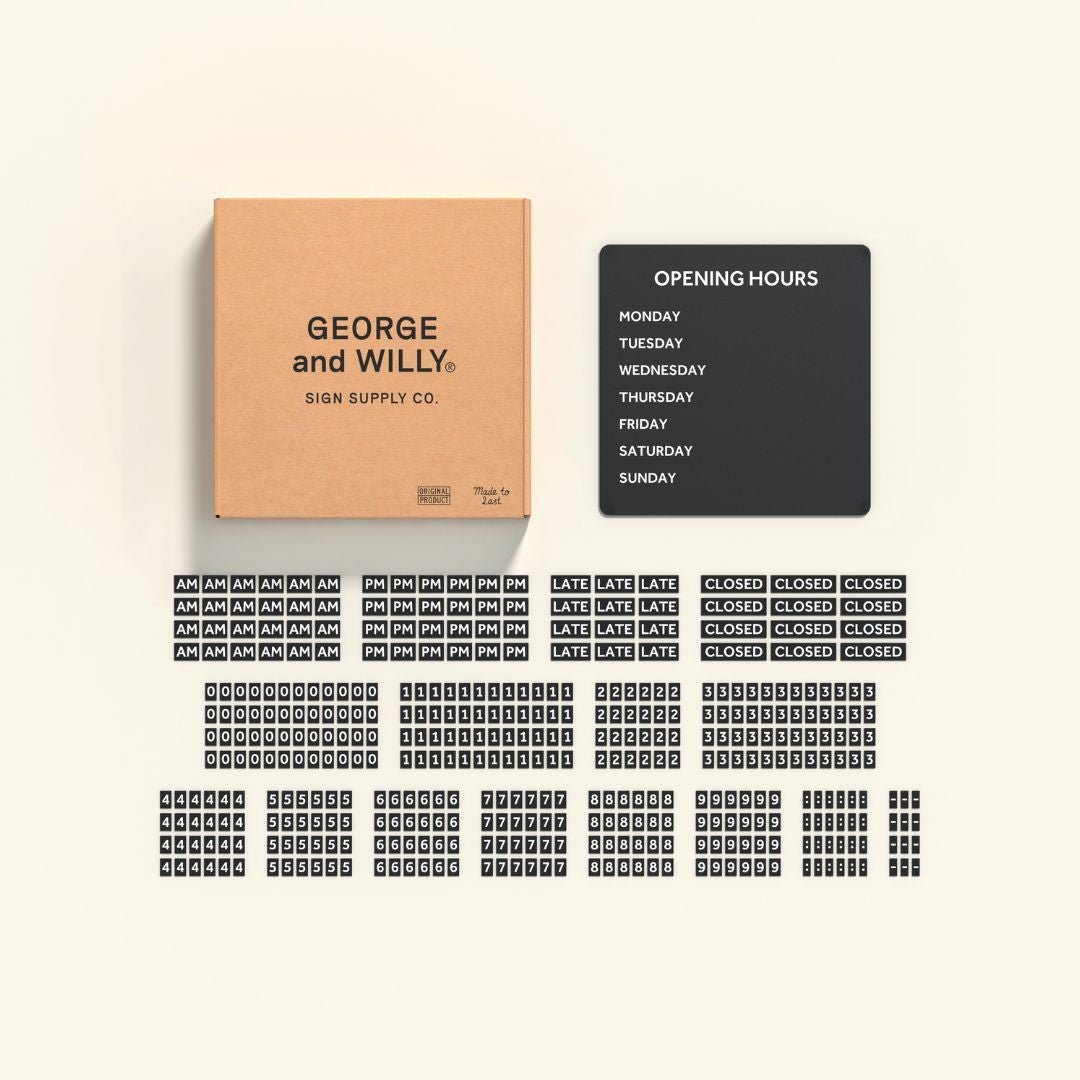
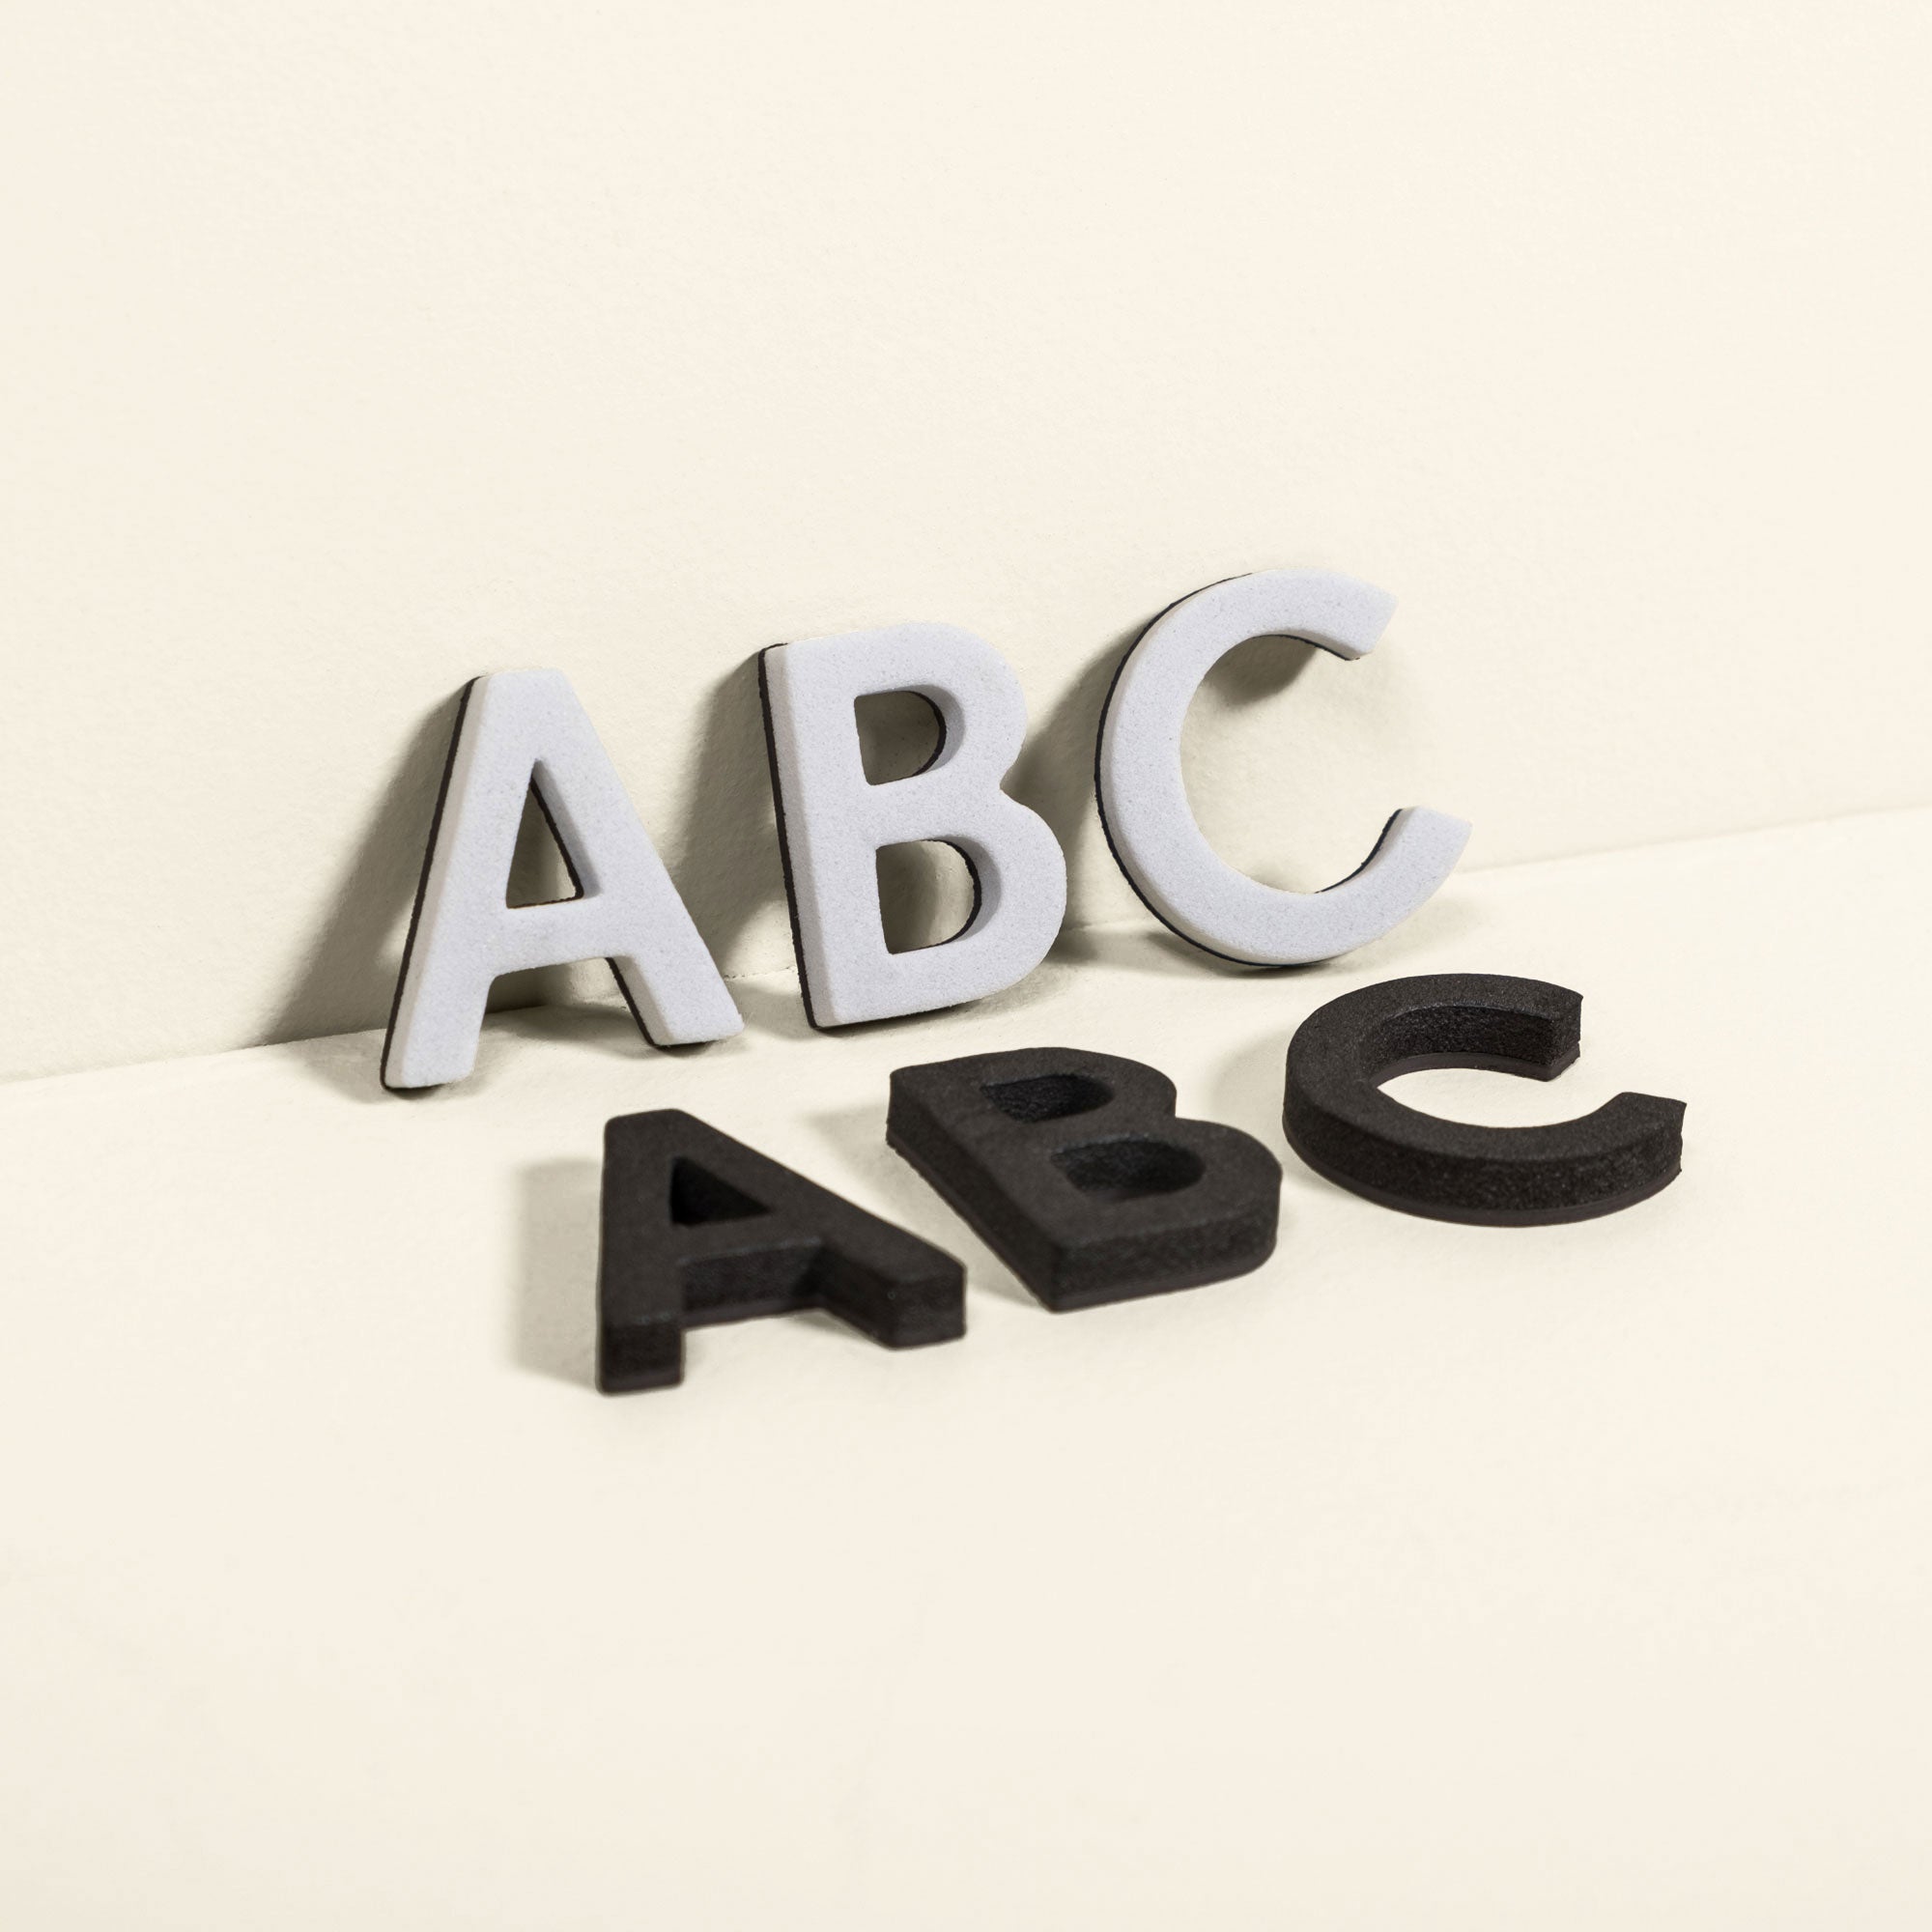
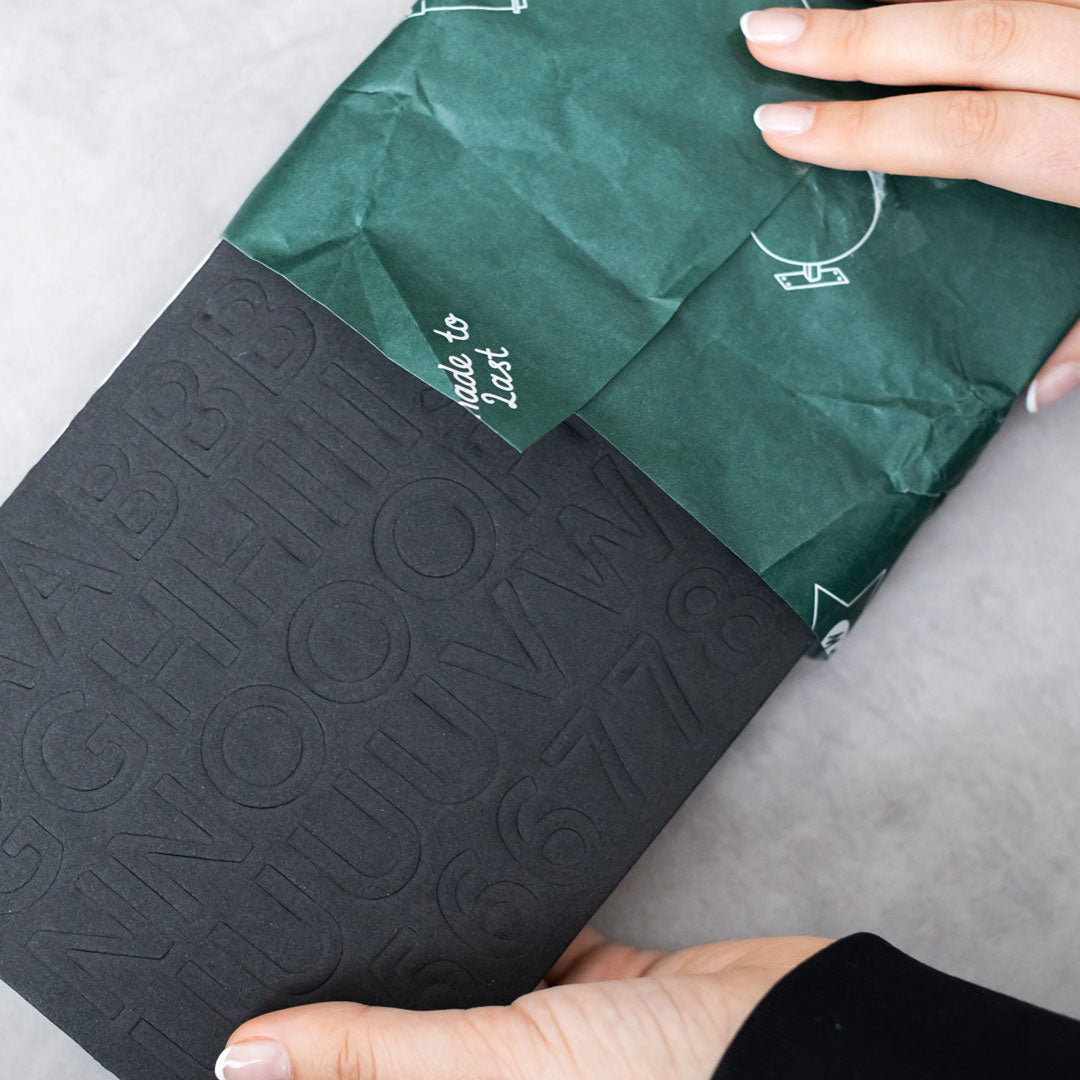
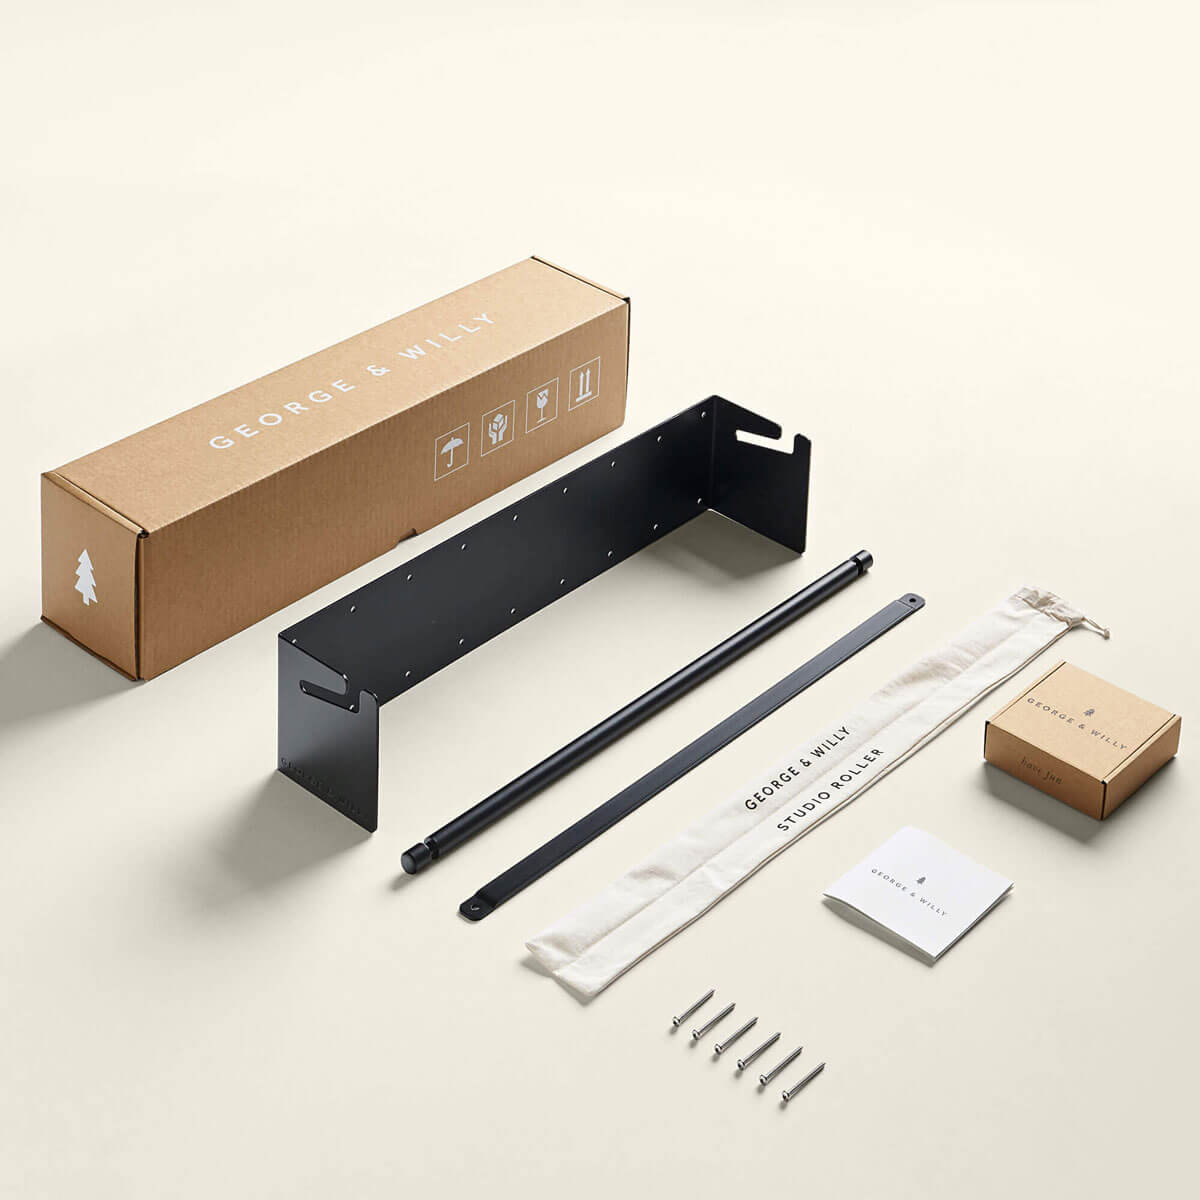
What you’ll find in the box.

The Paper Roll Holder comes with all the basics for what you need to make the installation an easy process. We’ve included the bits and pieces made for mounting onto a studded drywall.
Note - you may need just a few extra handy tools if you’re installing onto concrete, gib board/drywall or tiles. Check out what we’ve listed on the following page that may help.
What could be handy.

Here’s a small list of the things that will be beneficial to the installation process. You should find that most handymen/women will already have these extras in their tool kits.
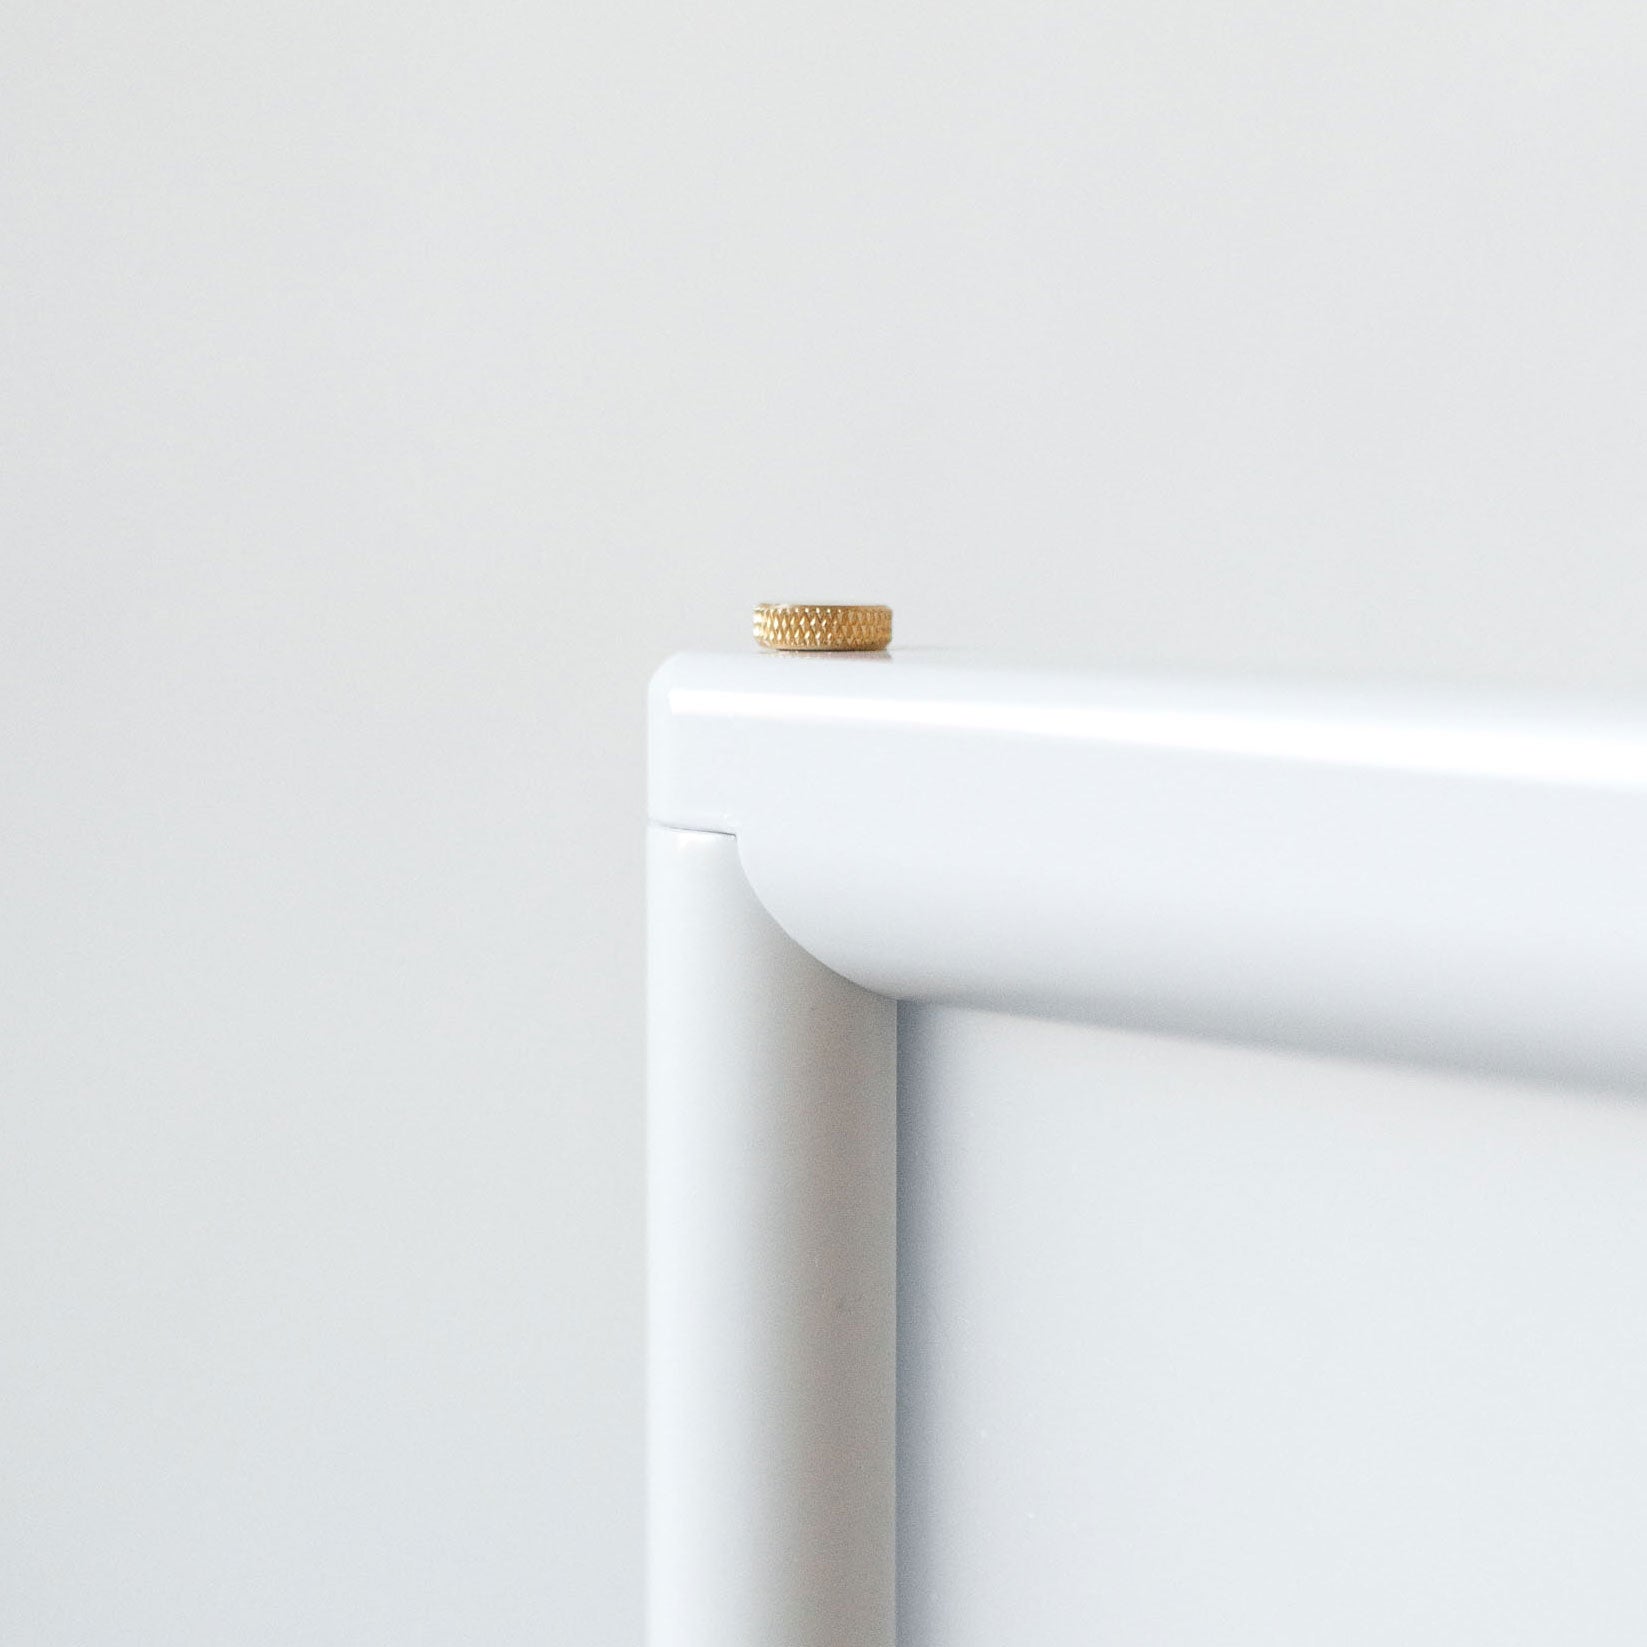
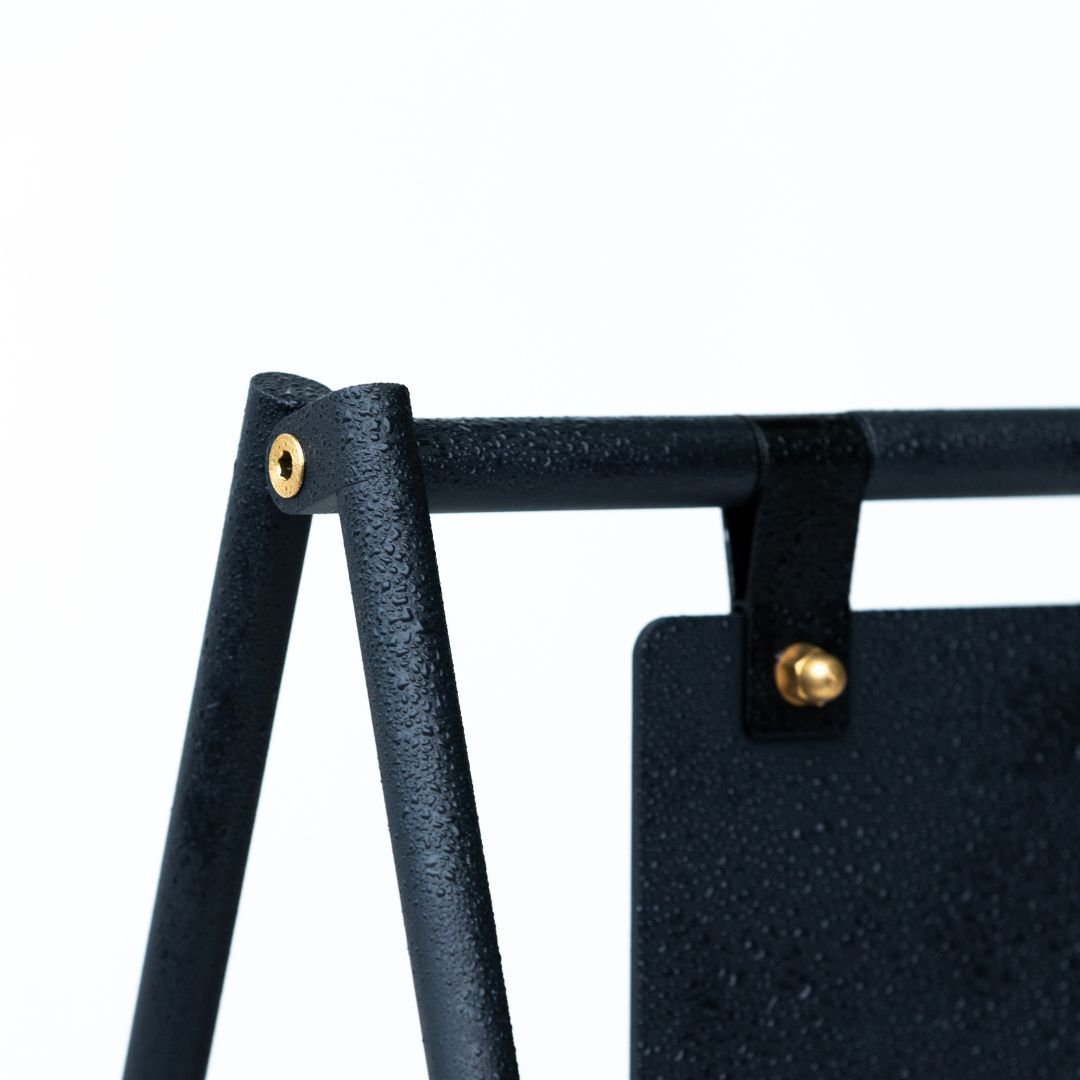
Note - The screw size provided is 50mm/1.97in x 3mm/0.12in.
Step by step installation guide.
STEP 1.
CONFIGURATION

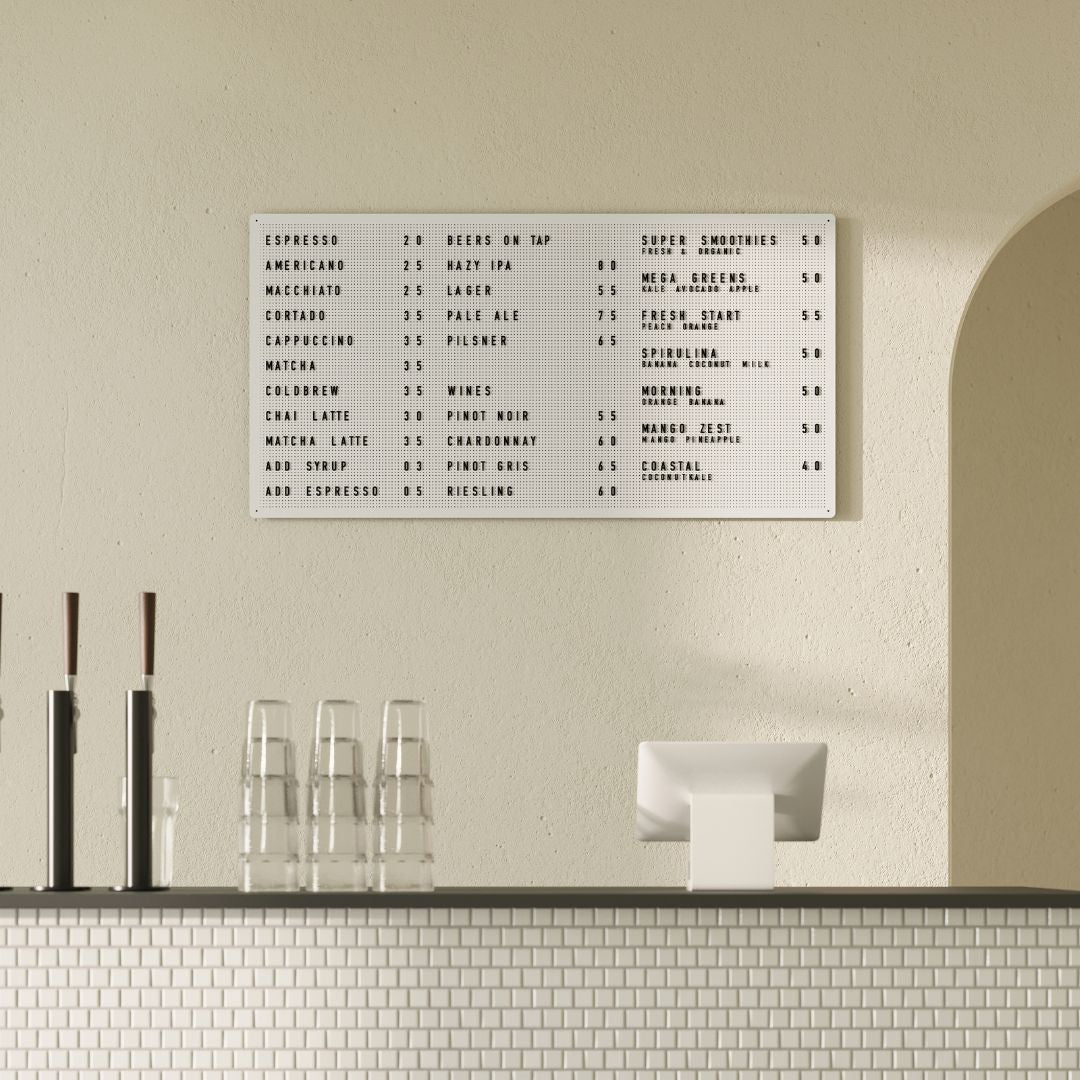
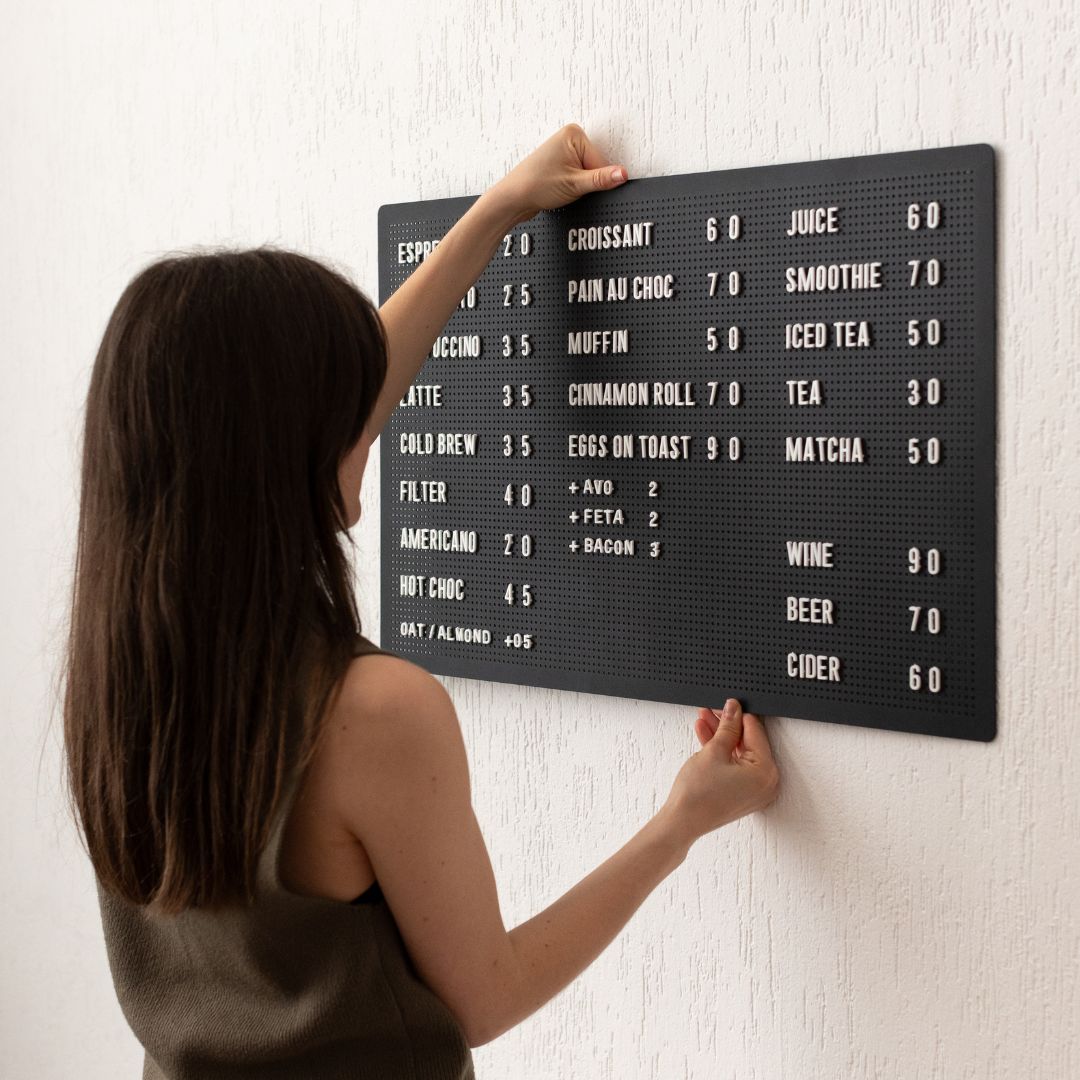
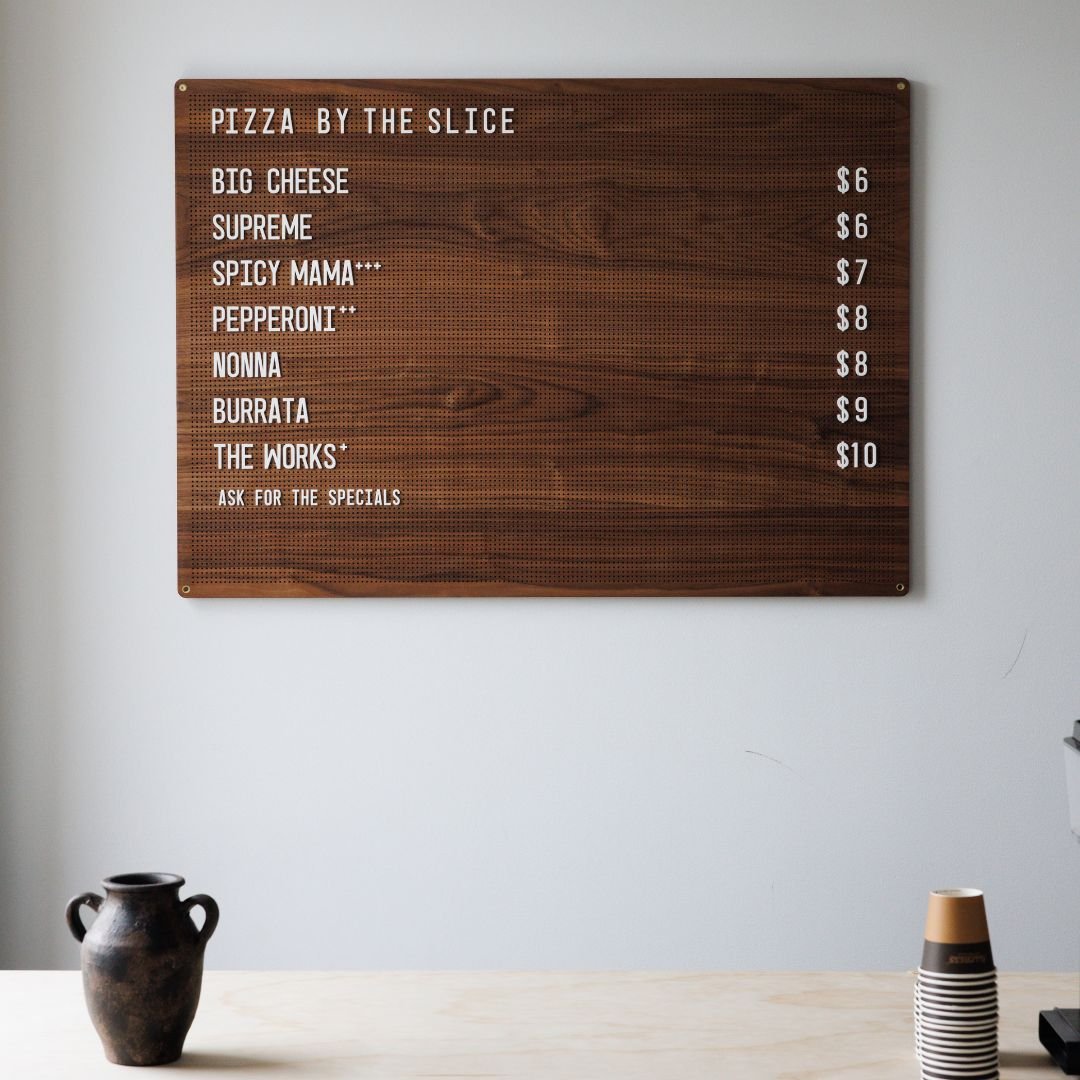
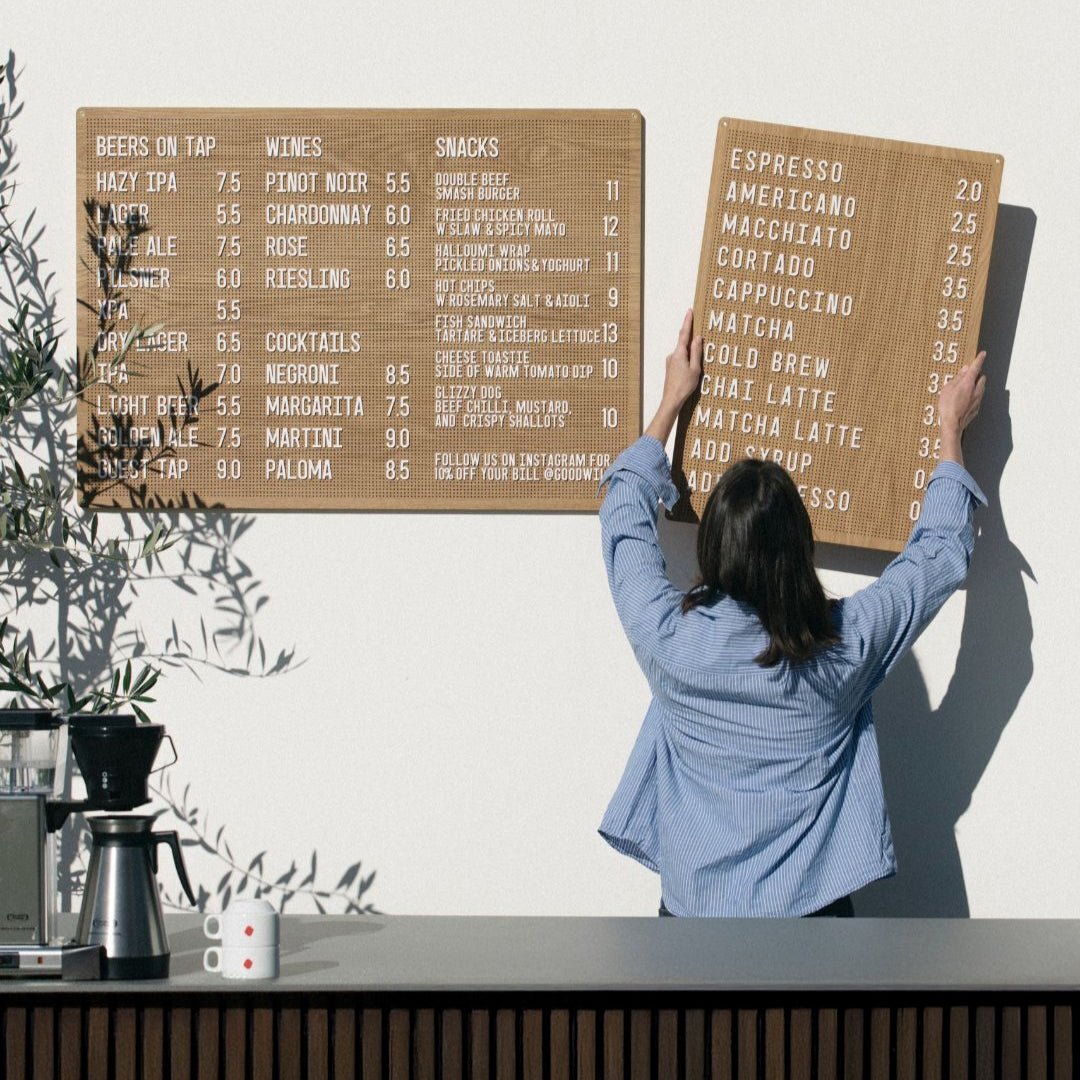
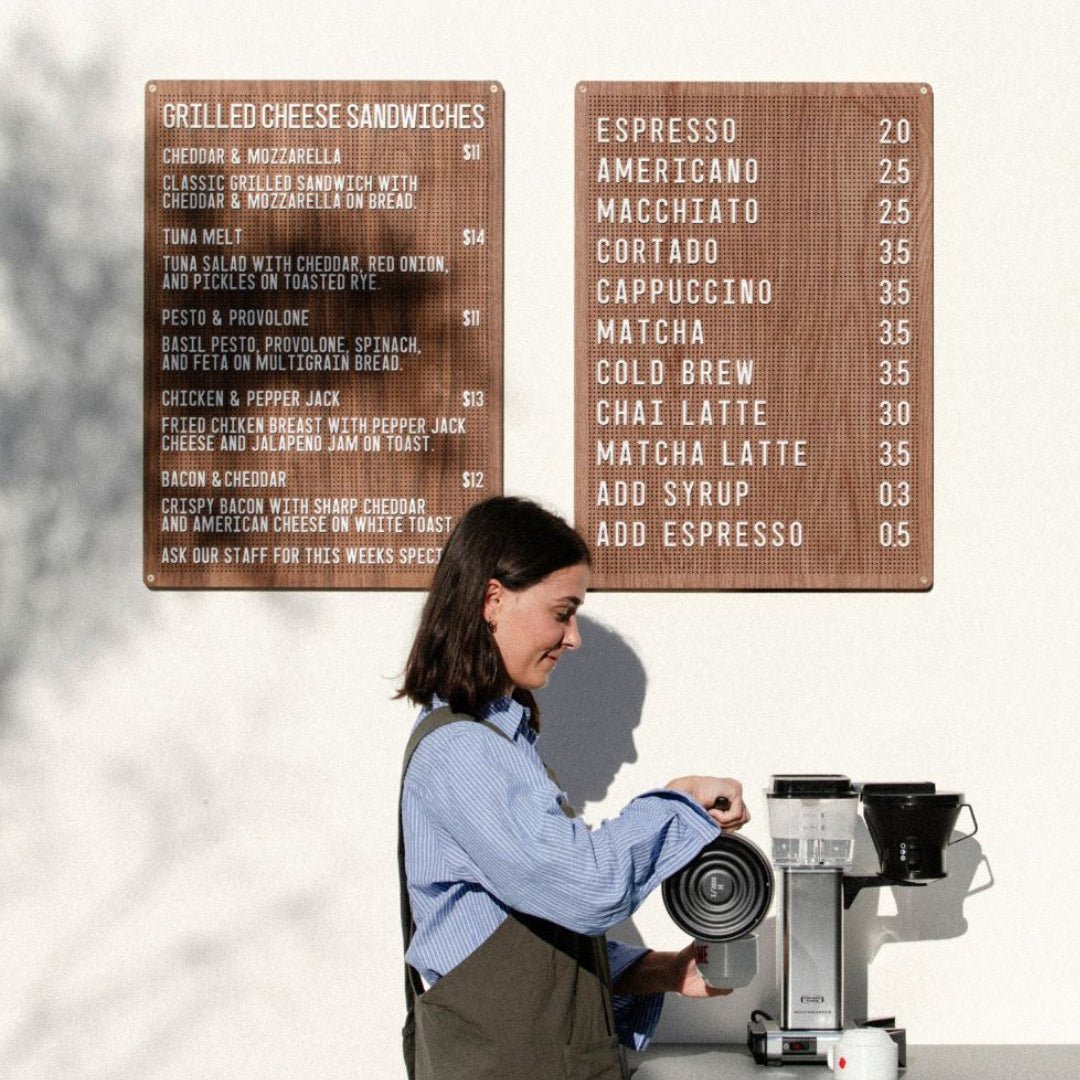
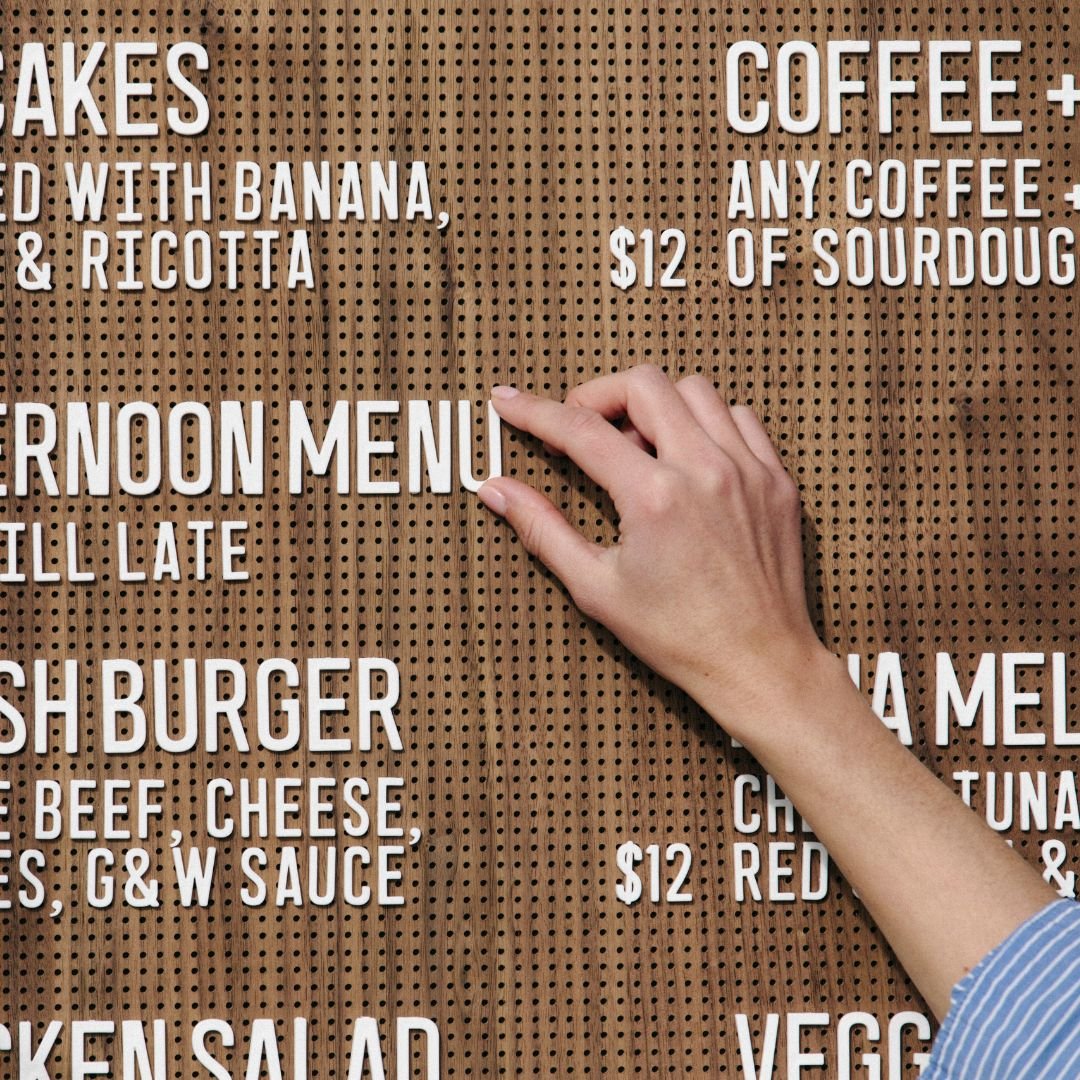
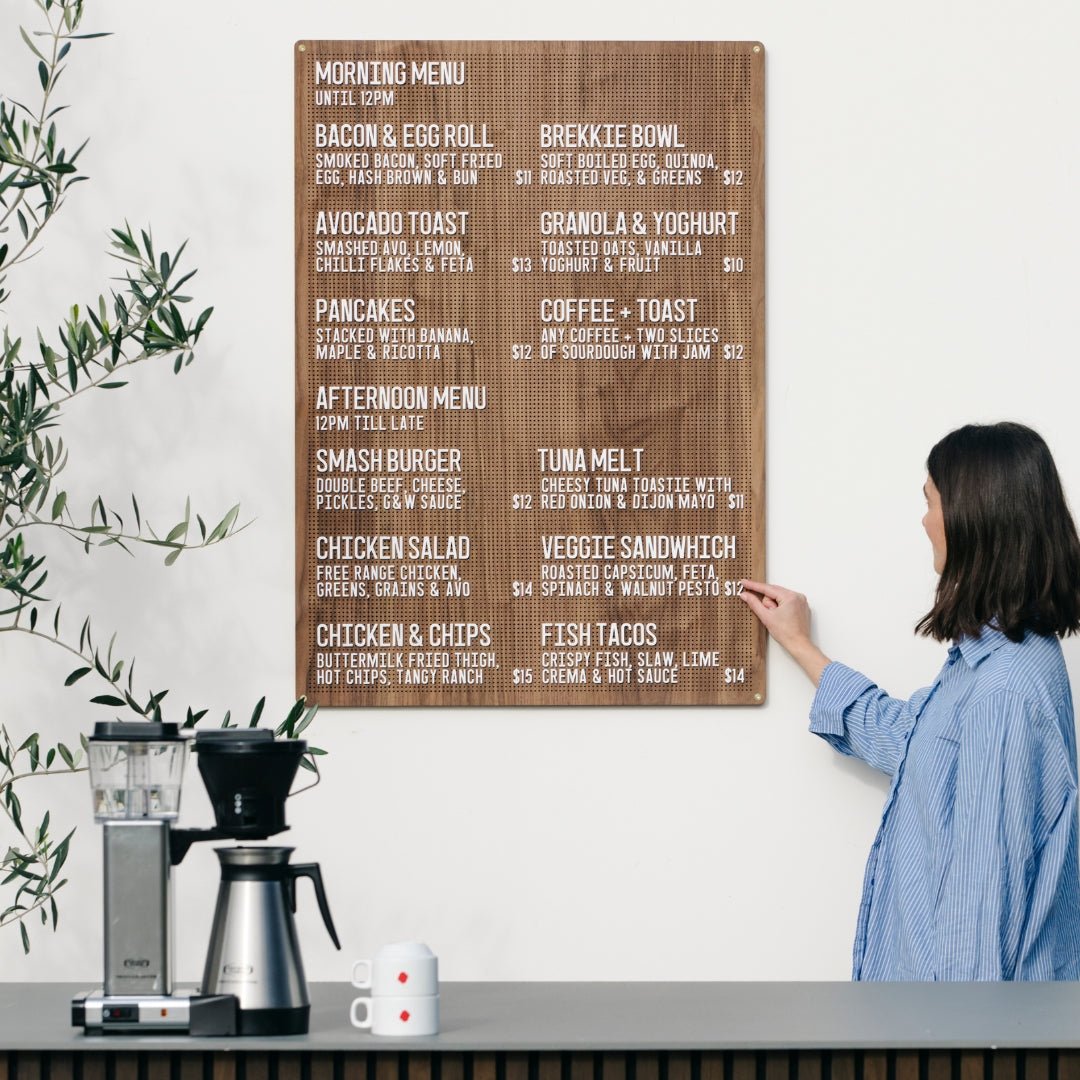
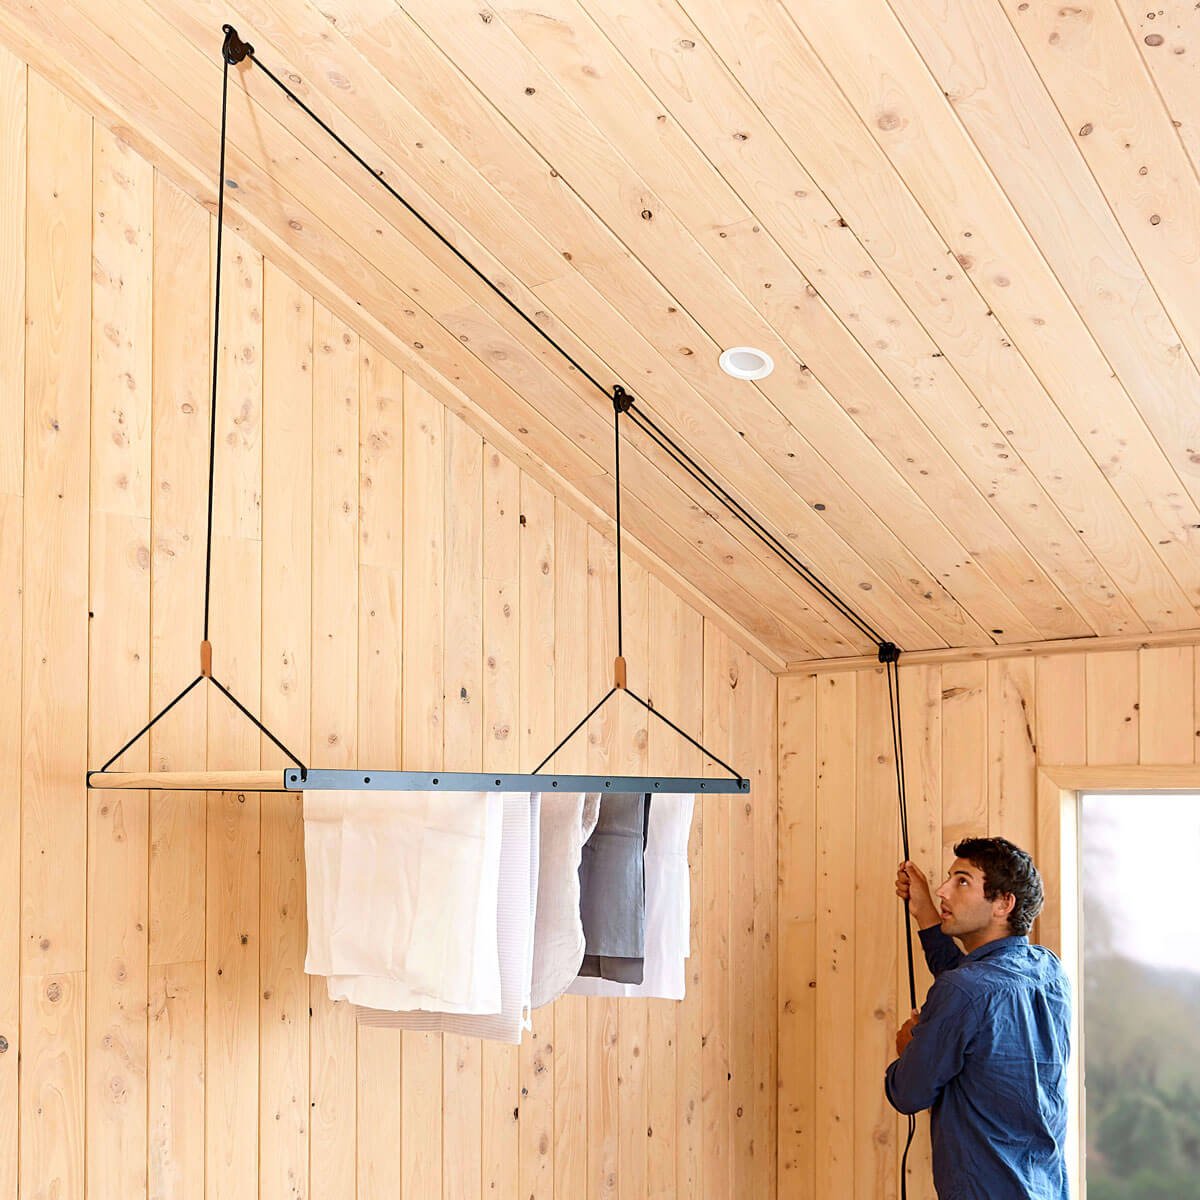
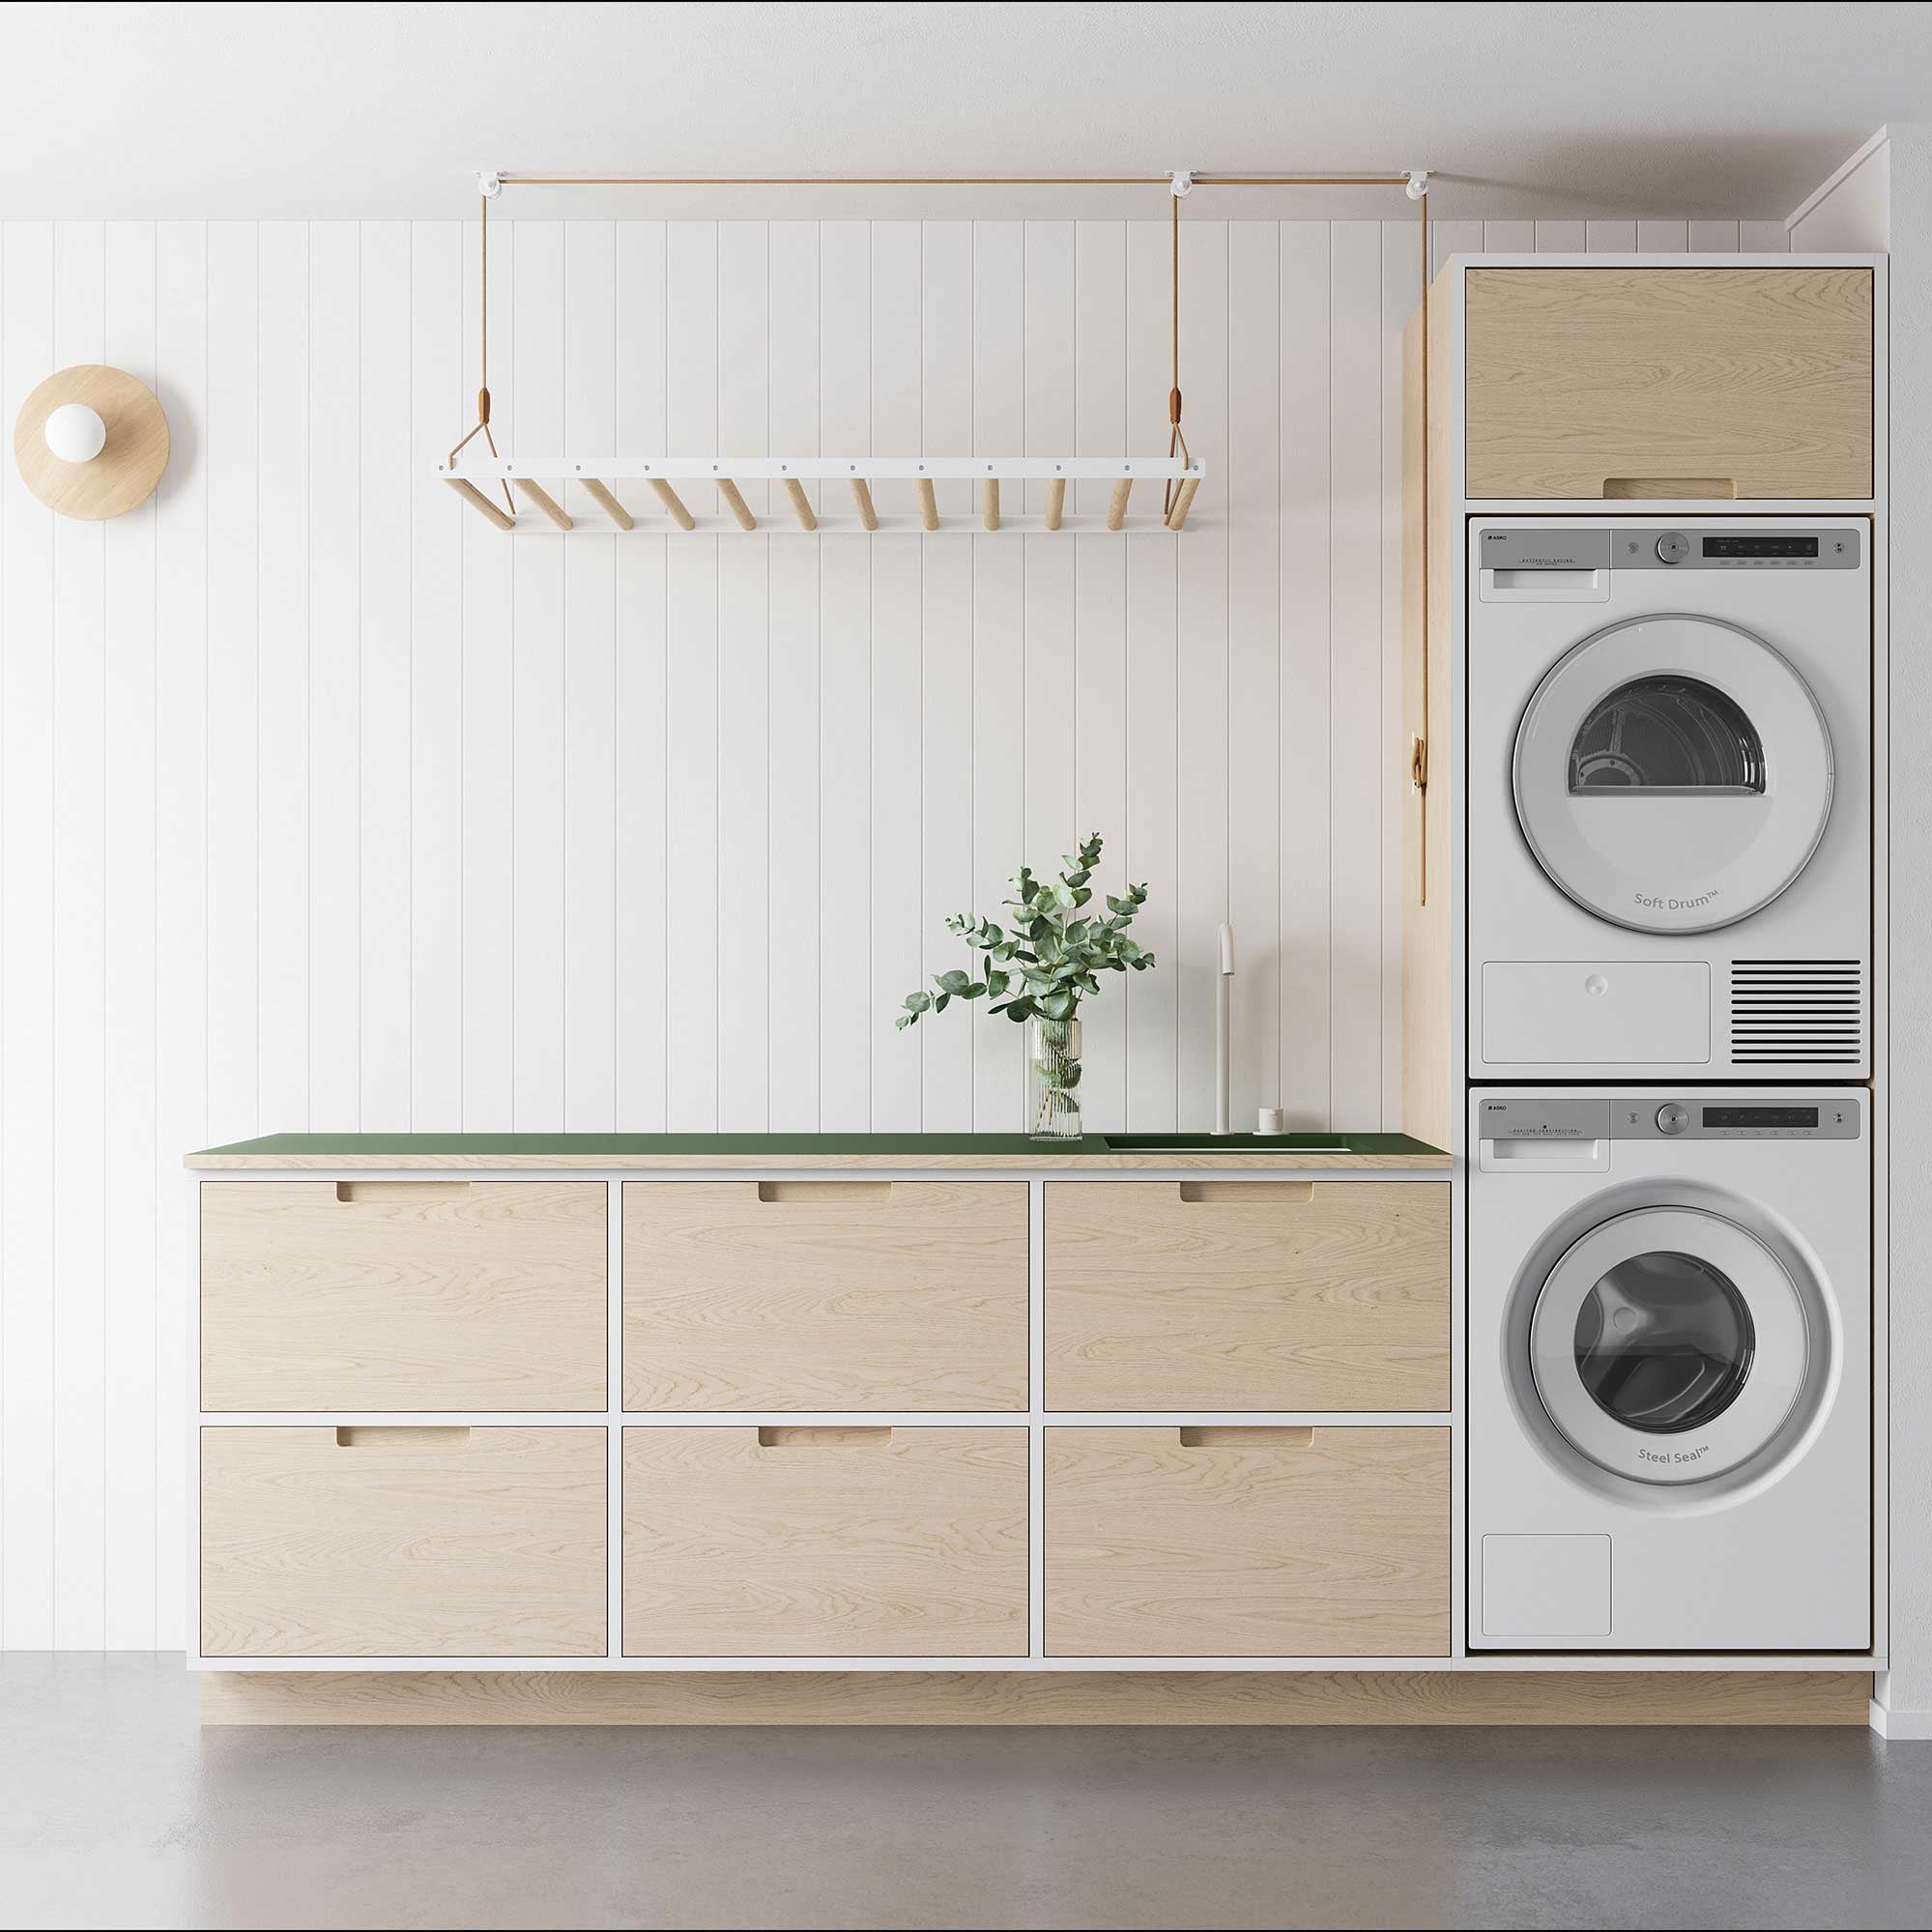
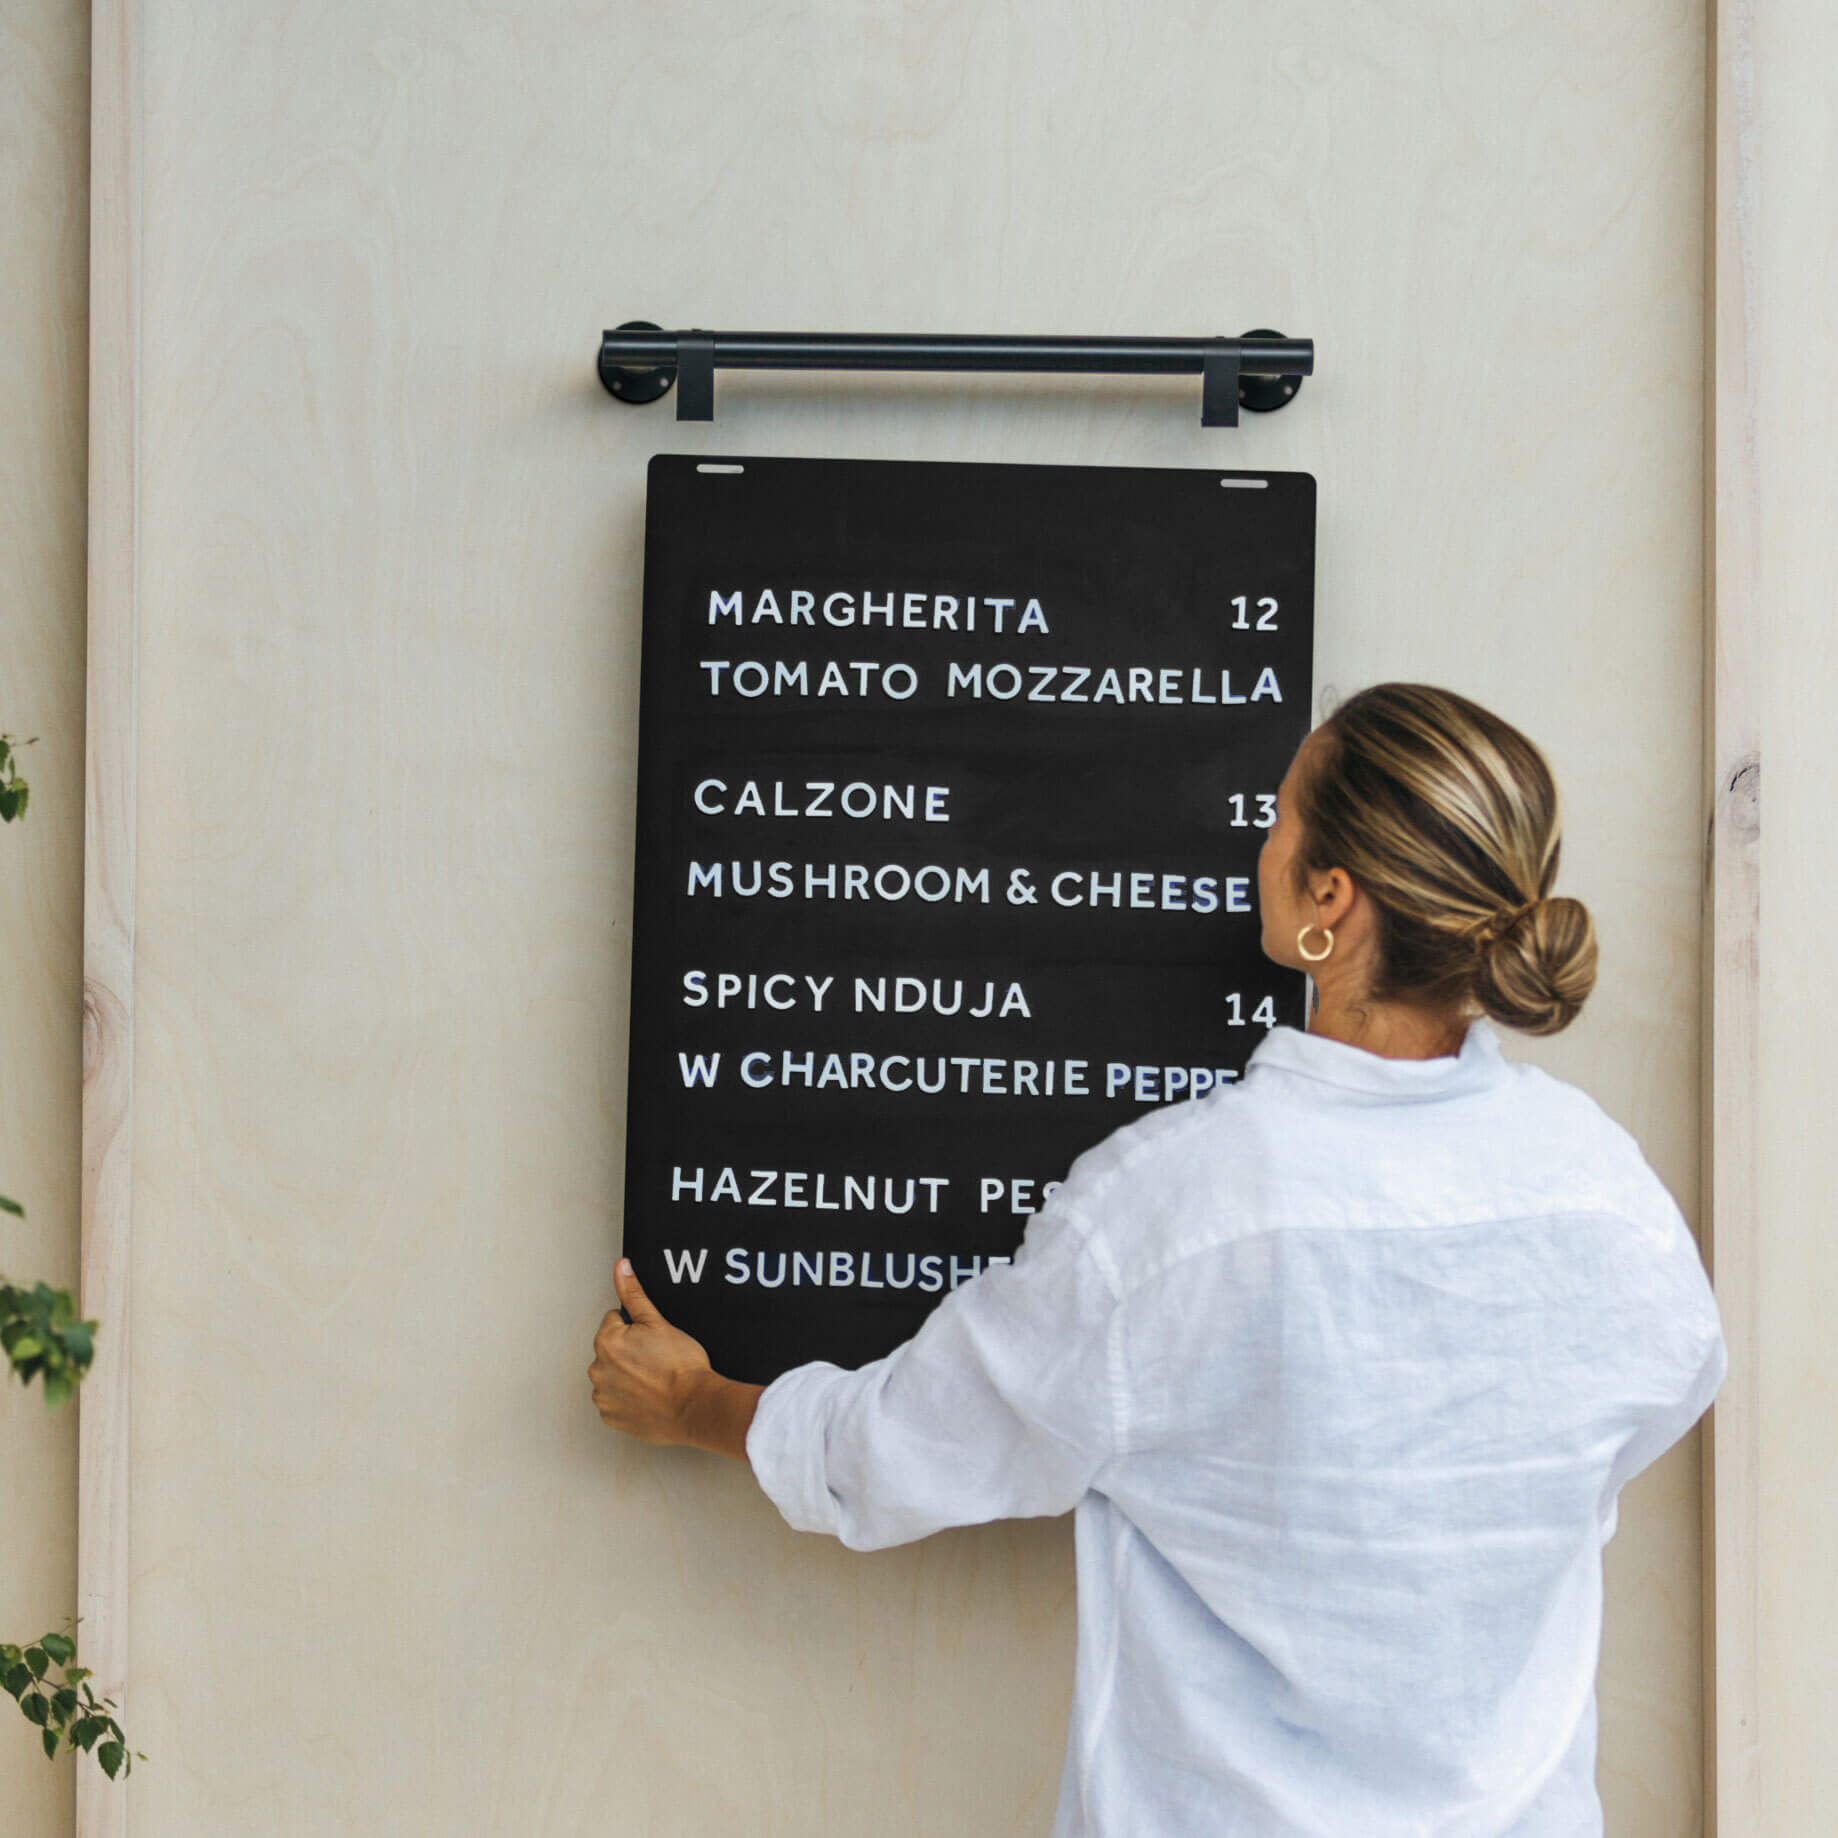
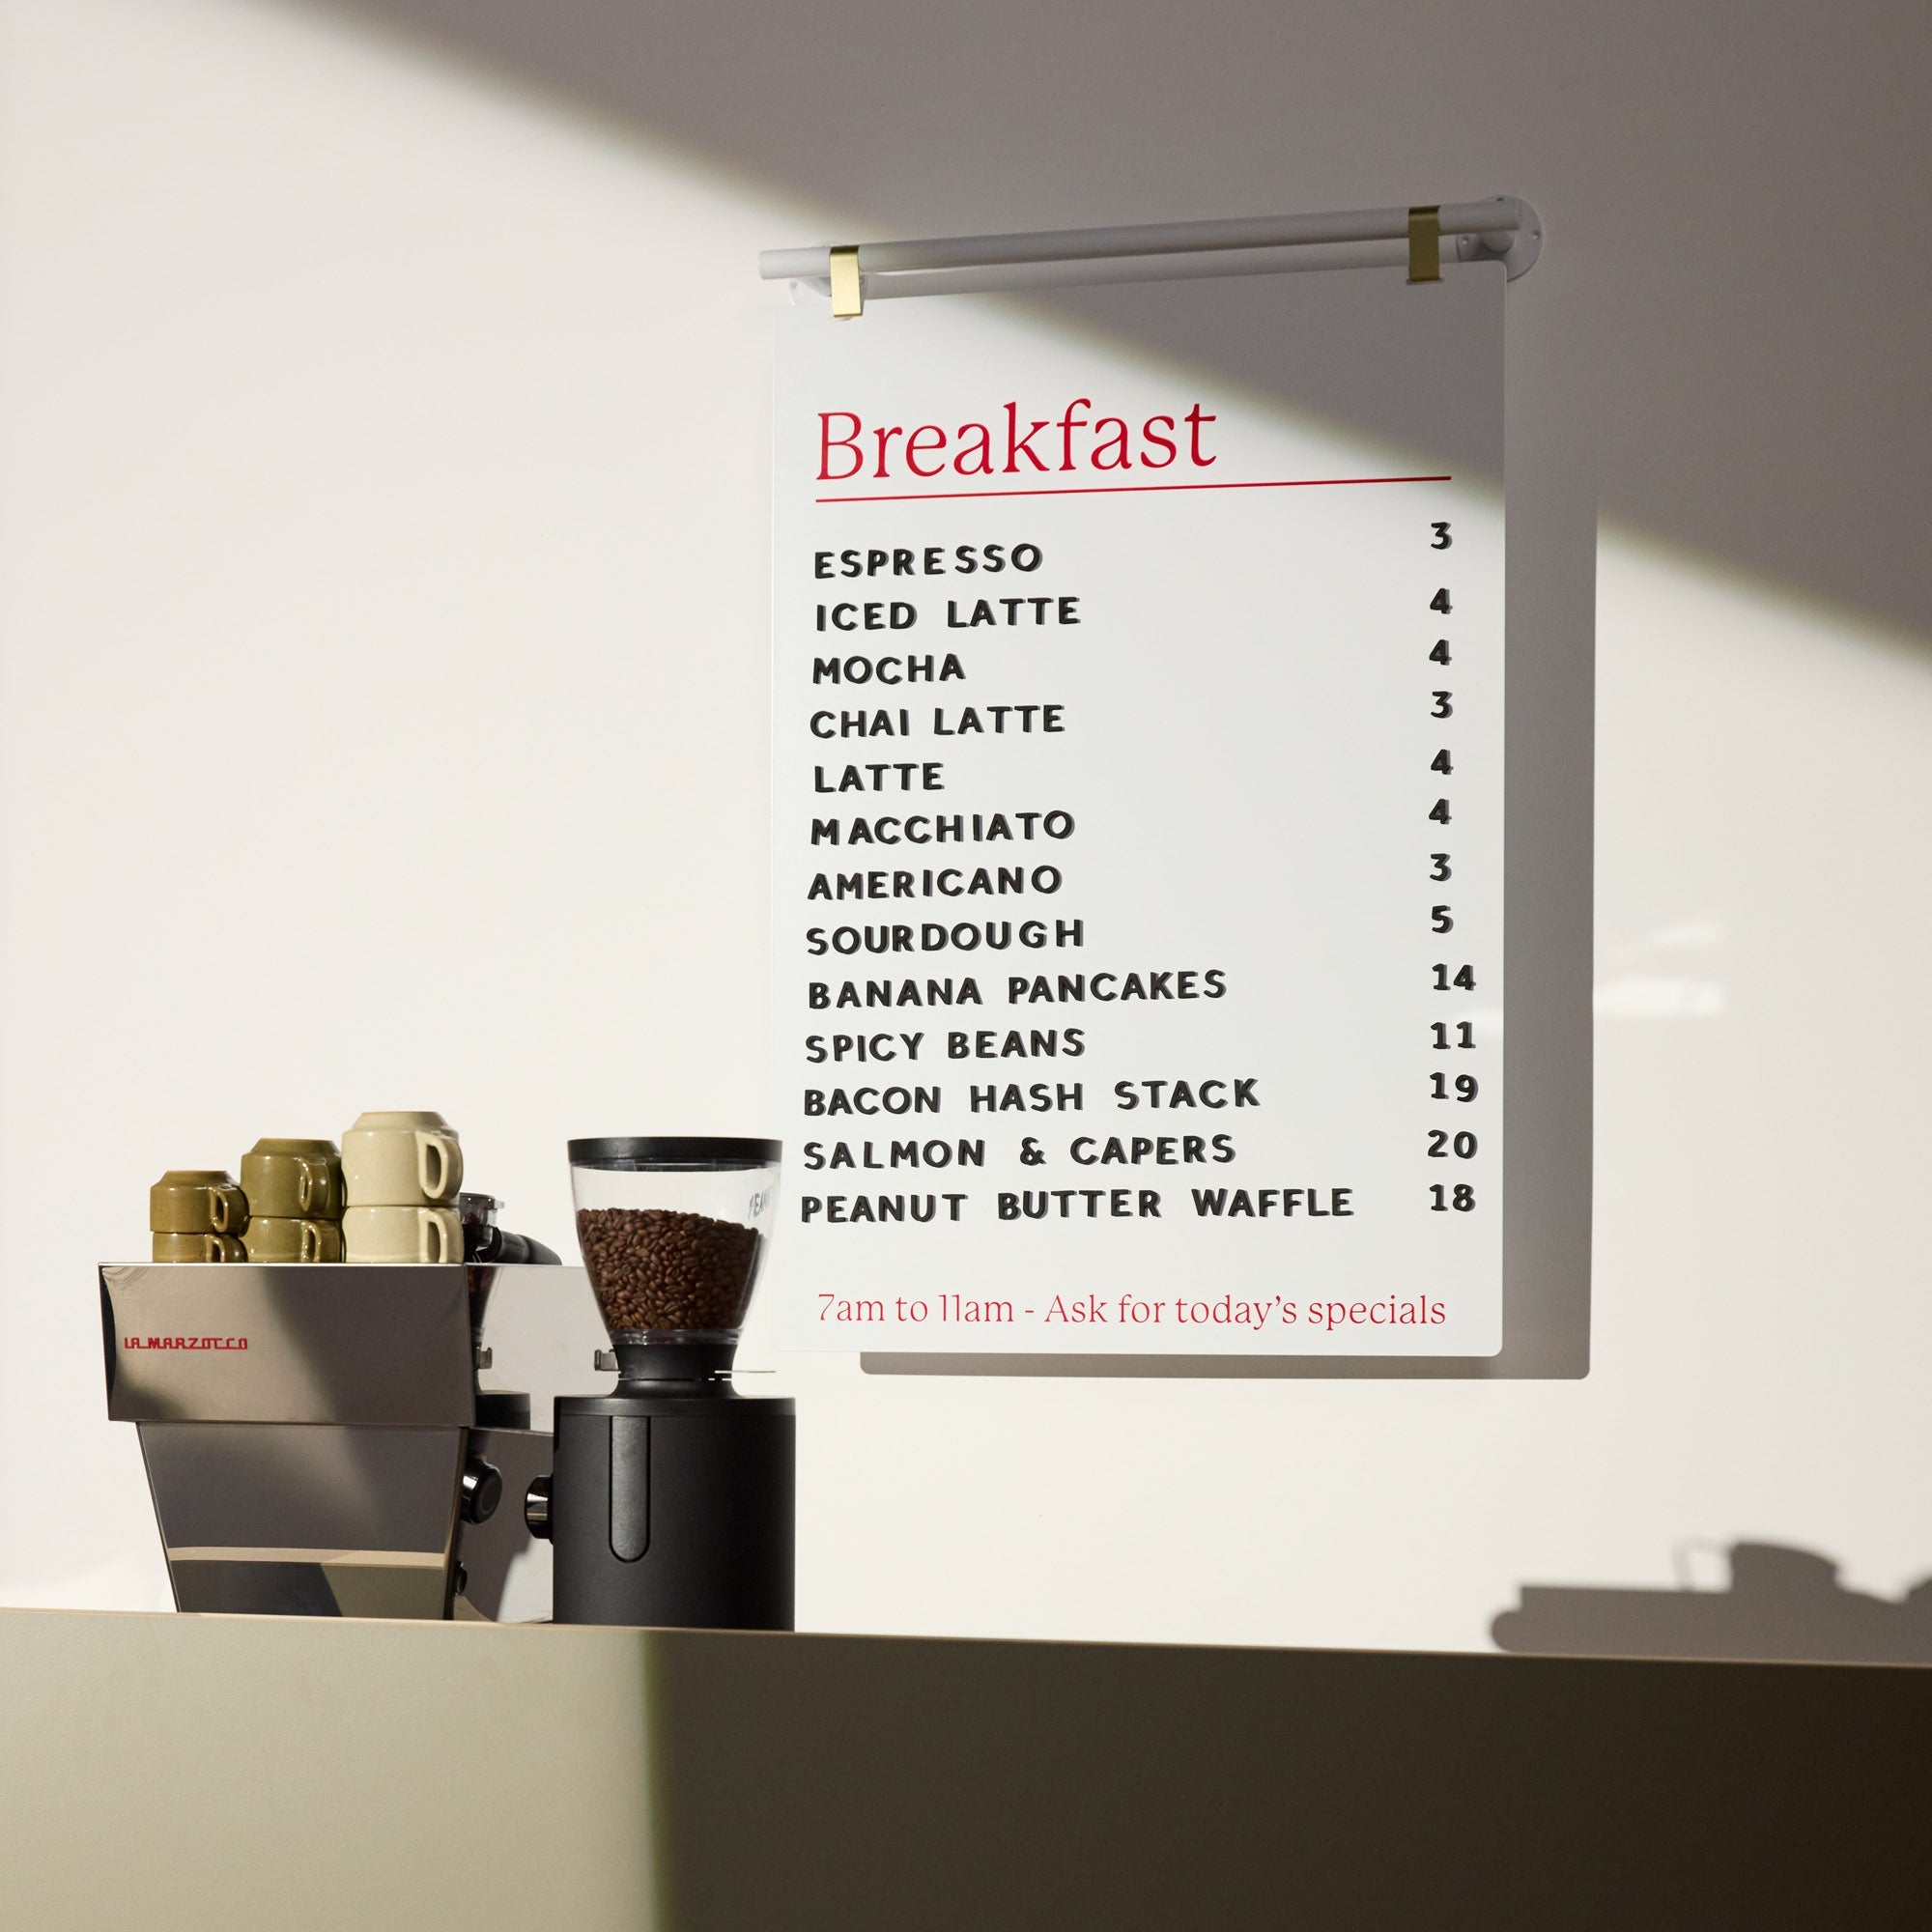
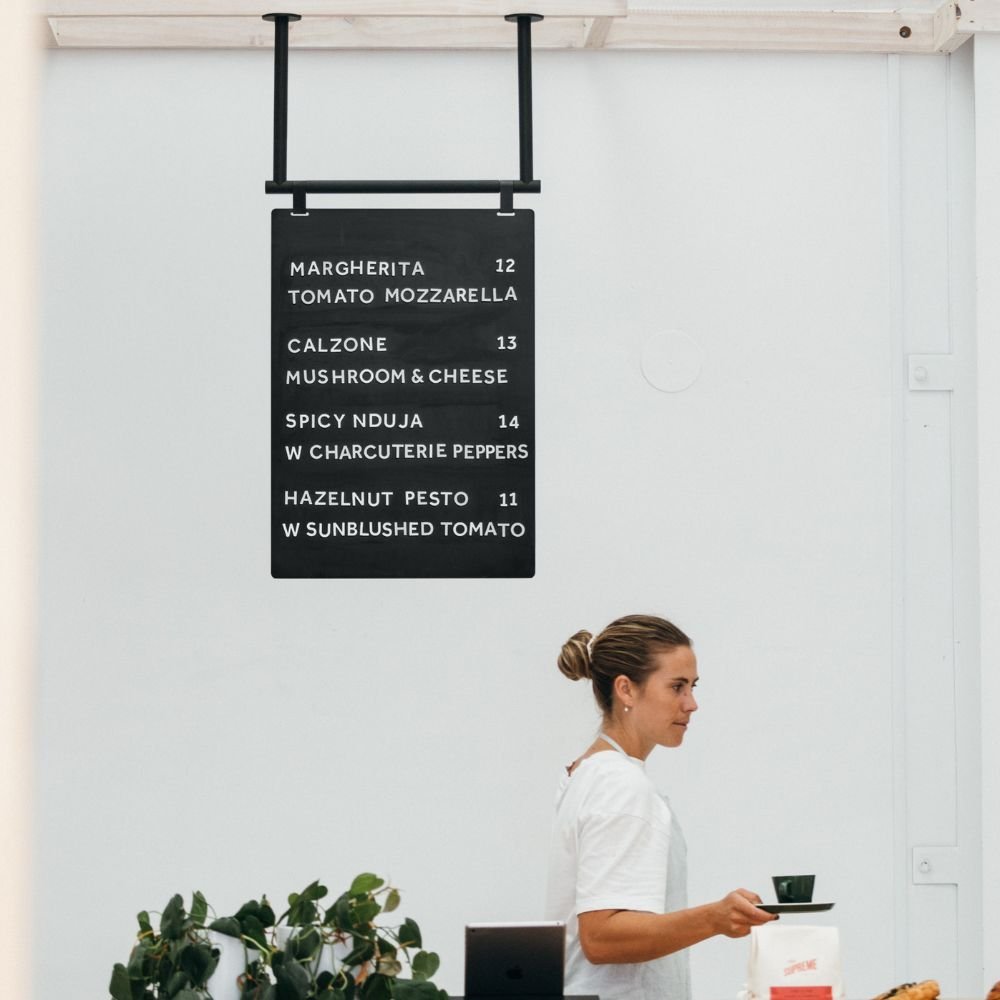
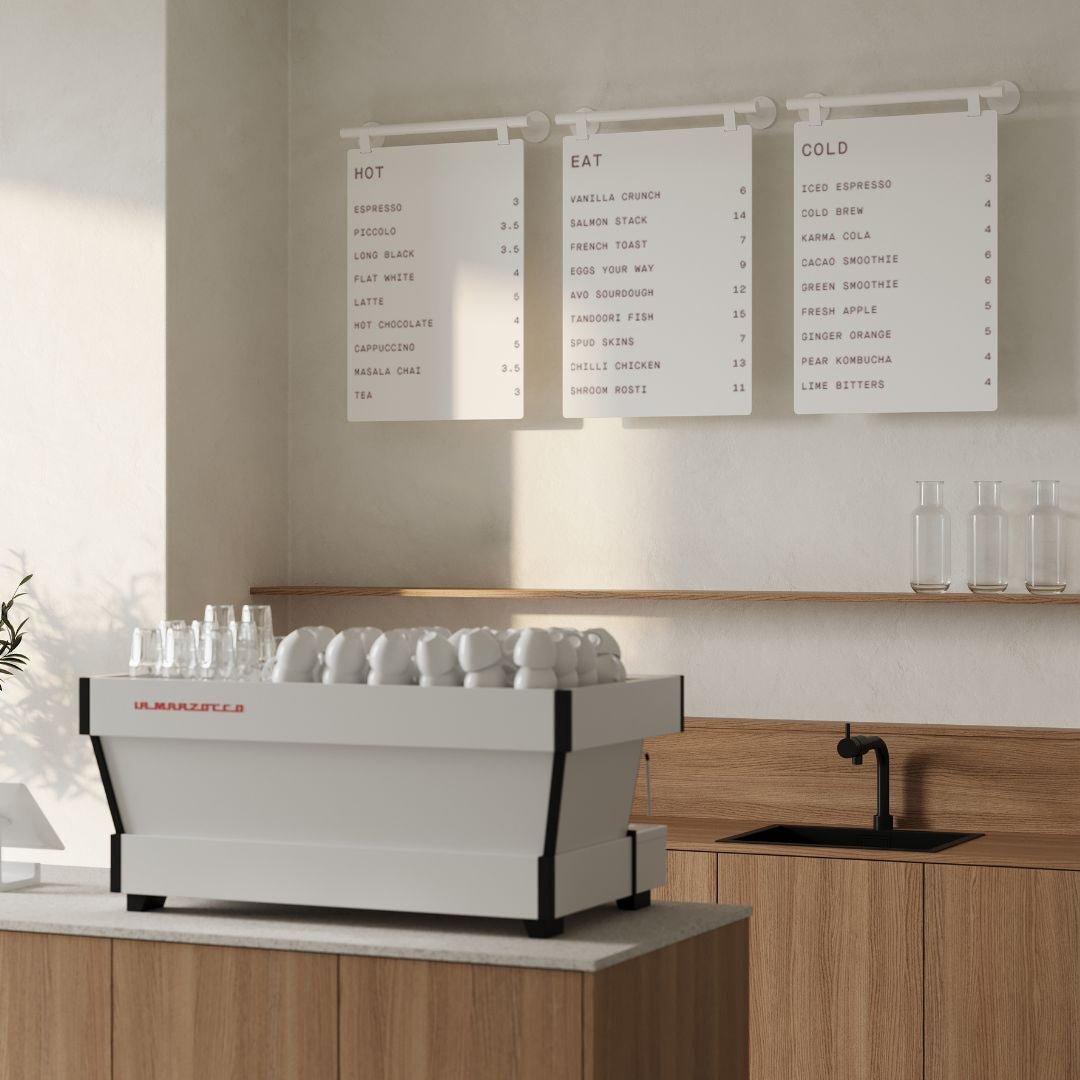
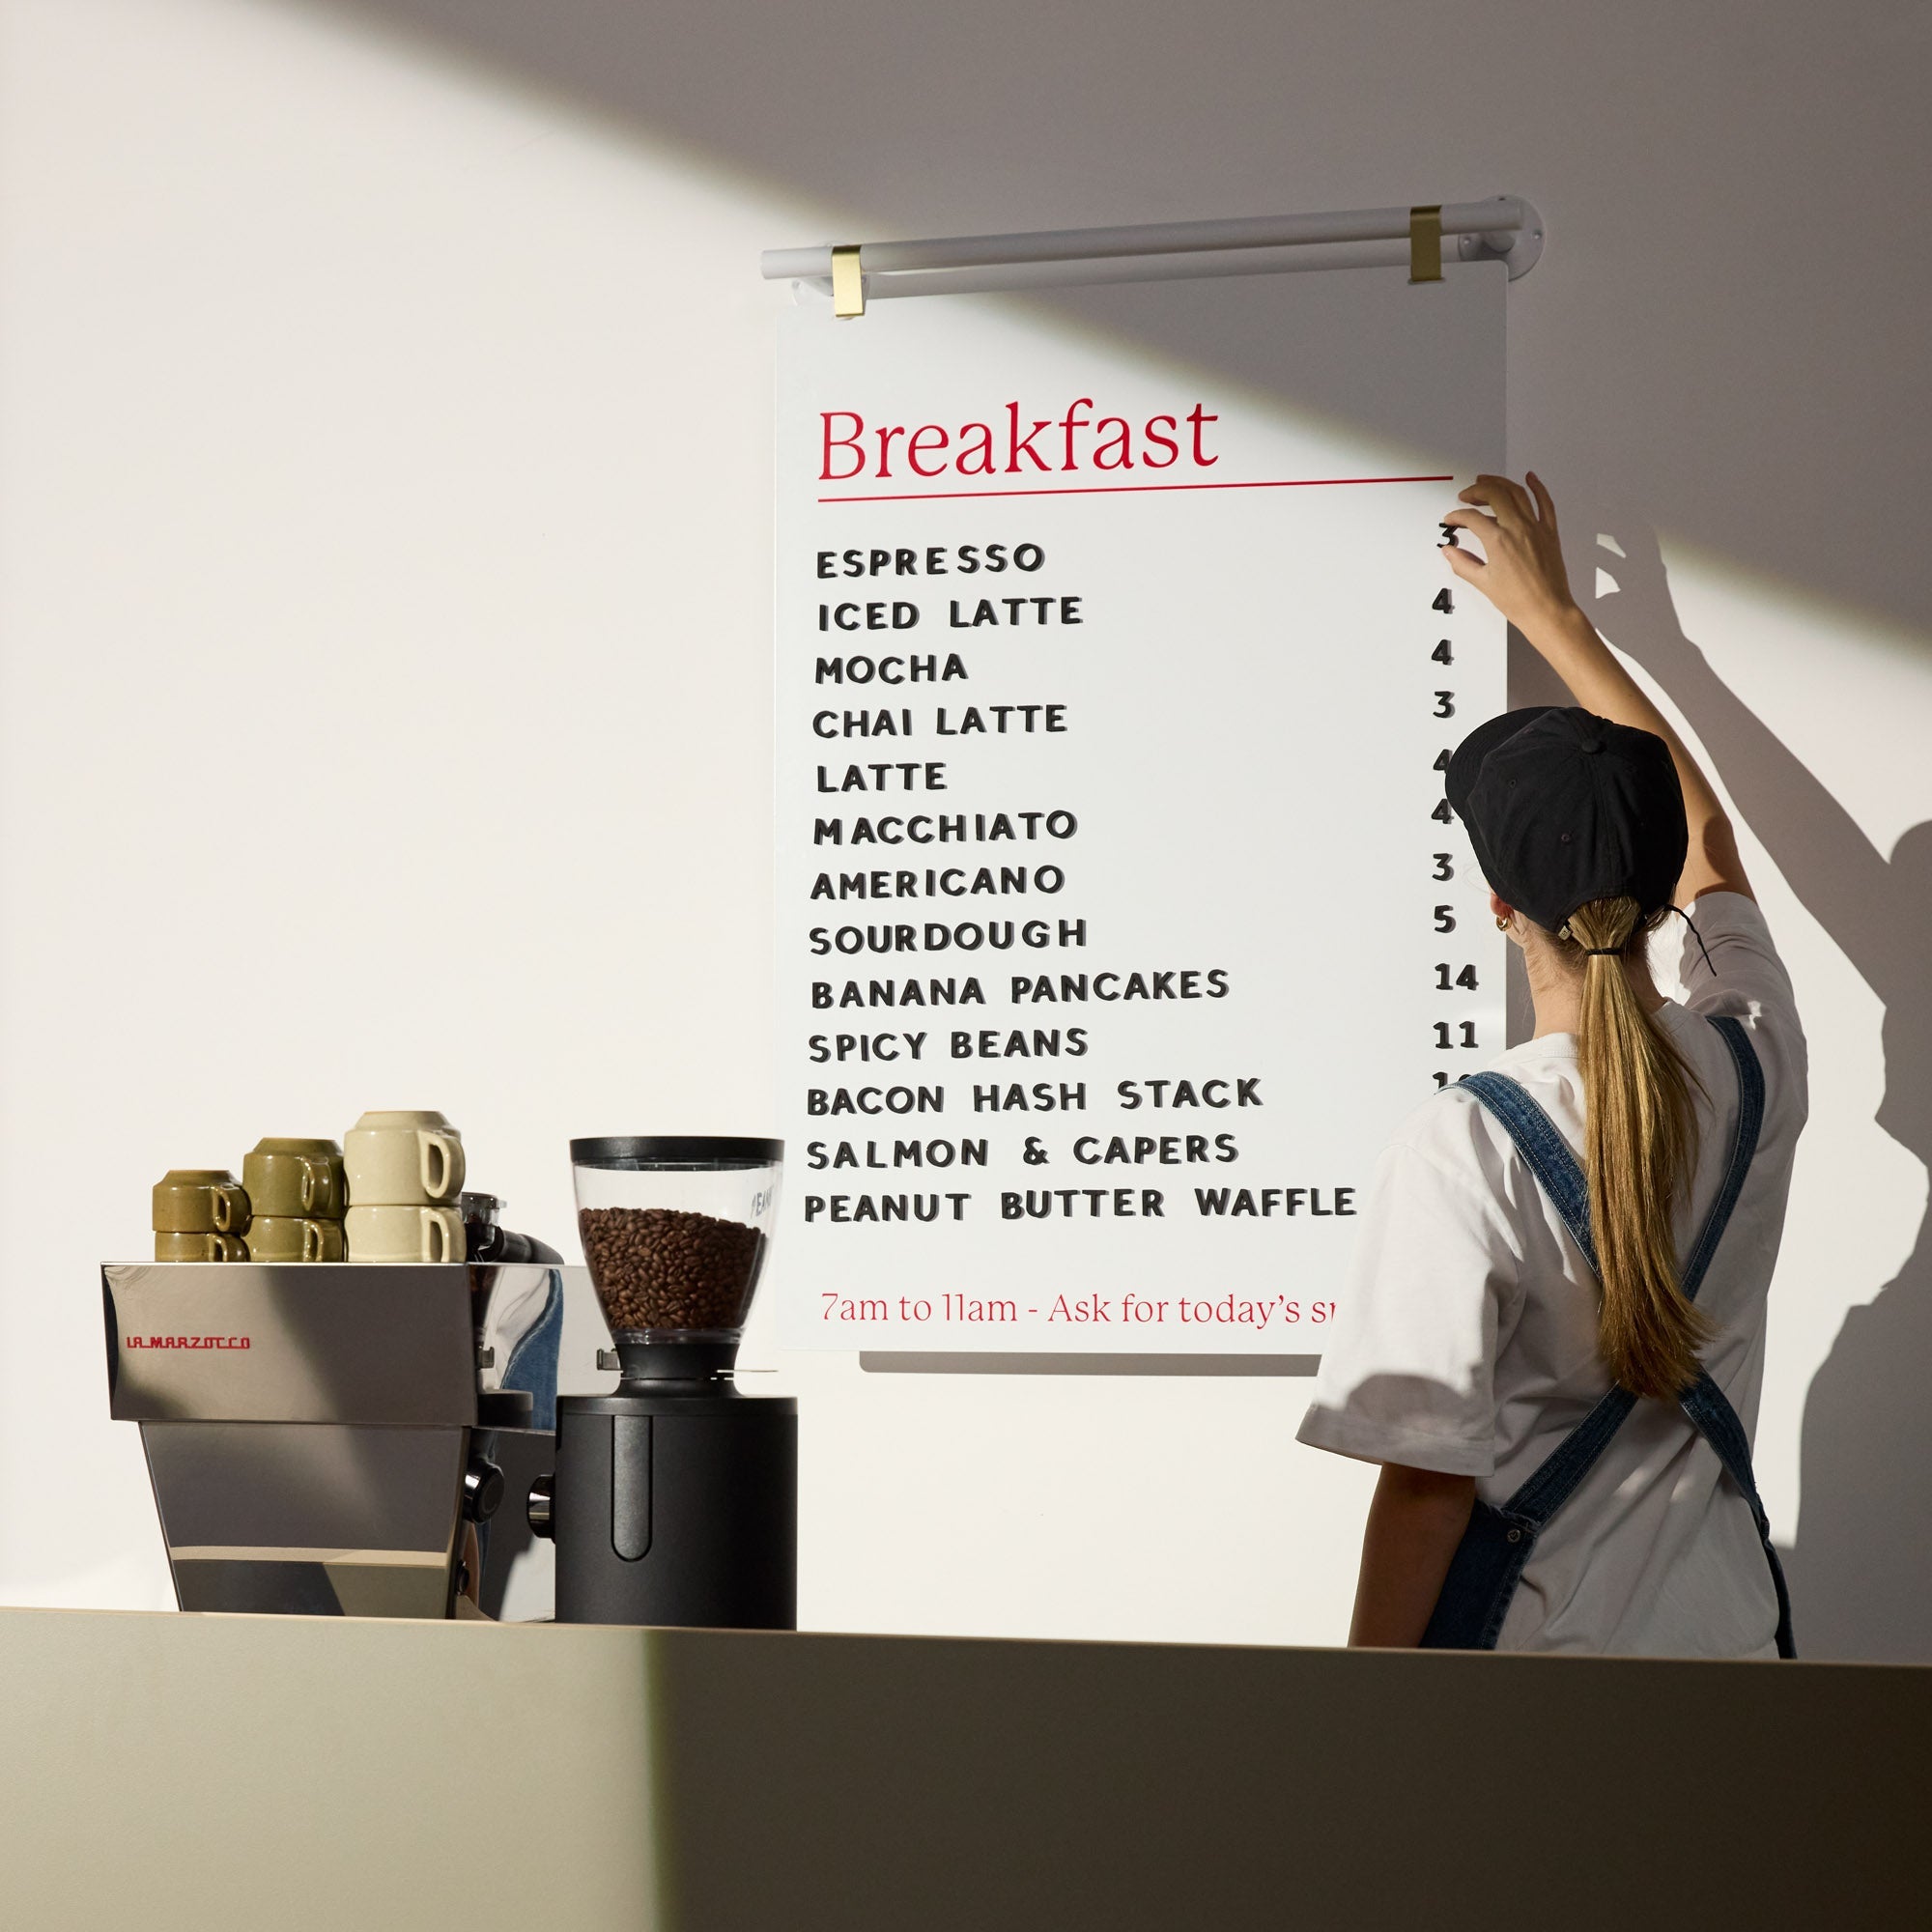
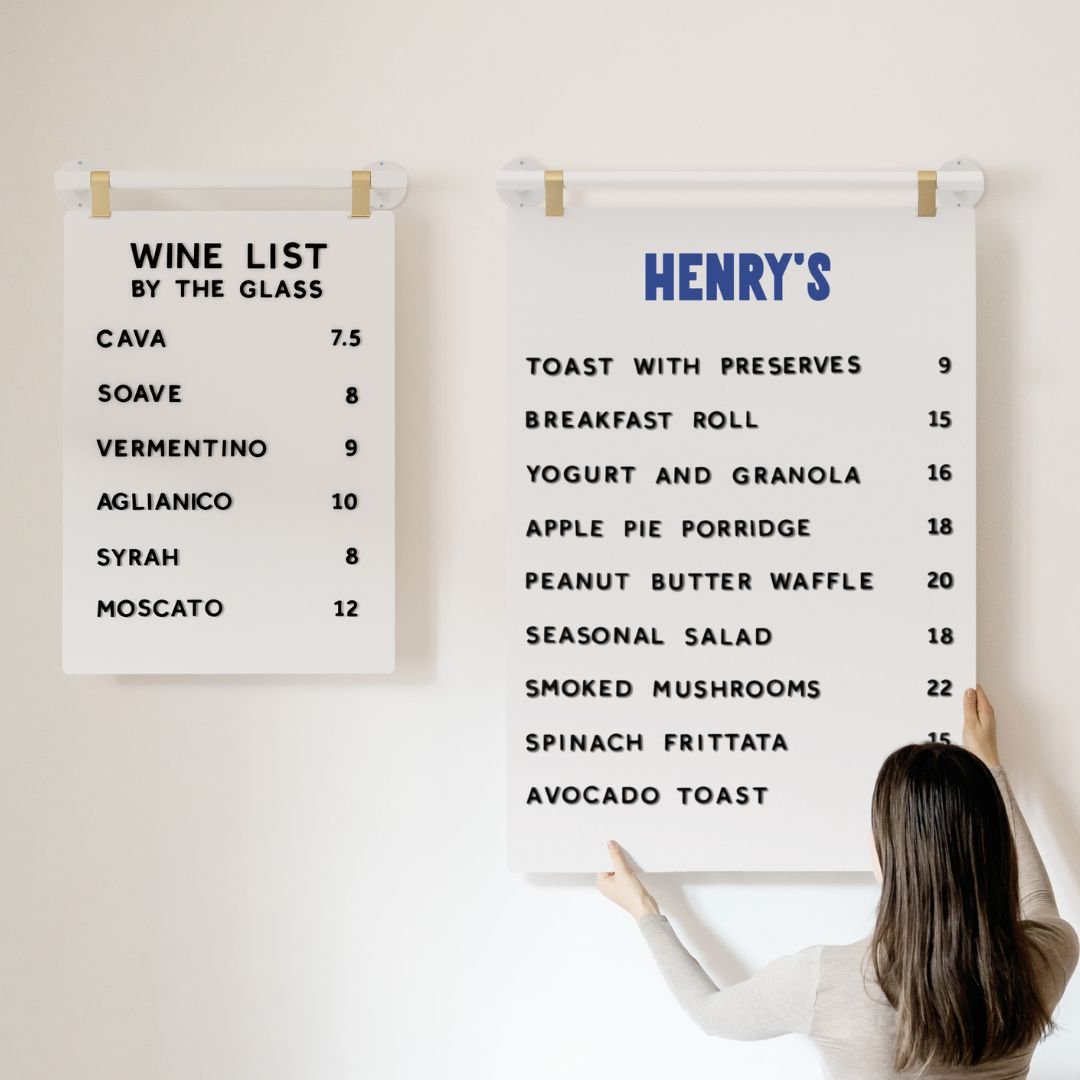
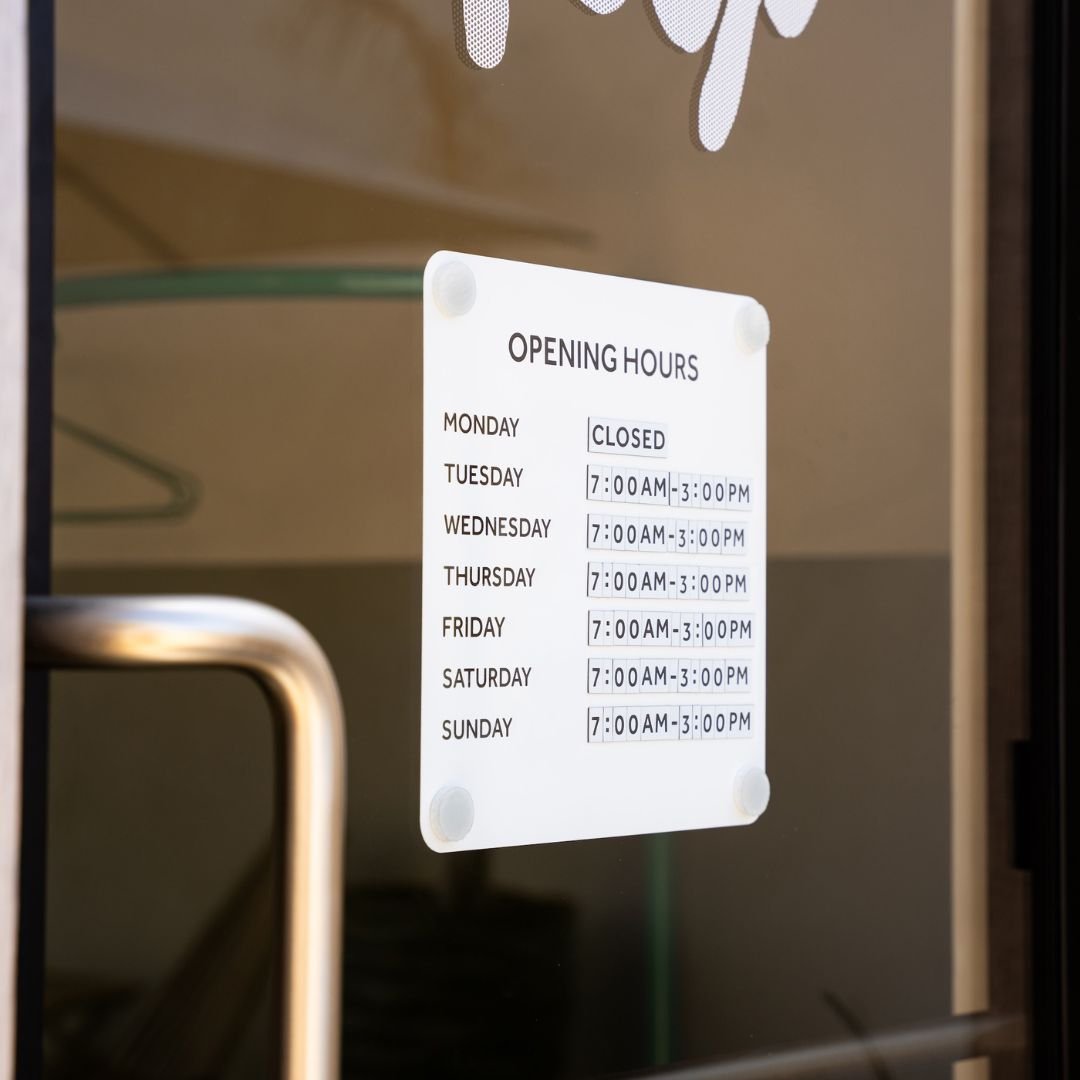
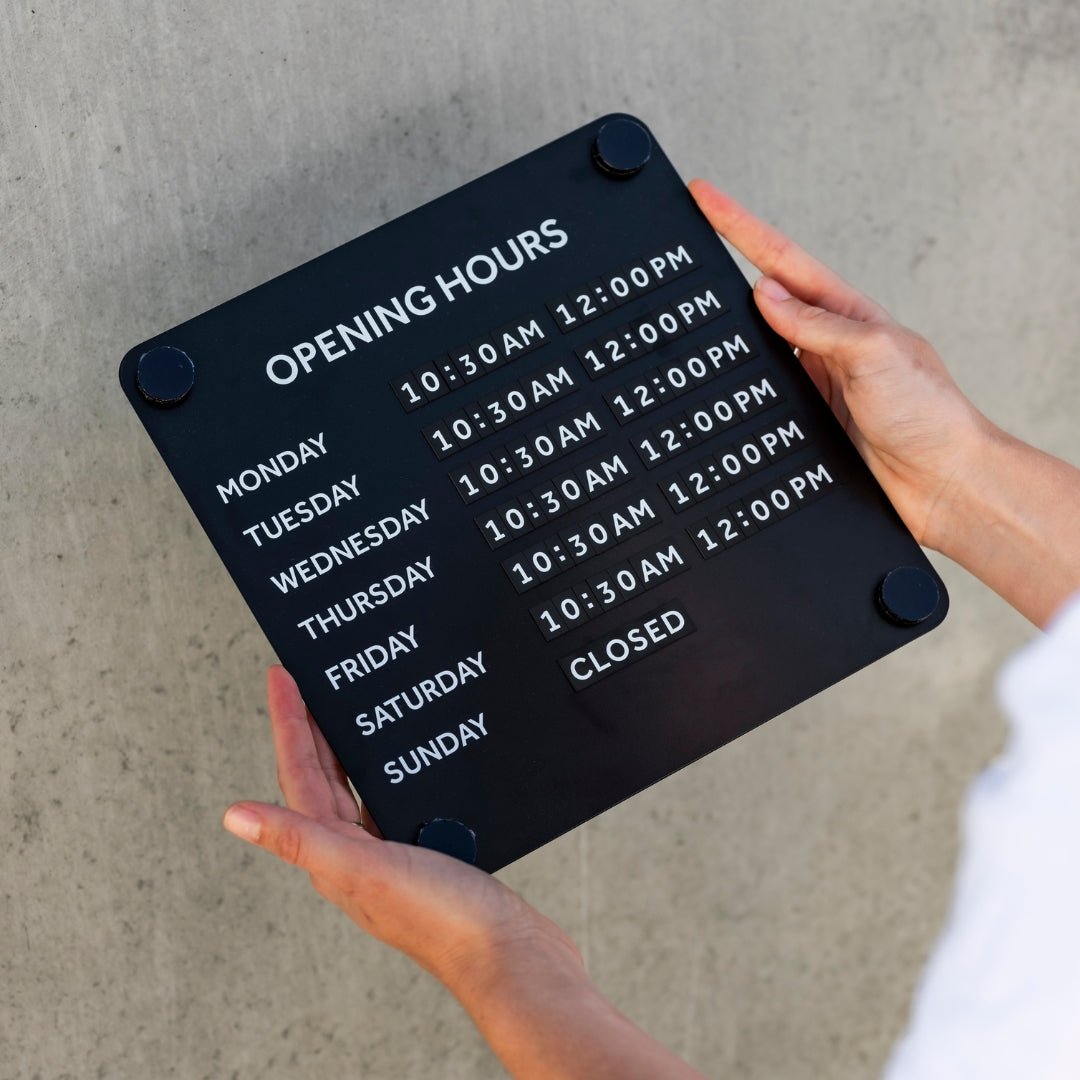
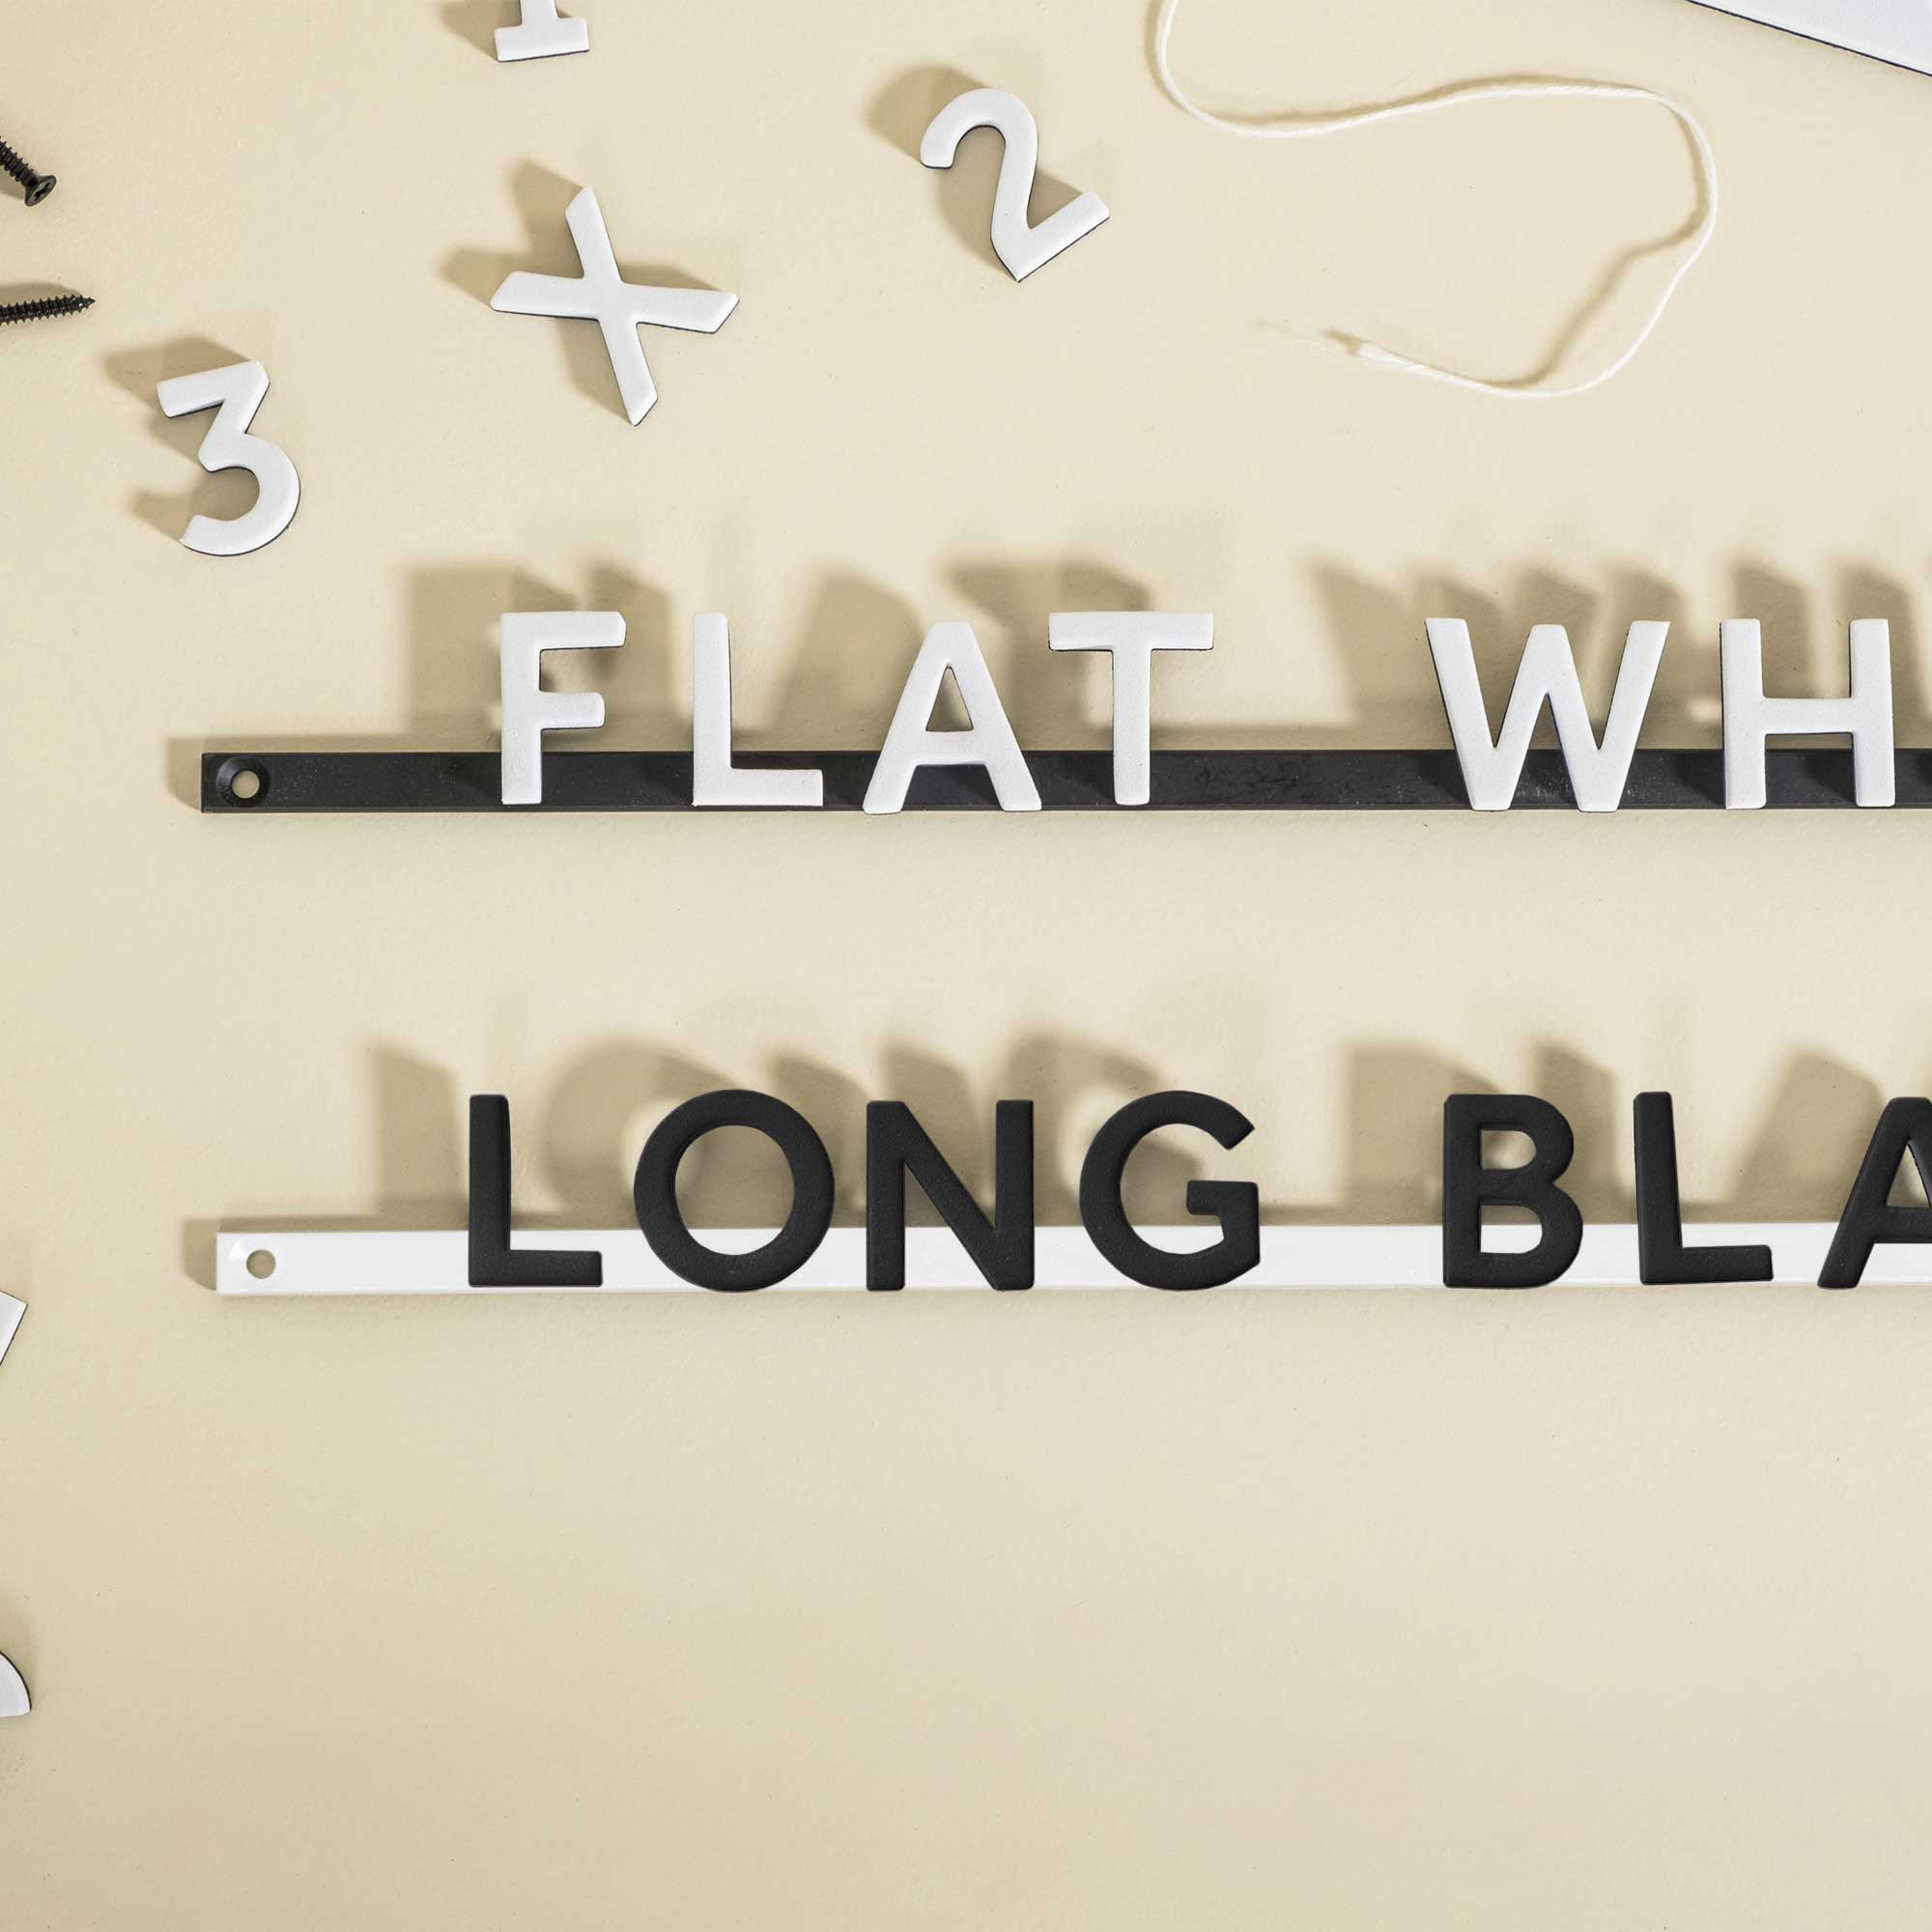
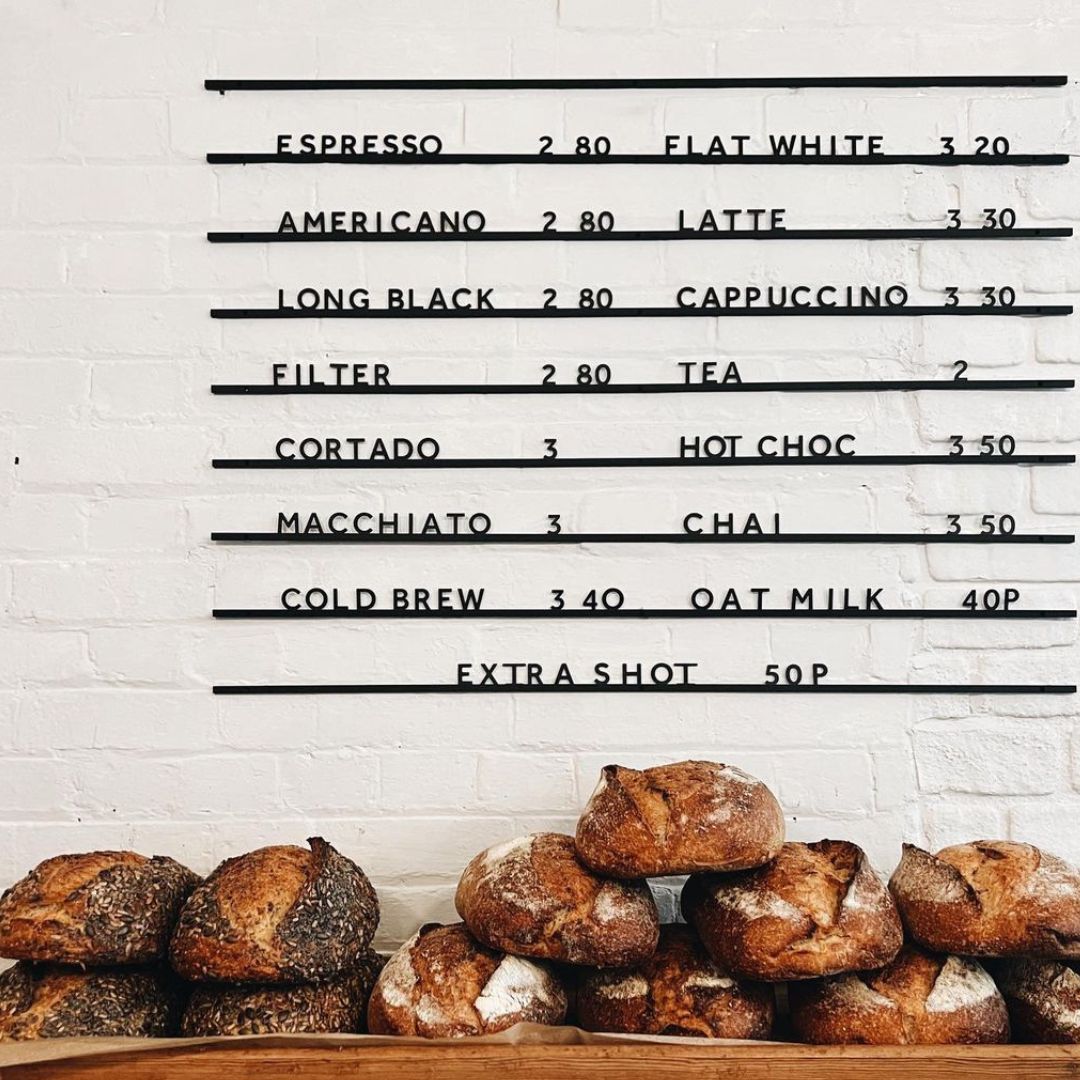
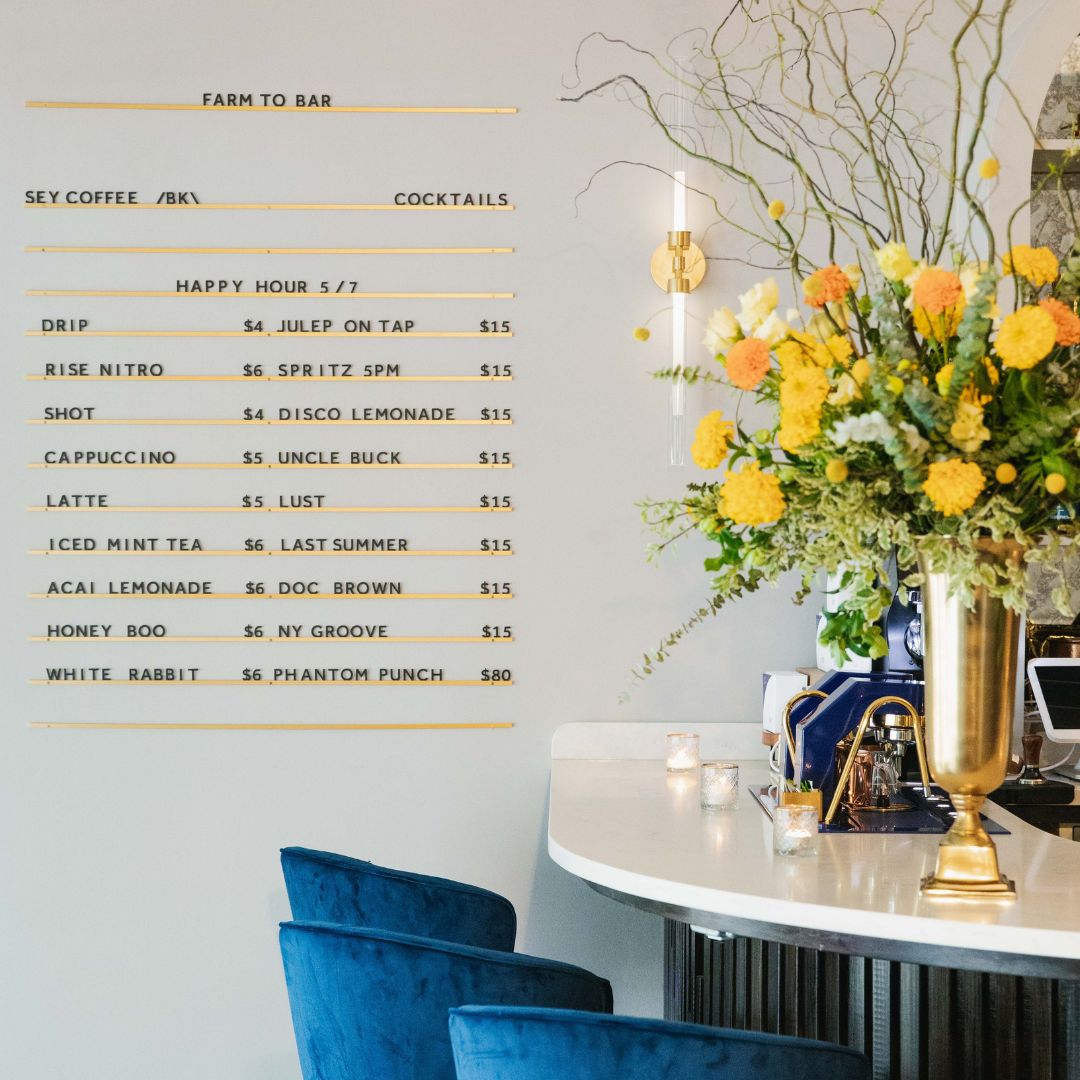
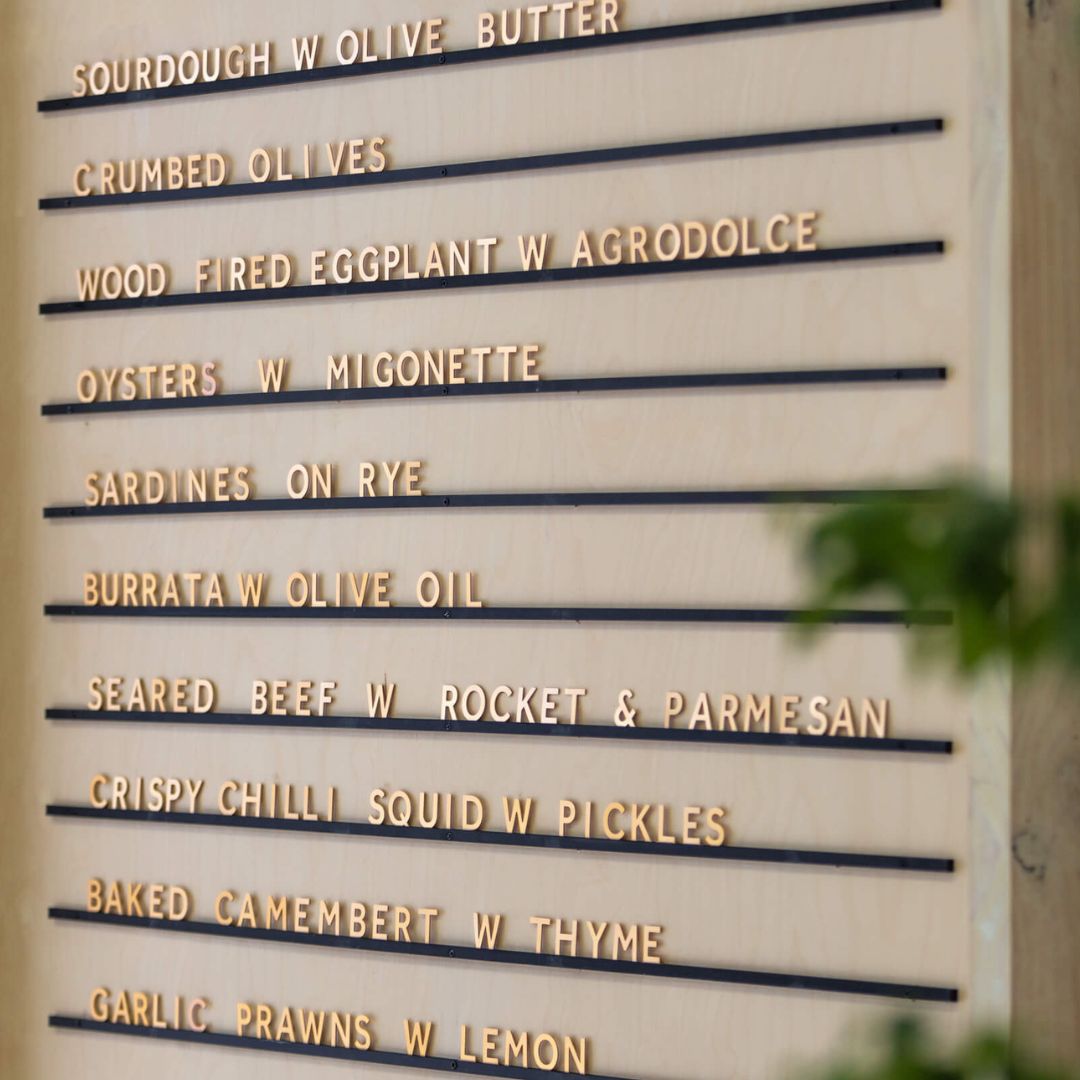
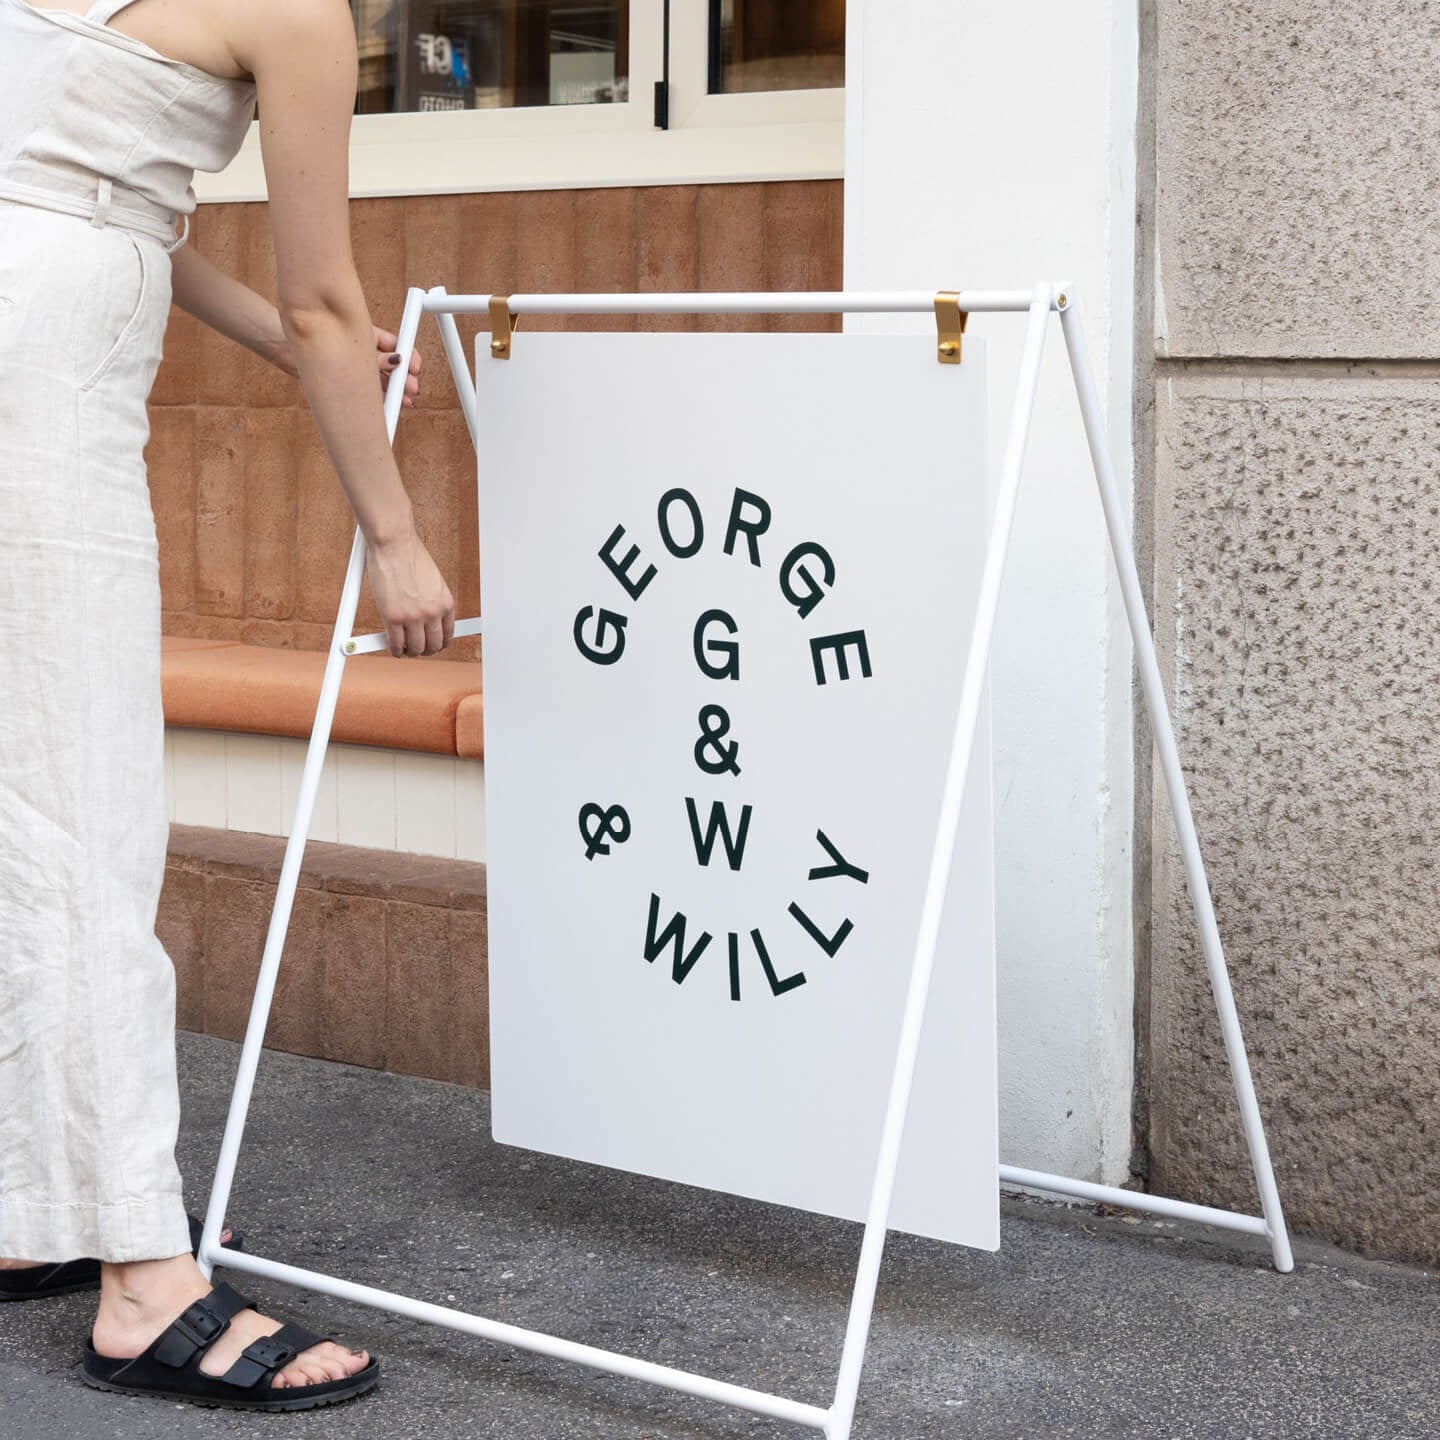
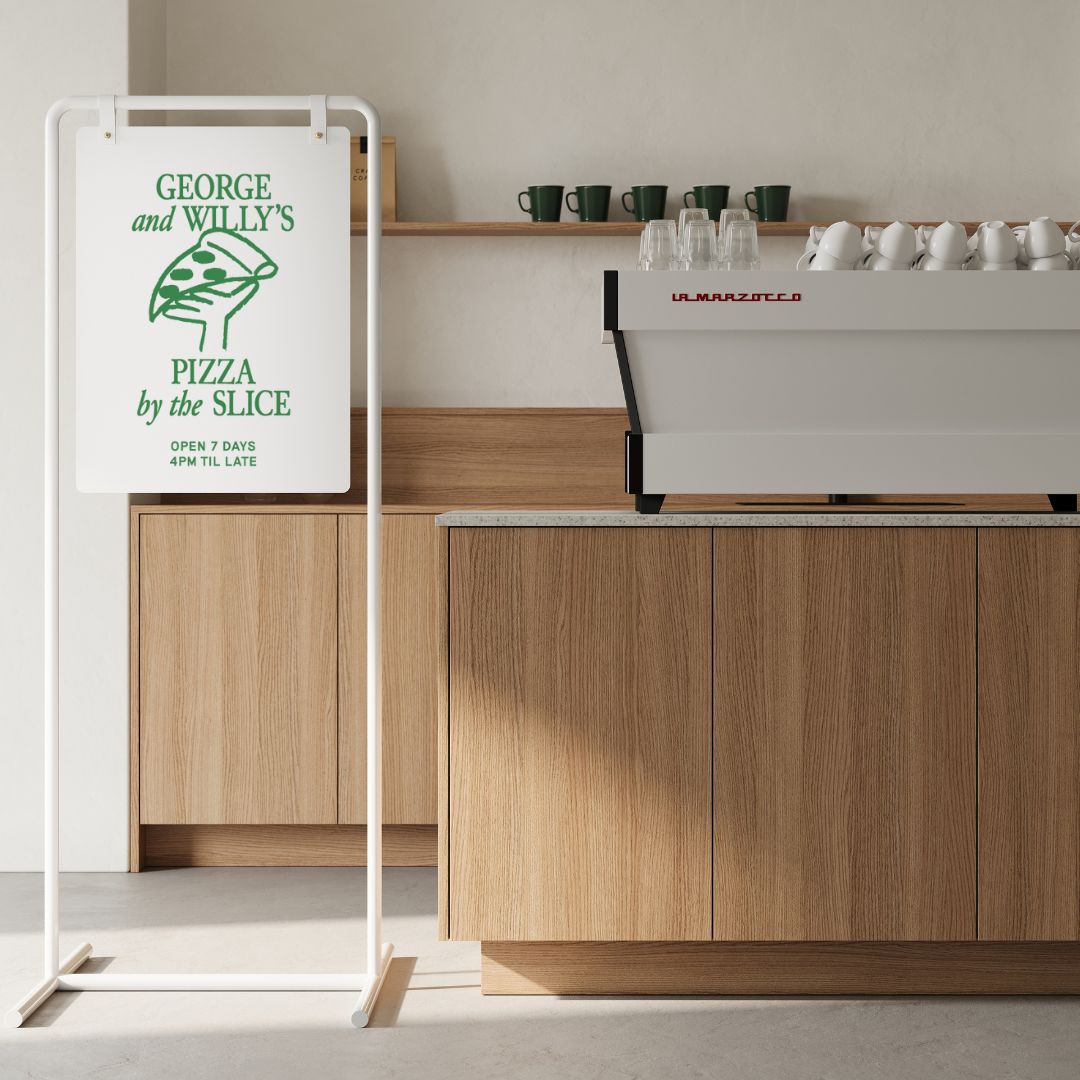
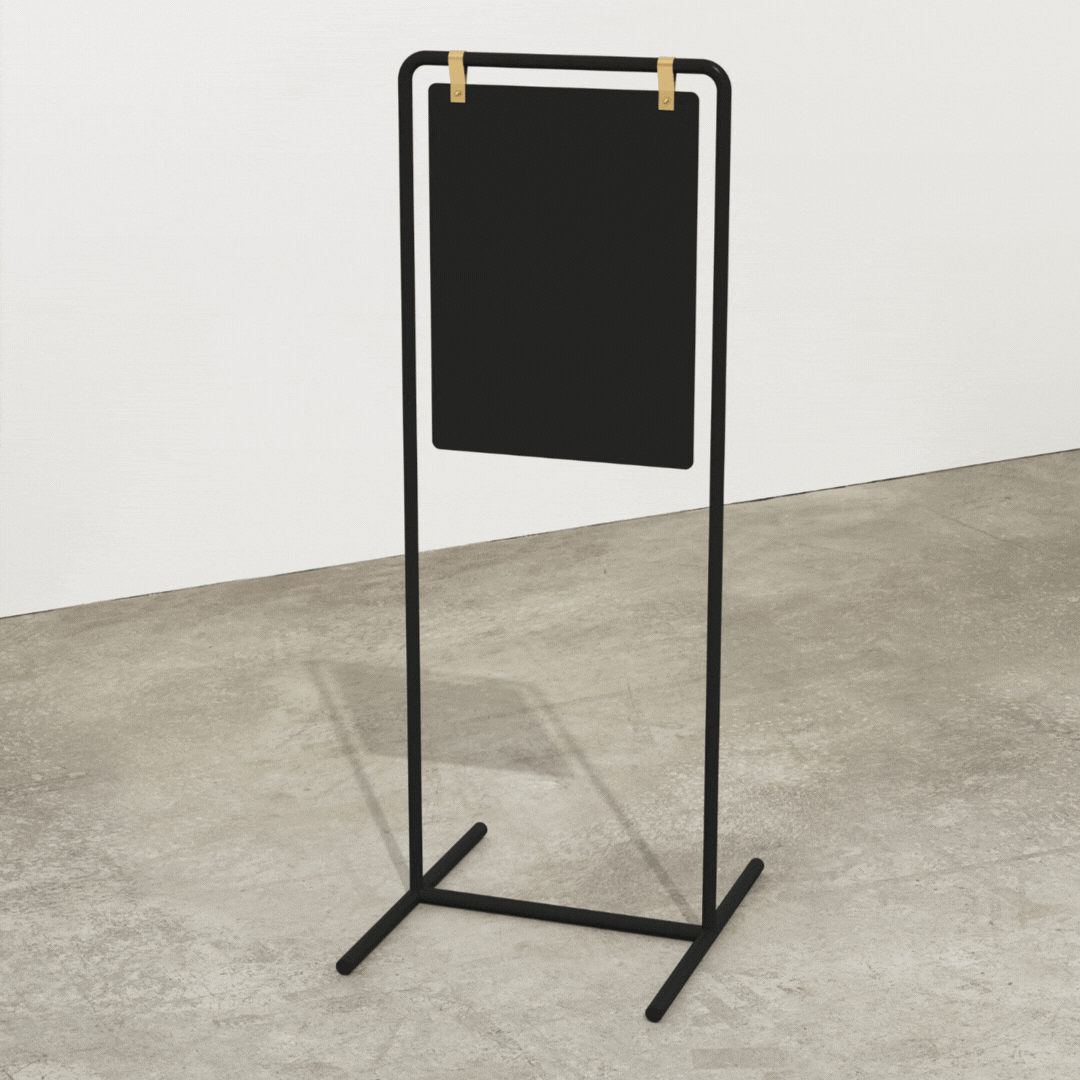
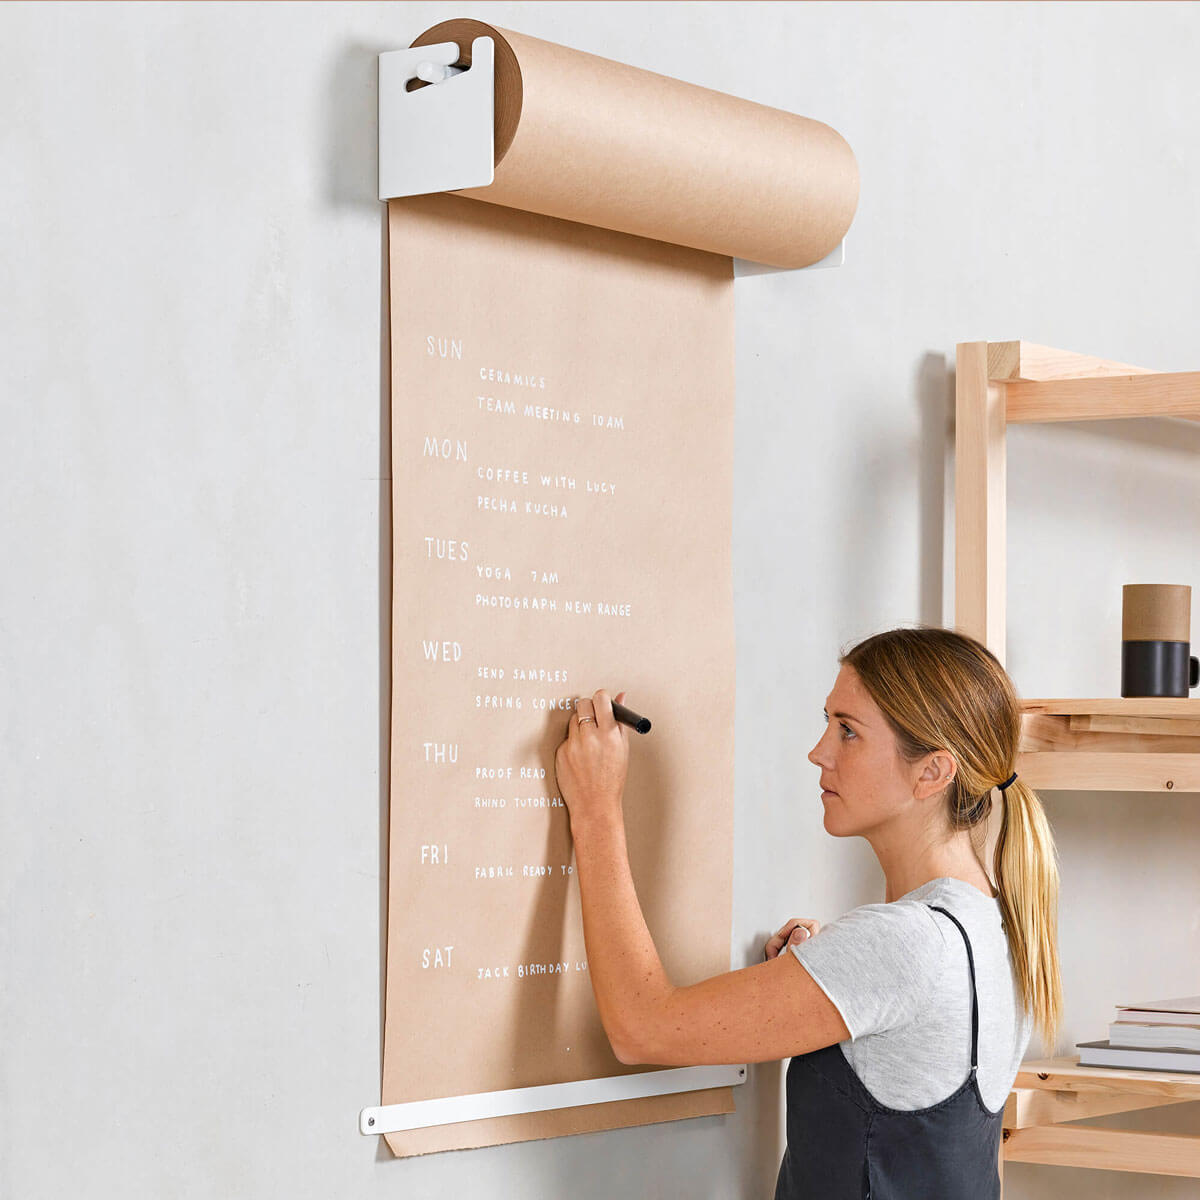
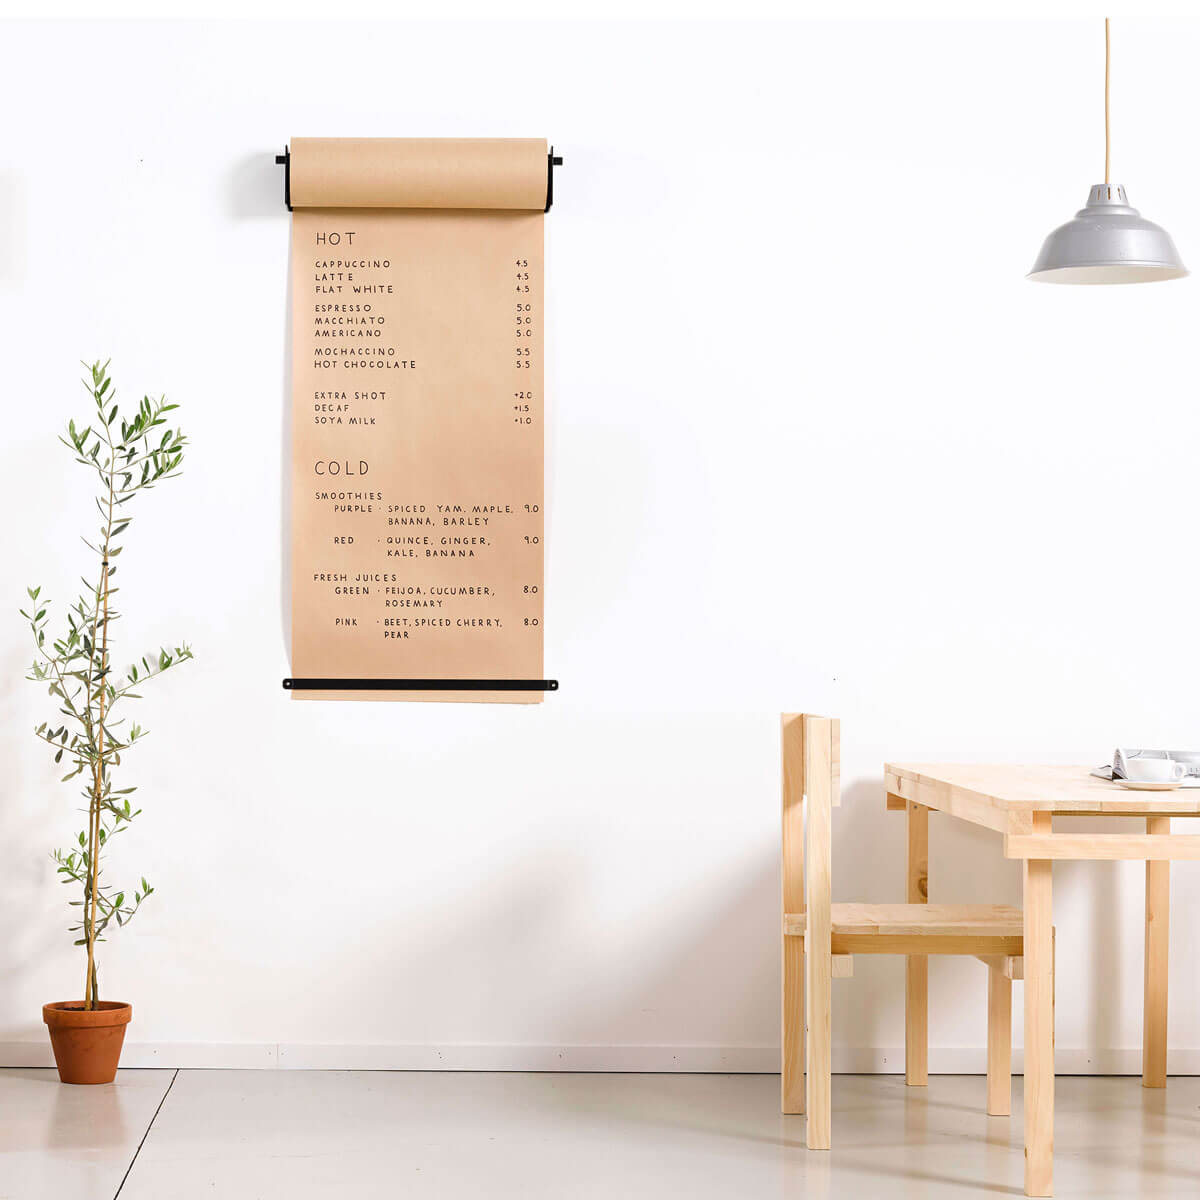
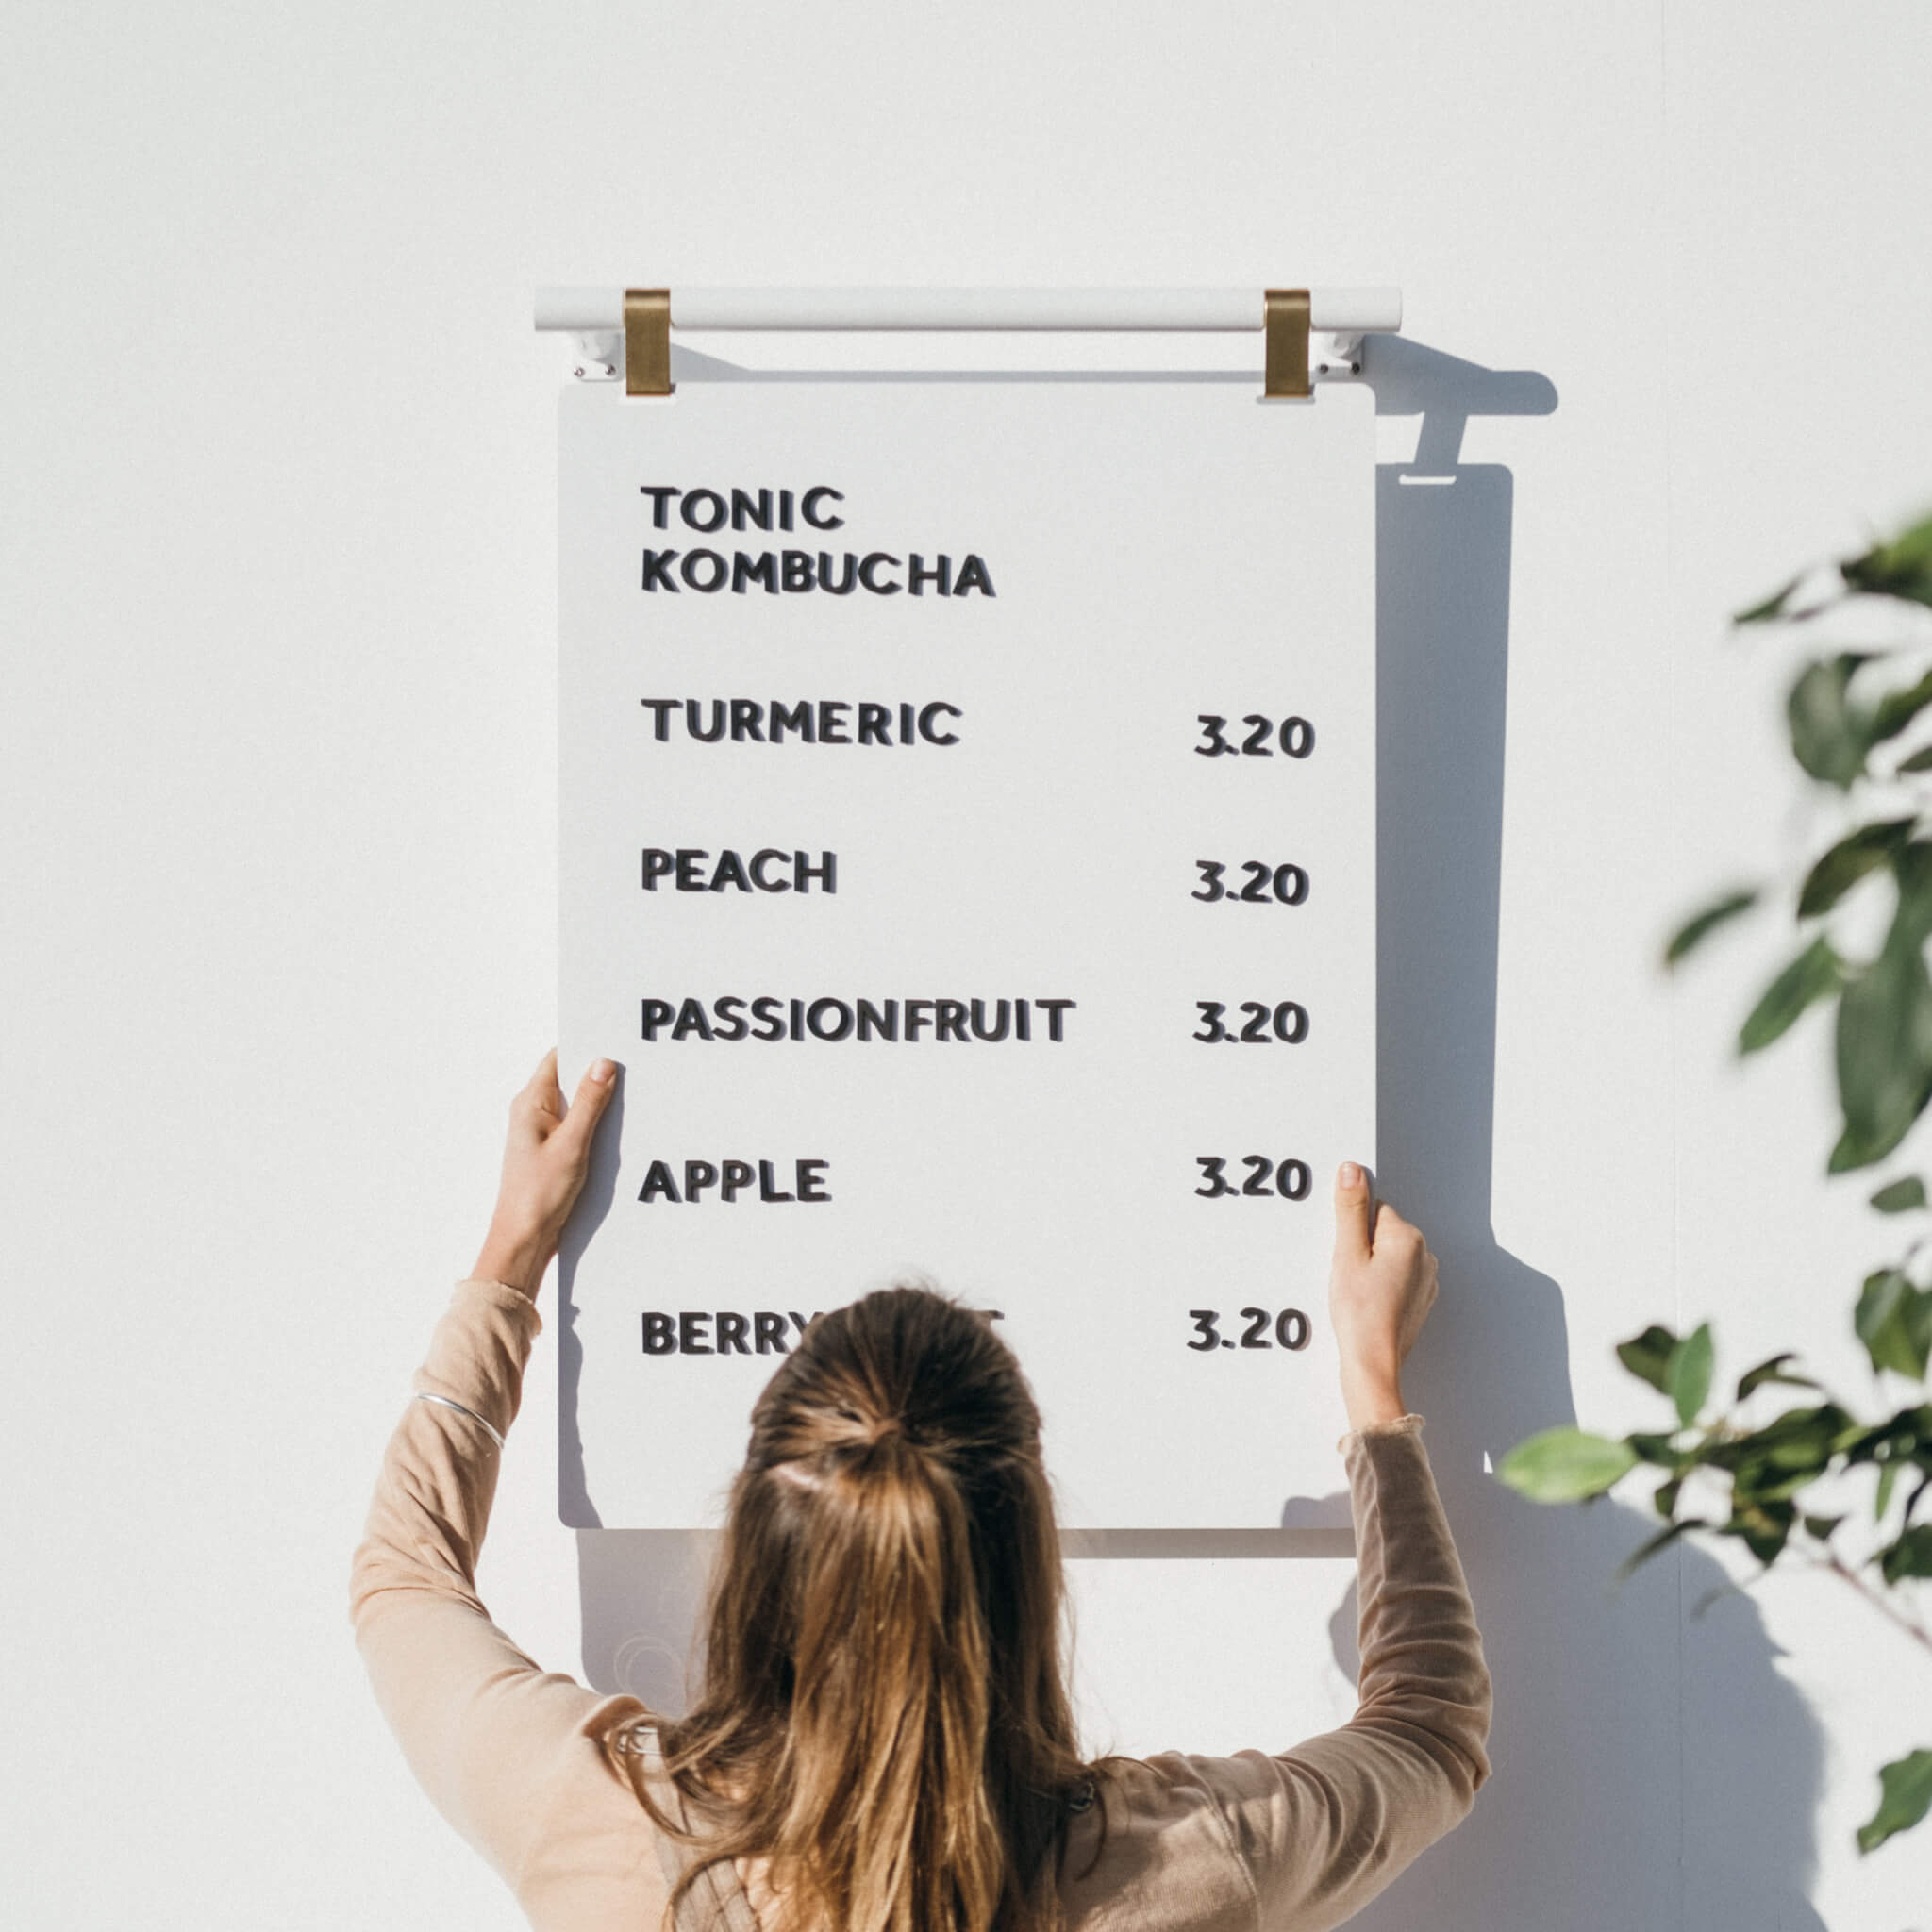
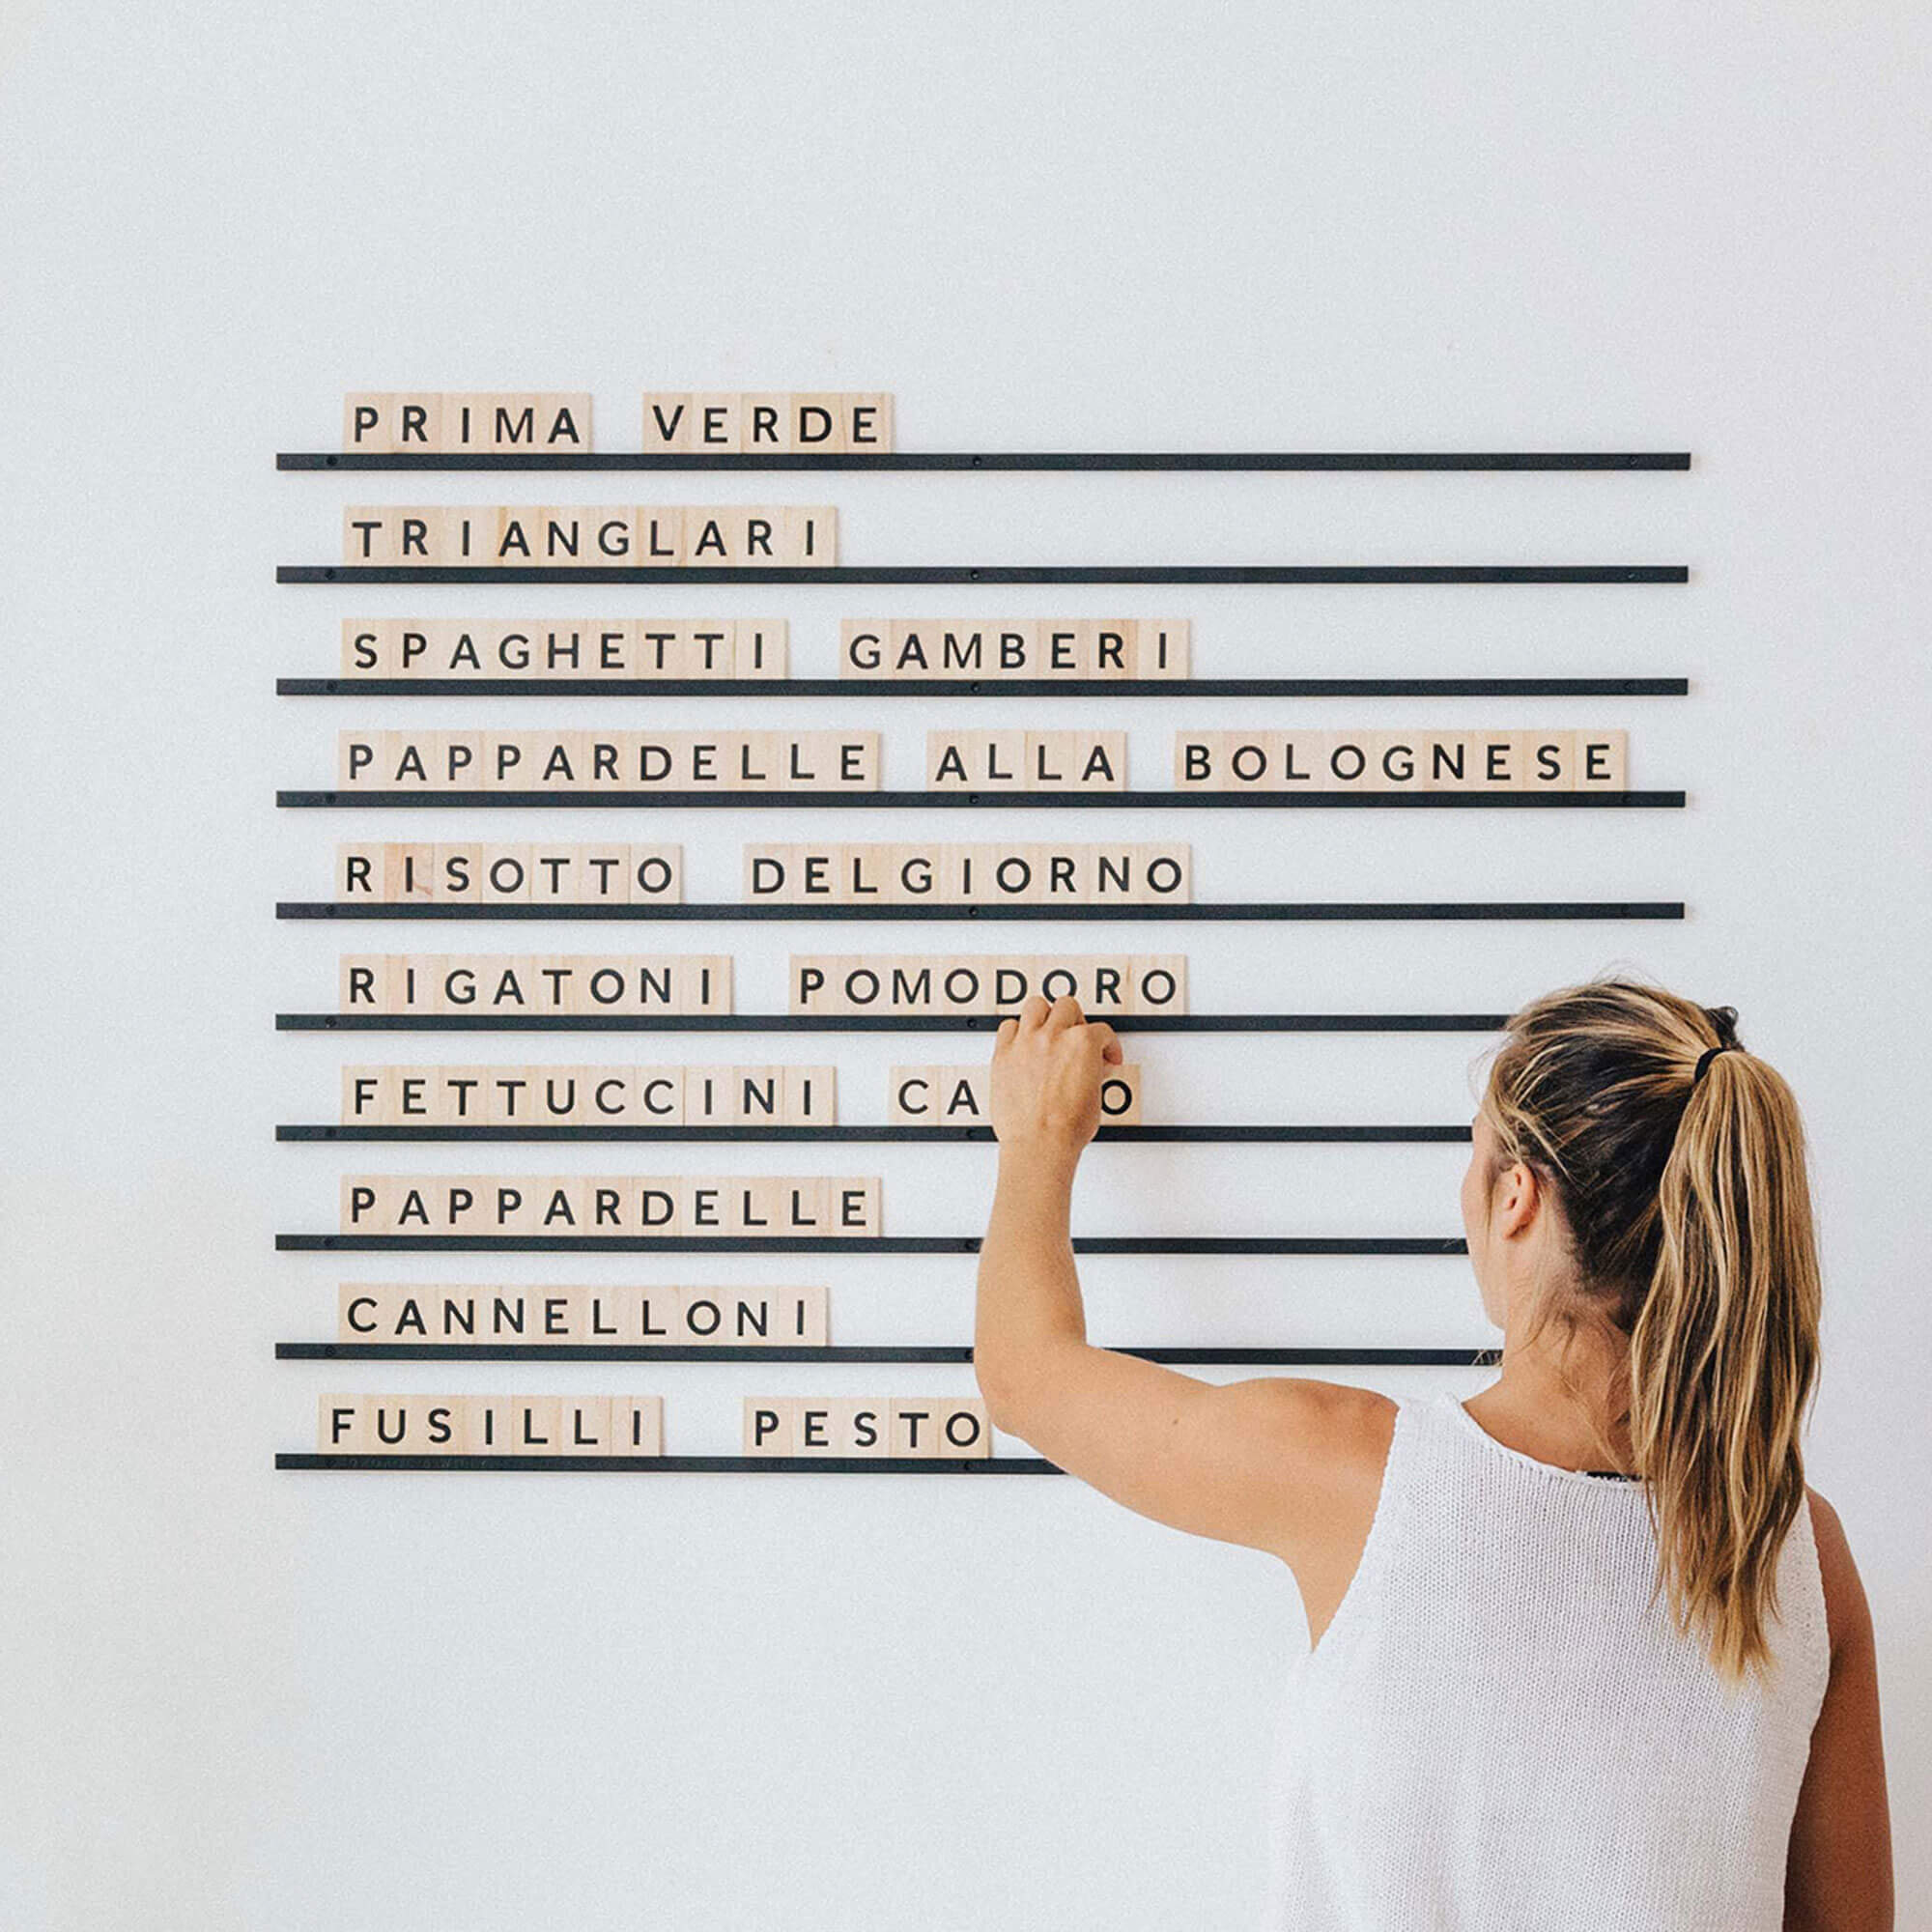
Whether it’s a food menu that you’re displaying, a morning yoga routine, or to sketch and write down your ideas, the Wall Mounted Paper Roller will do its best to compliment all of those things. You can space your flat bar however far away from the bracket as you wish, whatever you think will suit your needs best!
STEP 2.
PLACEMENT

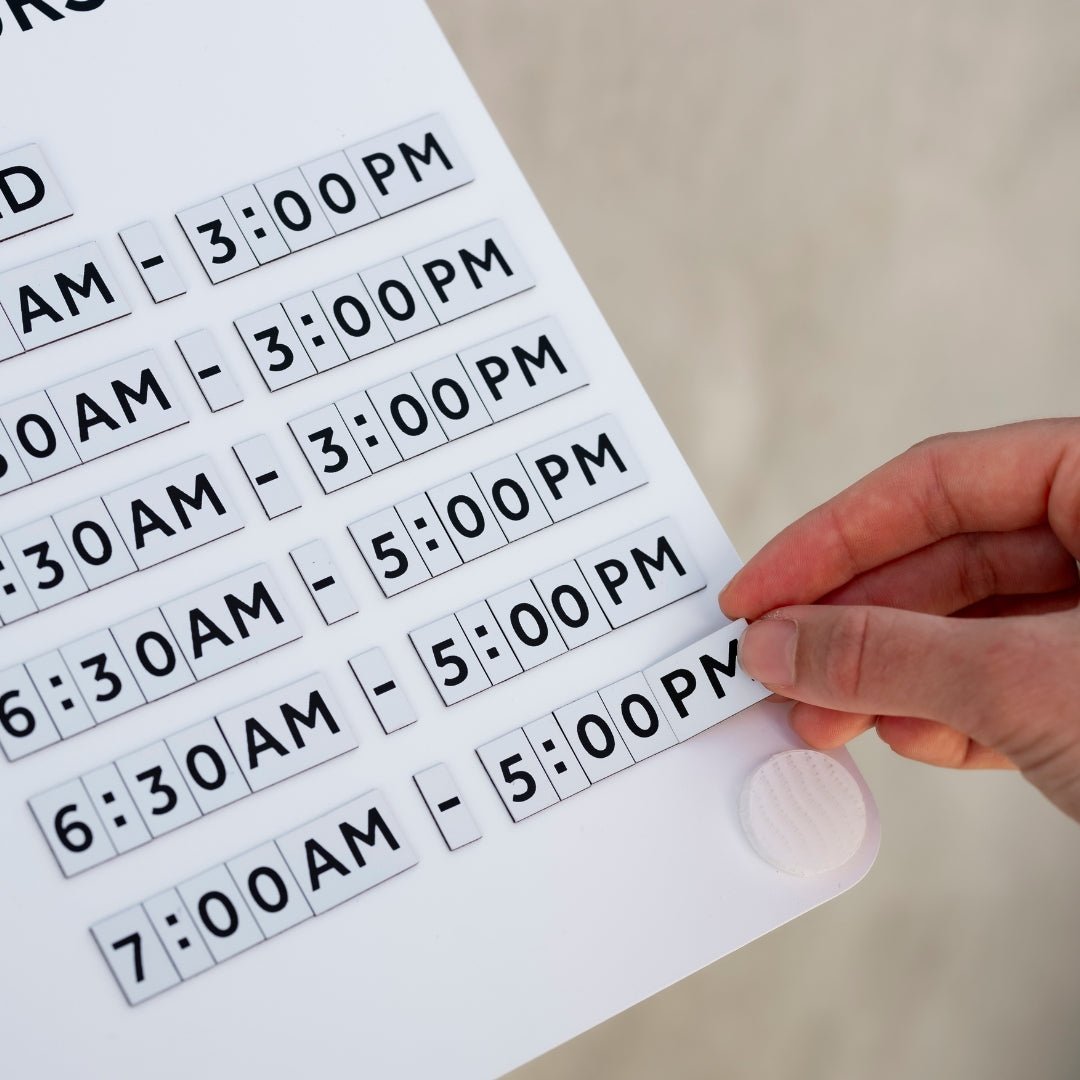
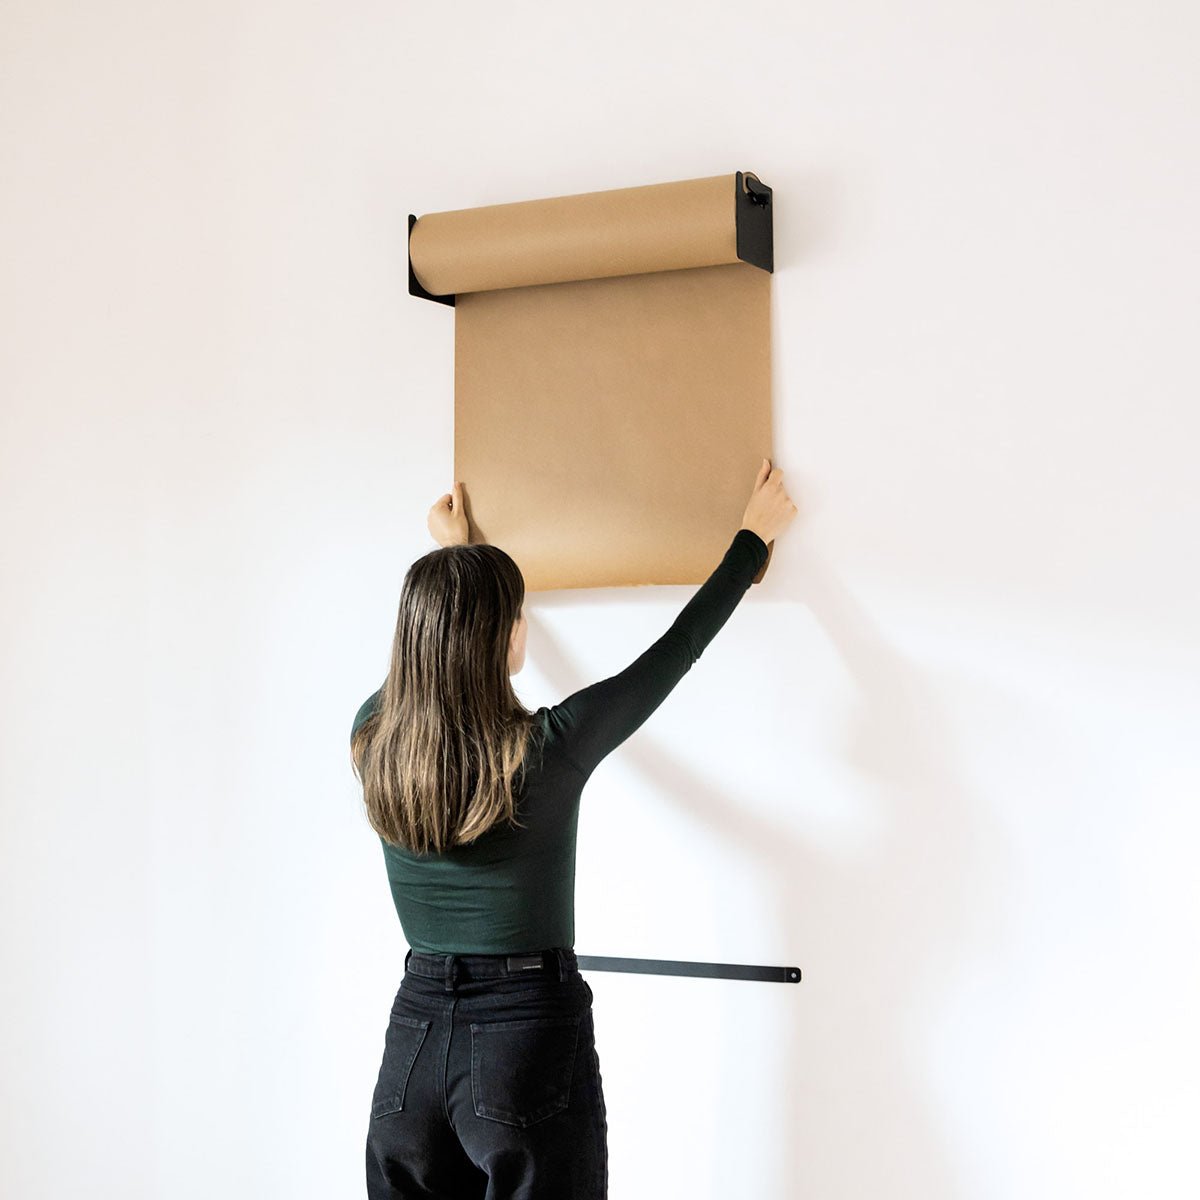
Select a wall-space to install the Butchers Paper Dispenser on to - a smooth surface is preferable for writing on, though if it’s rough you could always put a thin smooth surface down as a backing plate - plywood looks nice and works well for this.
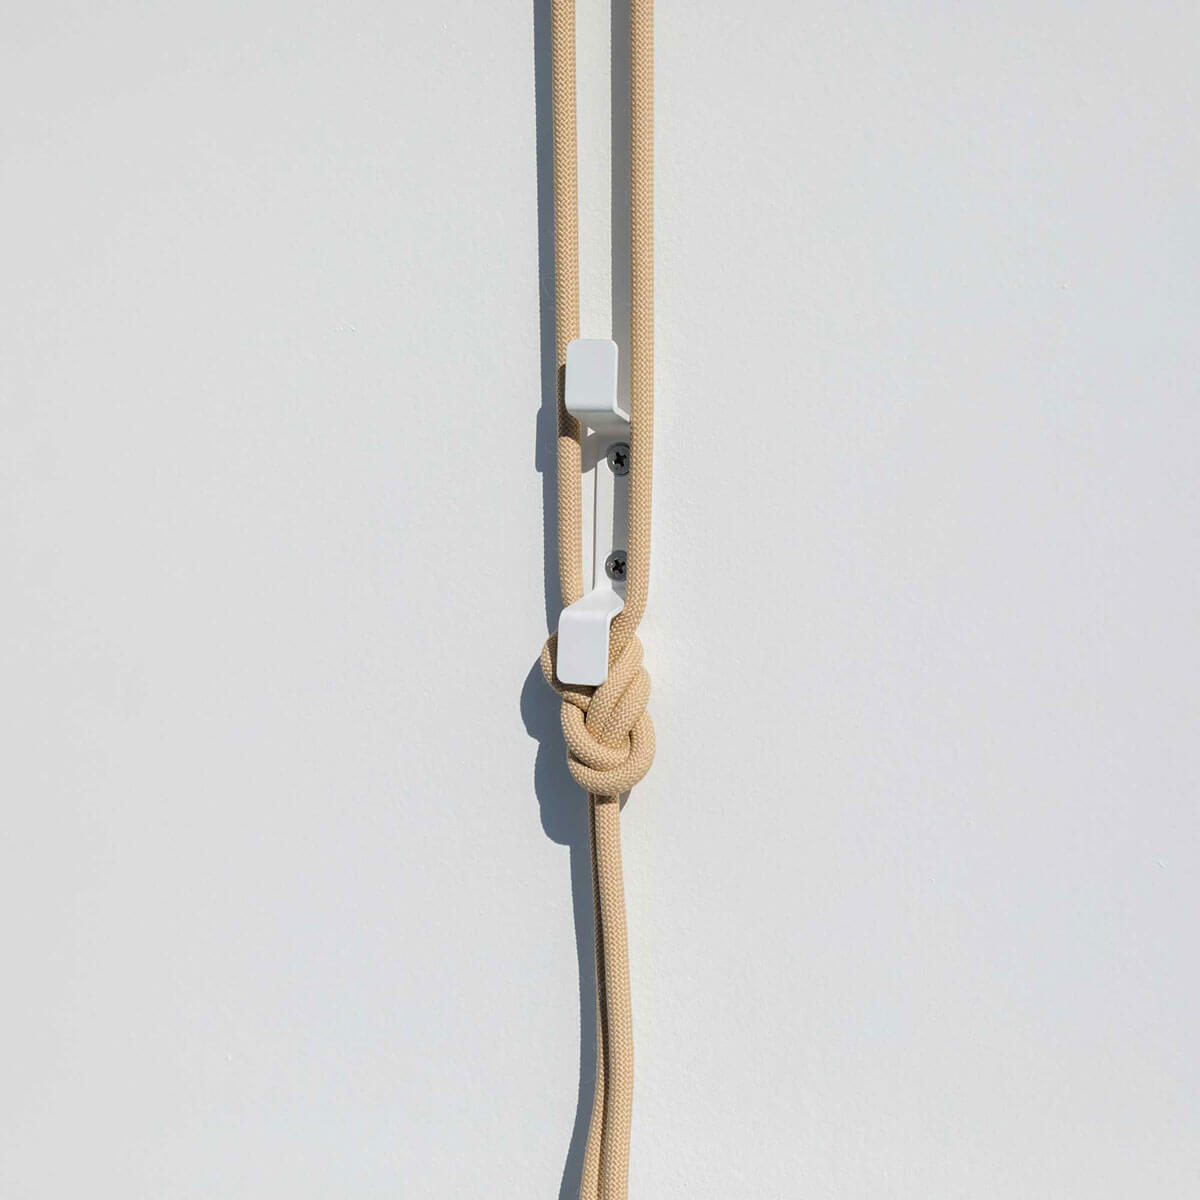
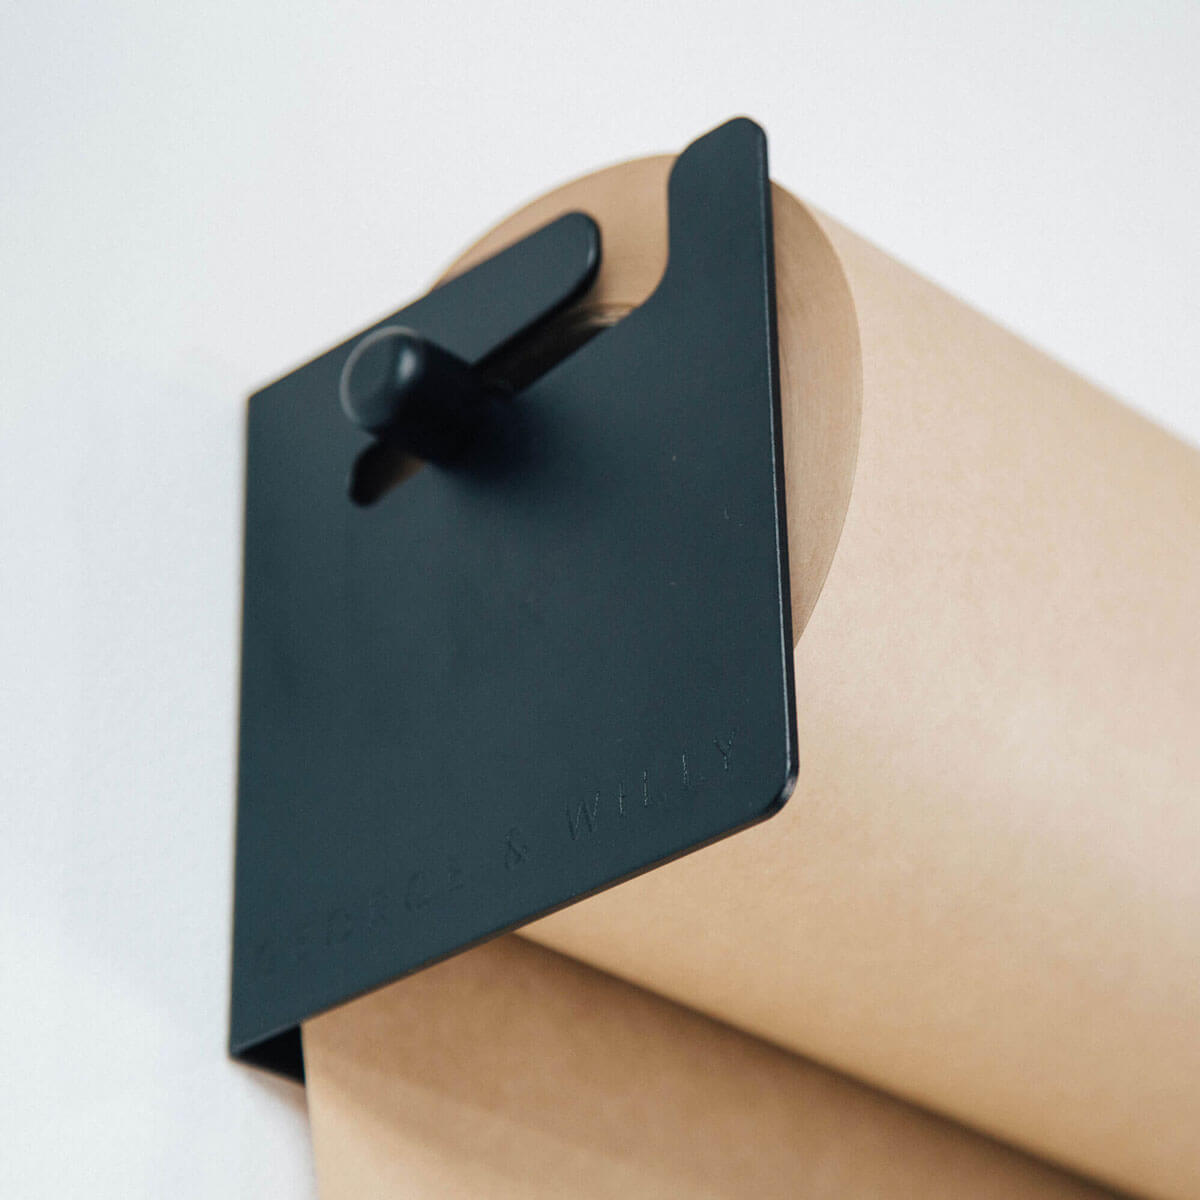
Insert the first screw in a hole that matches up with a stud in the wall.
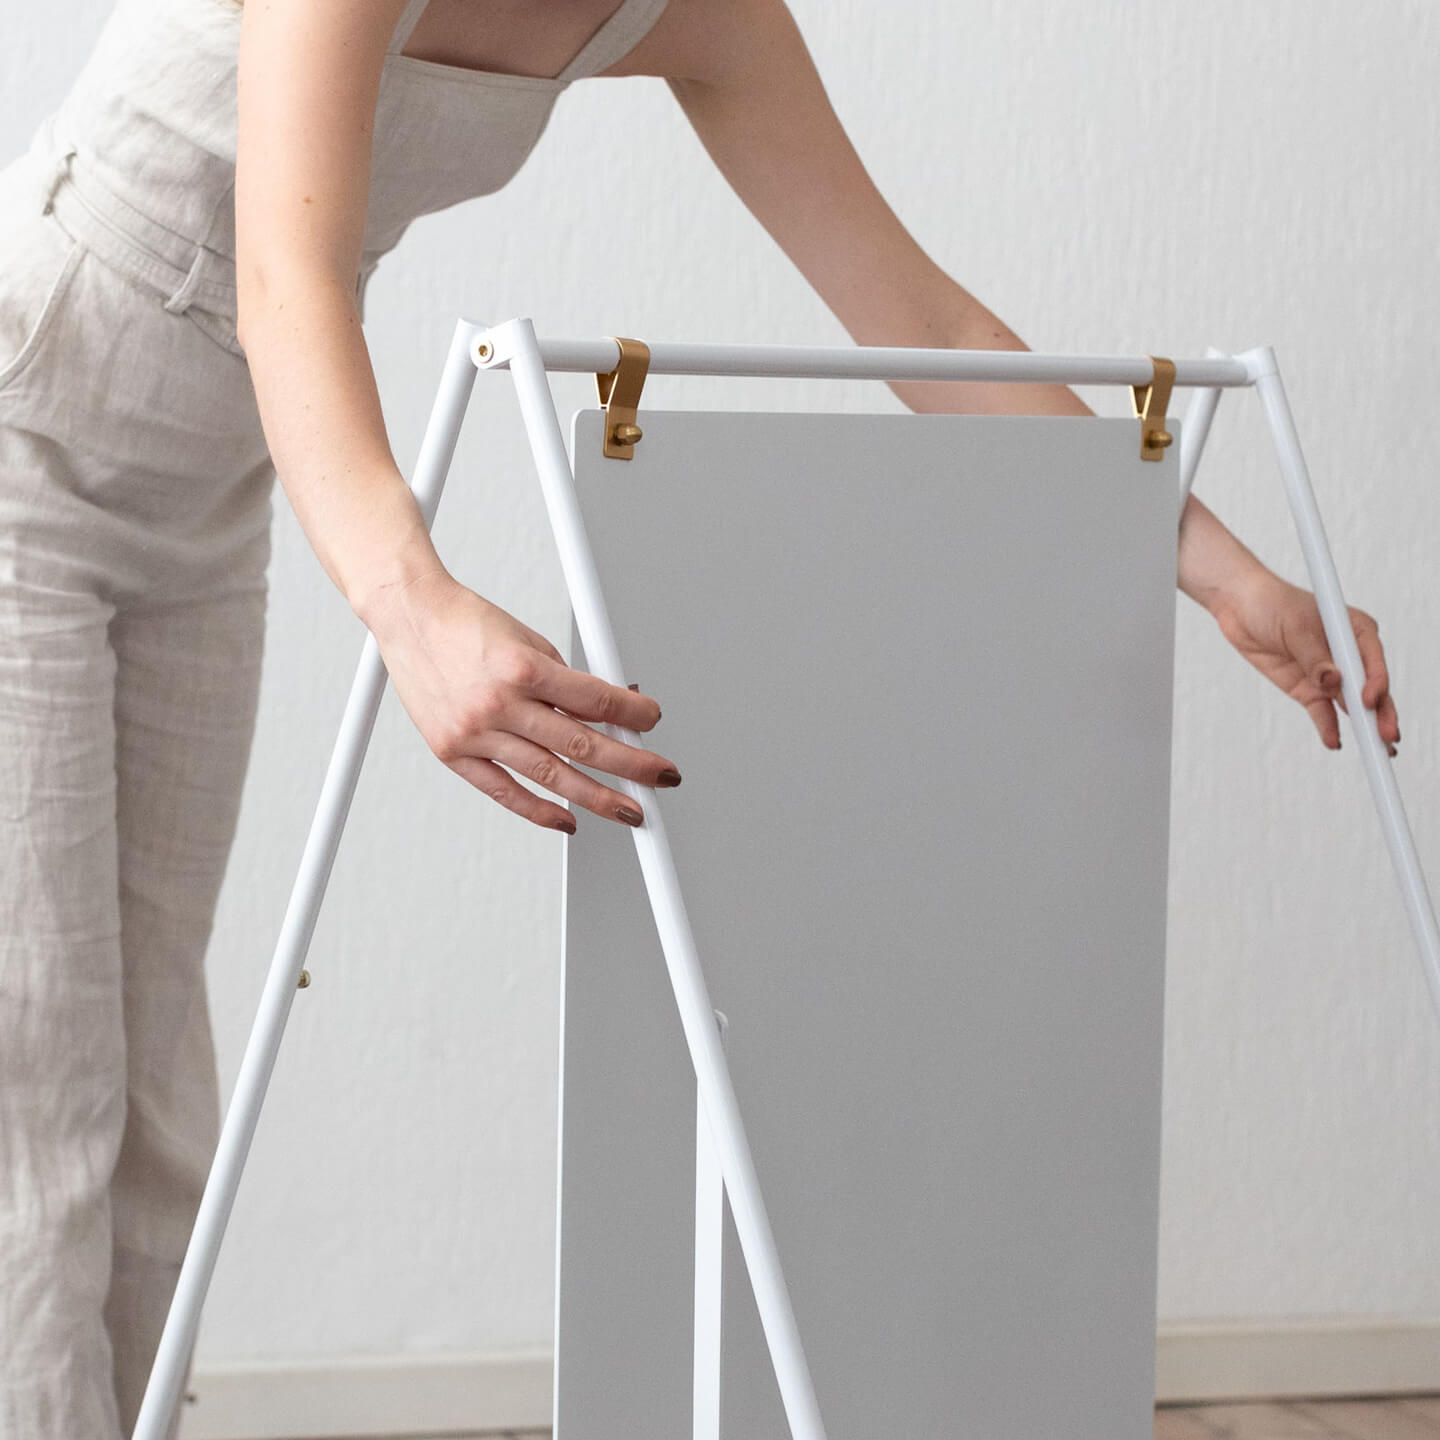
STEP 3.
LEVEL + POSITION
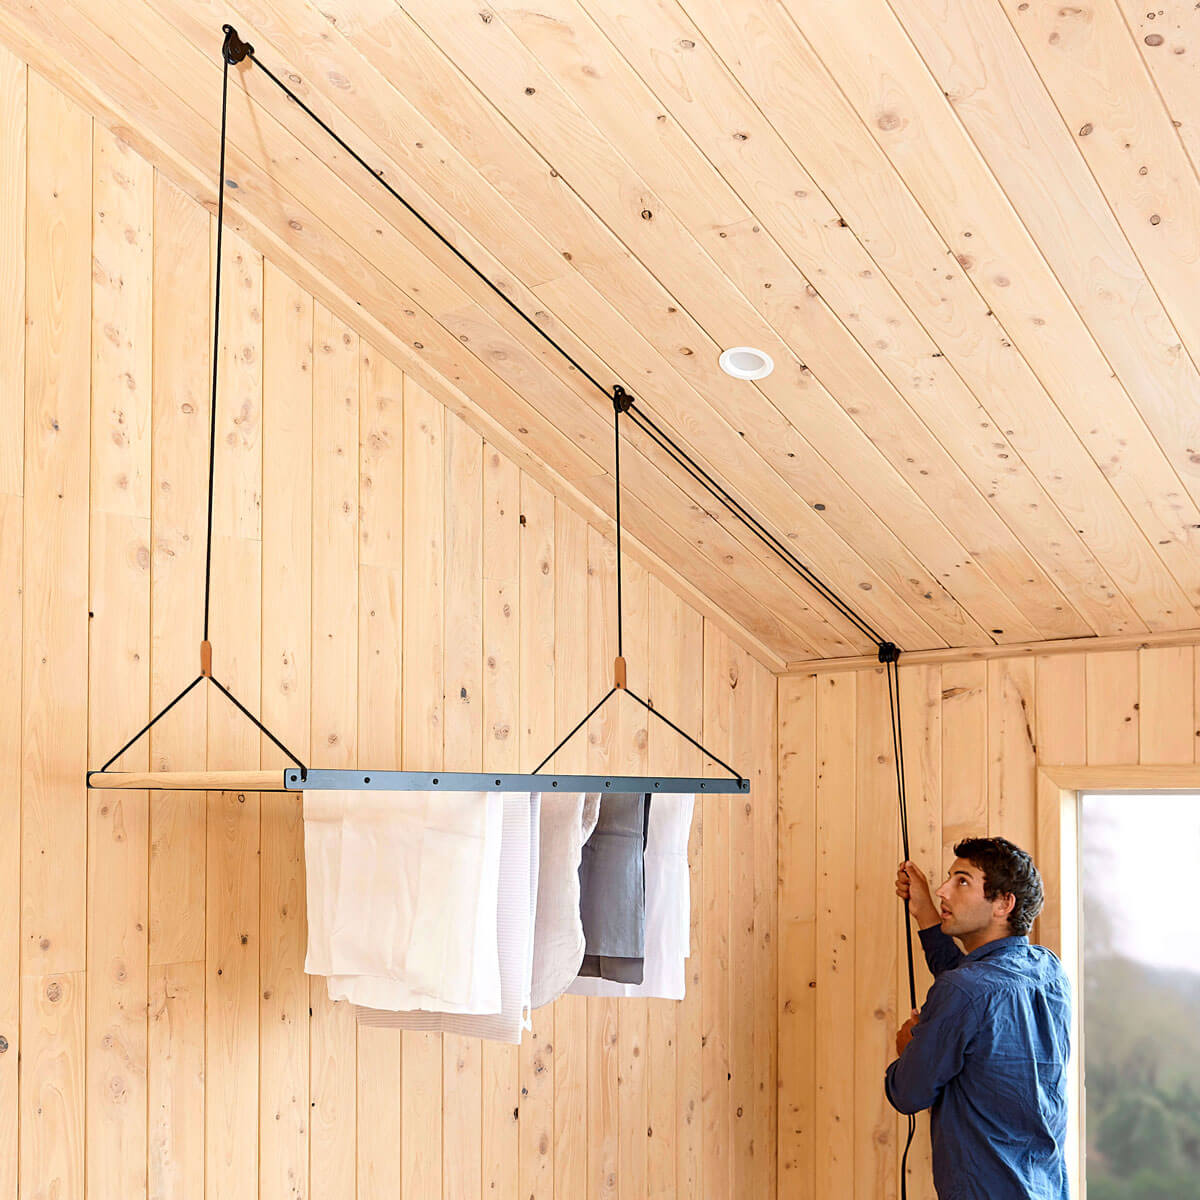
 Using a level, position the bracket so it is perfectly horizontal. Fasten the second screw into a stud. Continue to fasten the remaining screws until the bracket is securely fixed to the wall.
Note - the extra holes are there so you have a better chance of lining up the bracket with a stud in the wall, not all screw holes will be necessary.
Choose your spacing.


STEP 4.
SPACING + FIXING

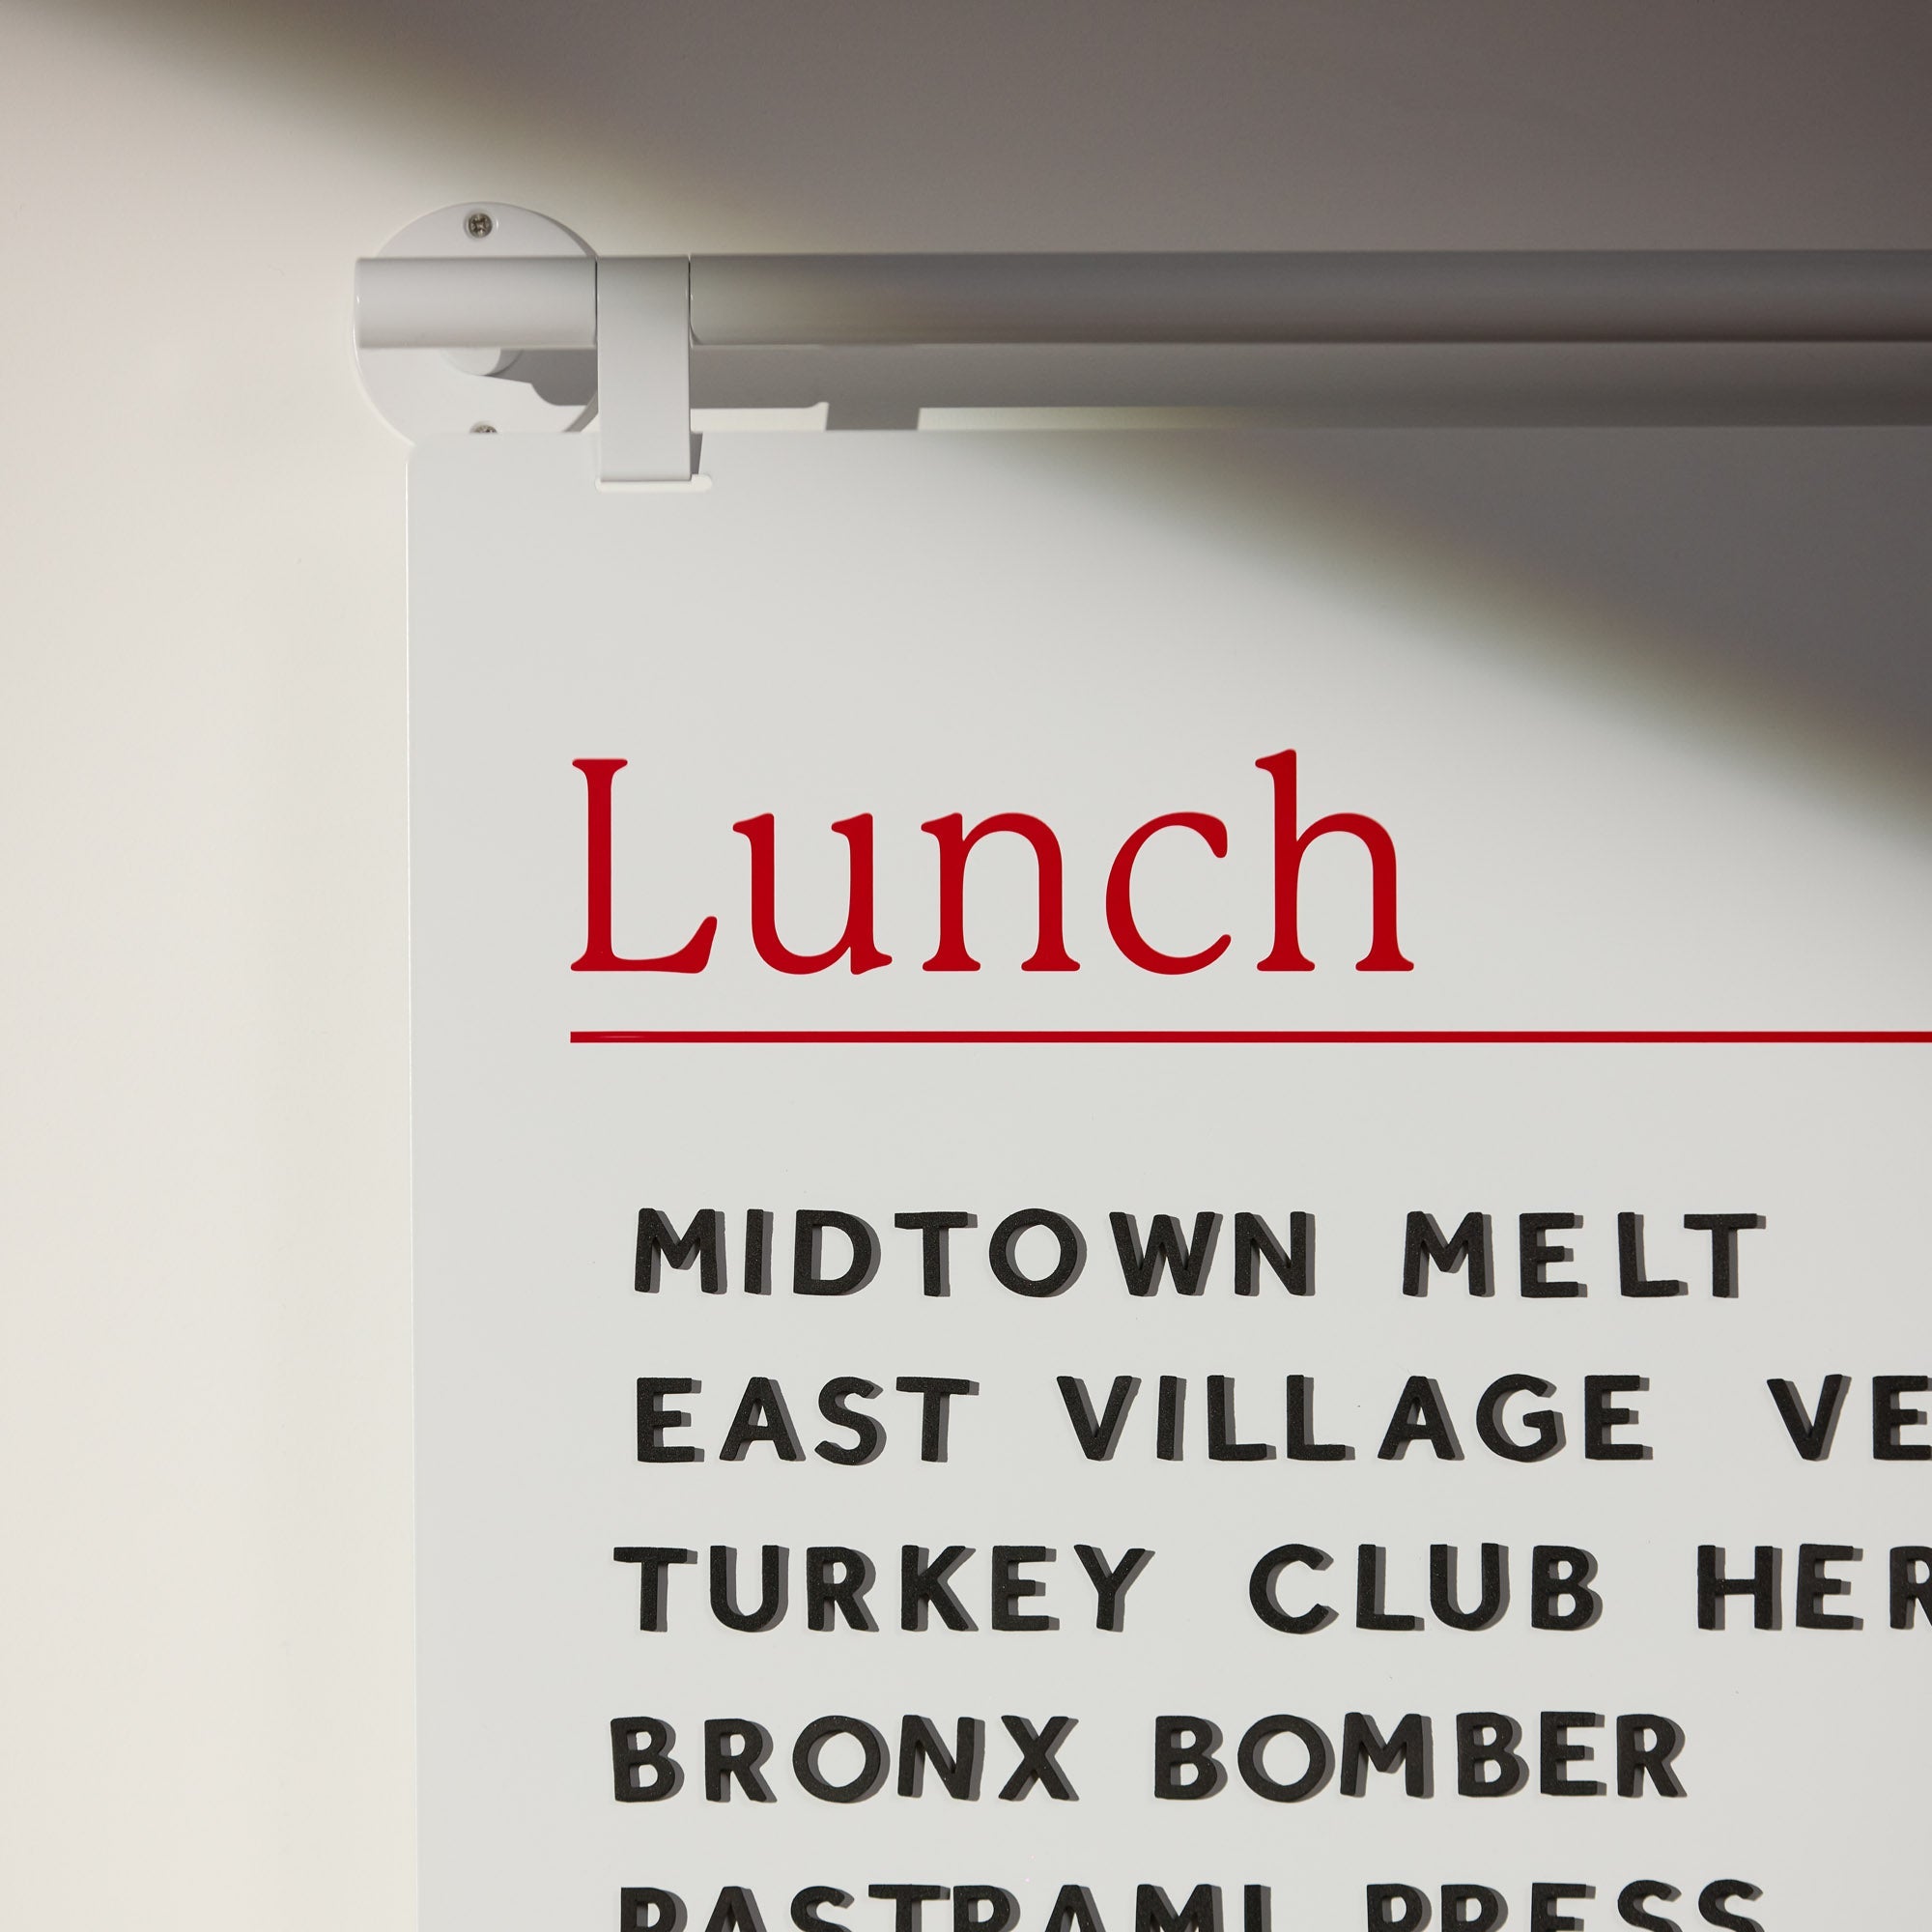
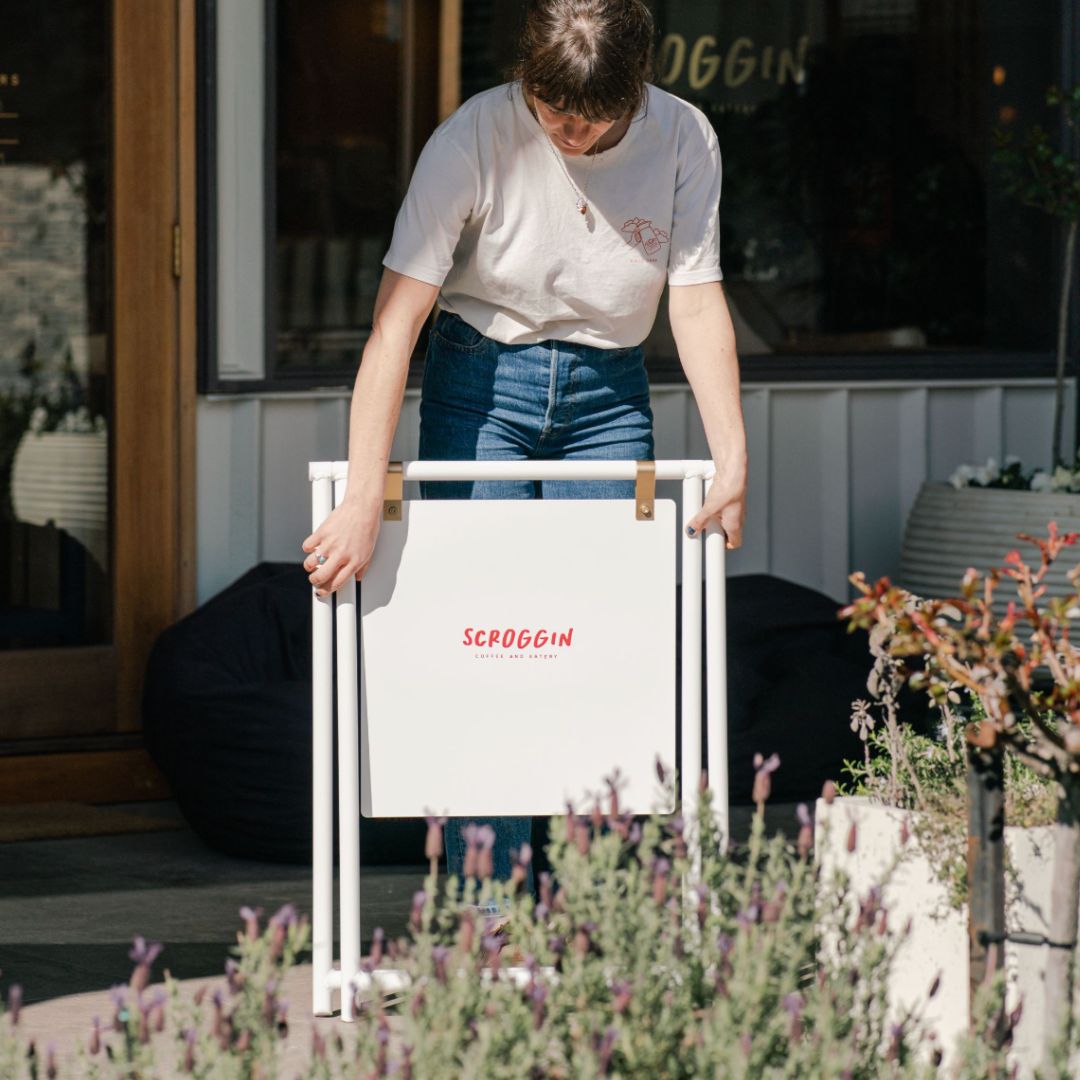
Pull the Kraft paper down the wall until you reach your desired length. We recommend a distance between 900mm – 1000mm (35”– 40”).
STEP 5.
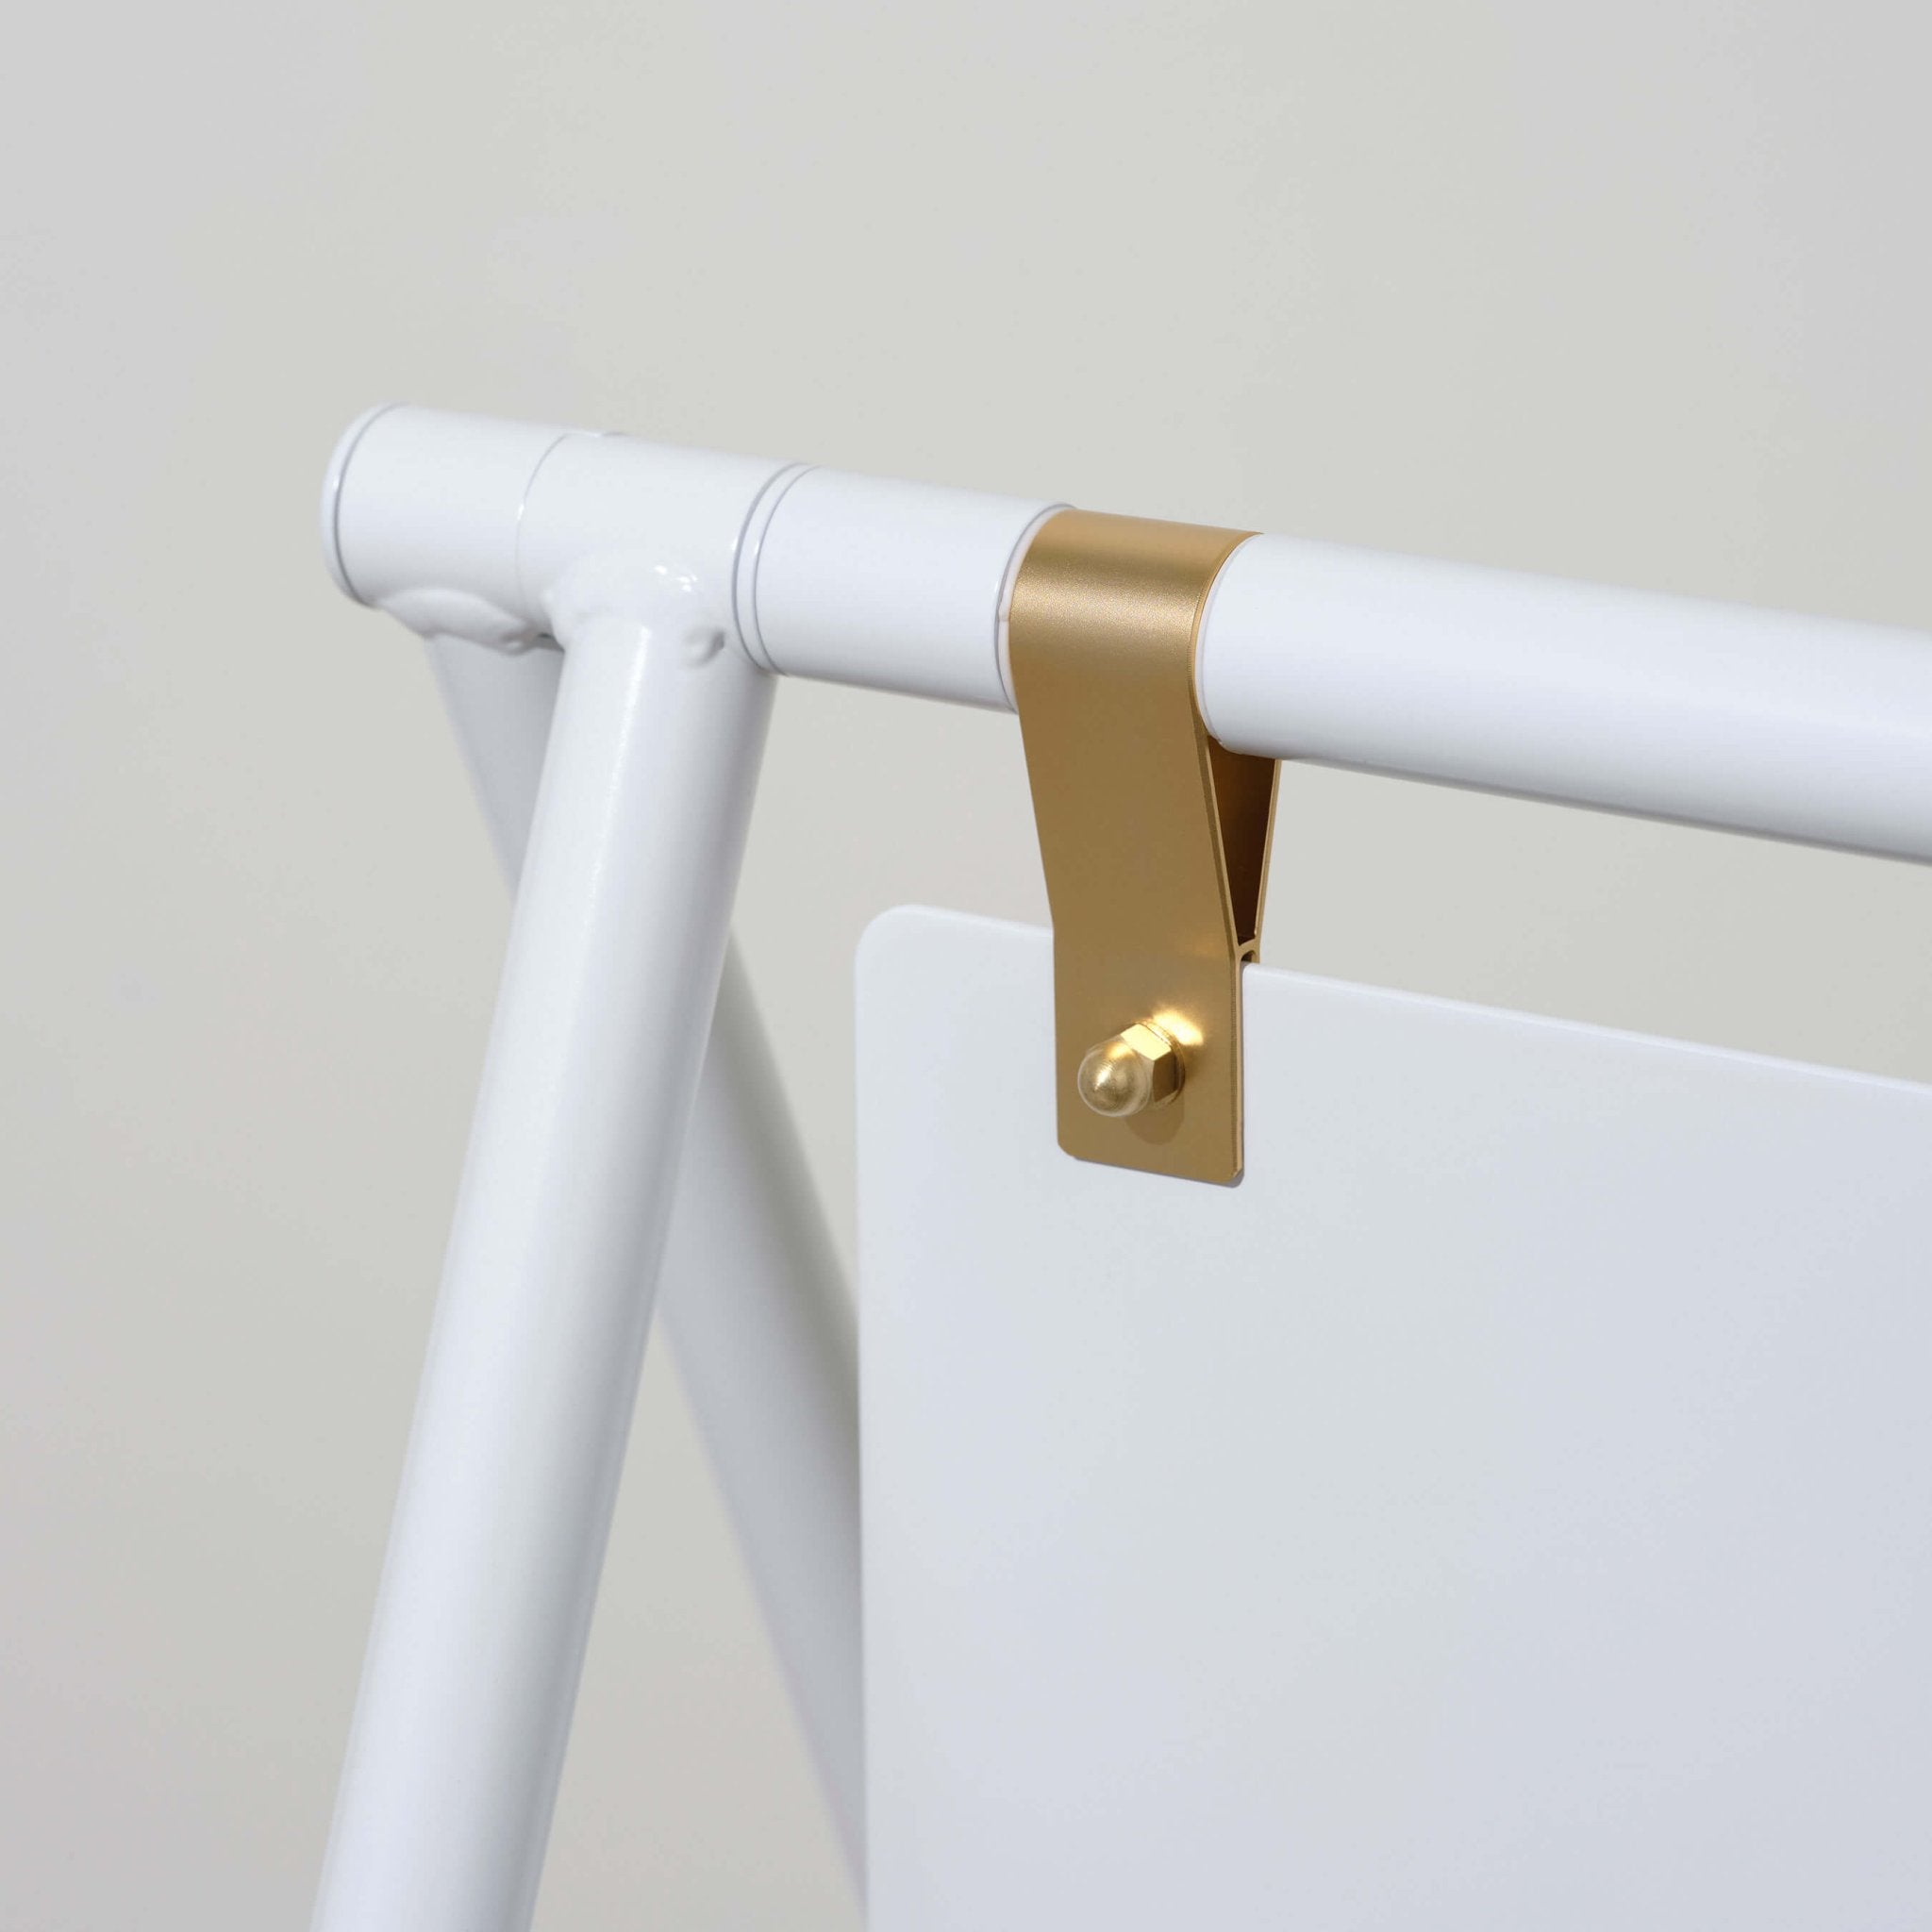
SECURING THE FLAT BAR

Fasten the first screw into the flat bar at your desired paper length. Place a level on top and position the flat bar so that it is perfectly horizontal. Fasten the second screw and ensure the bar is securely fixed to the wall.
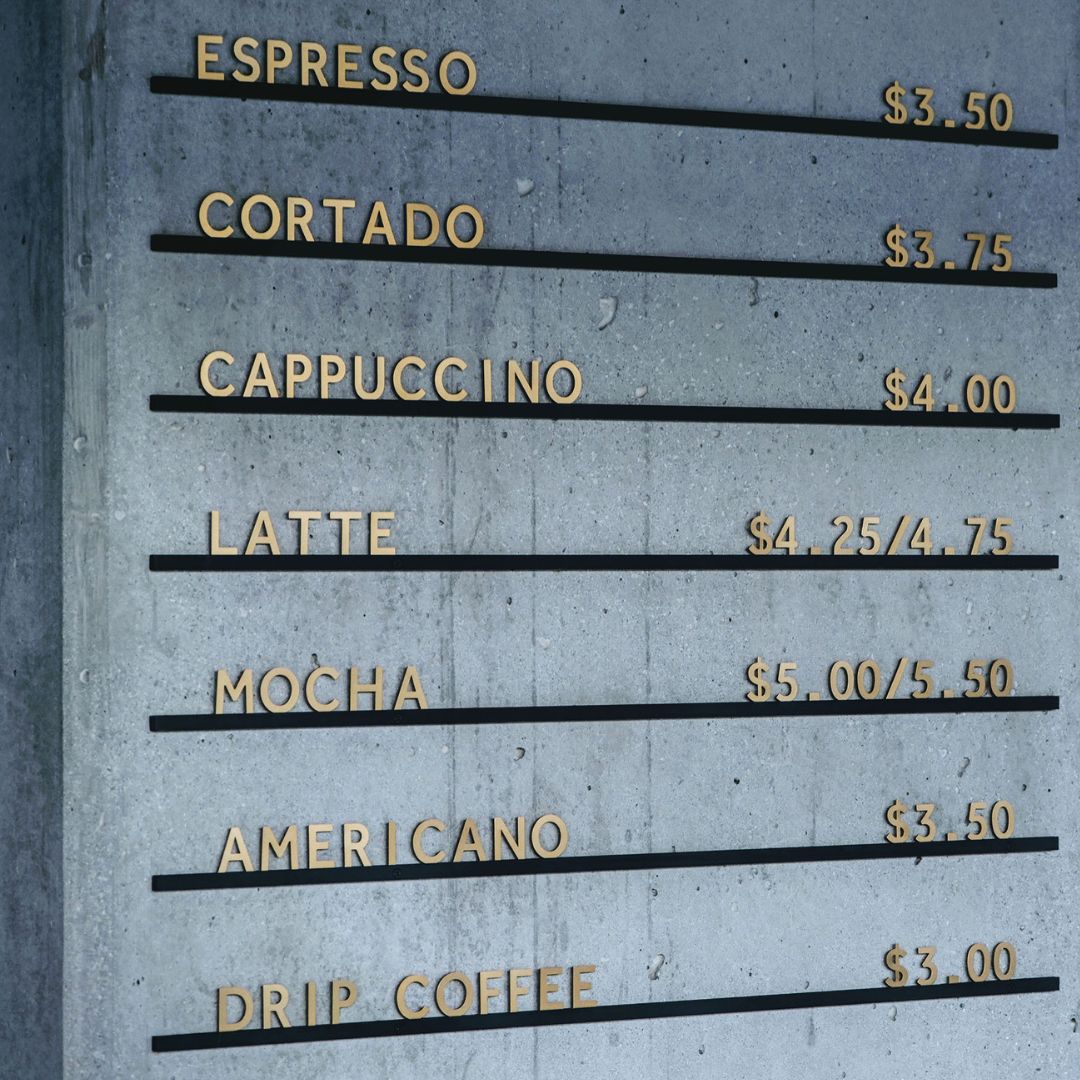
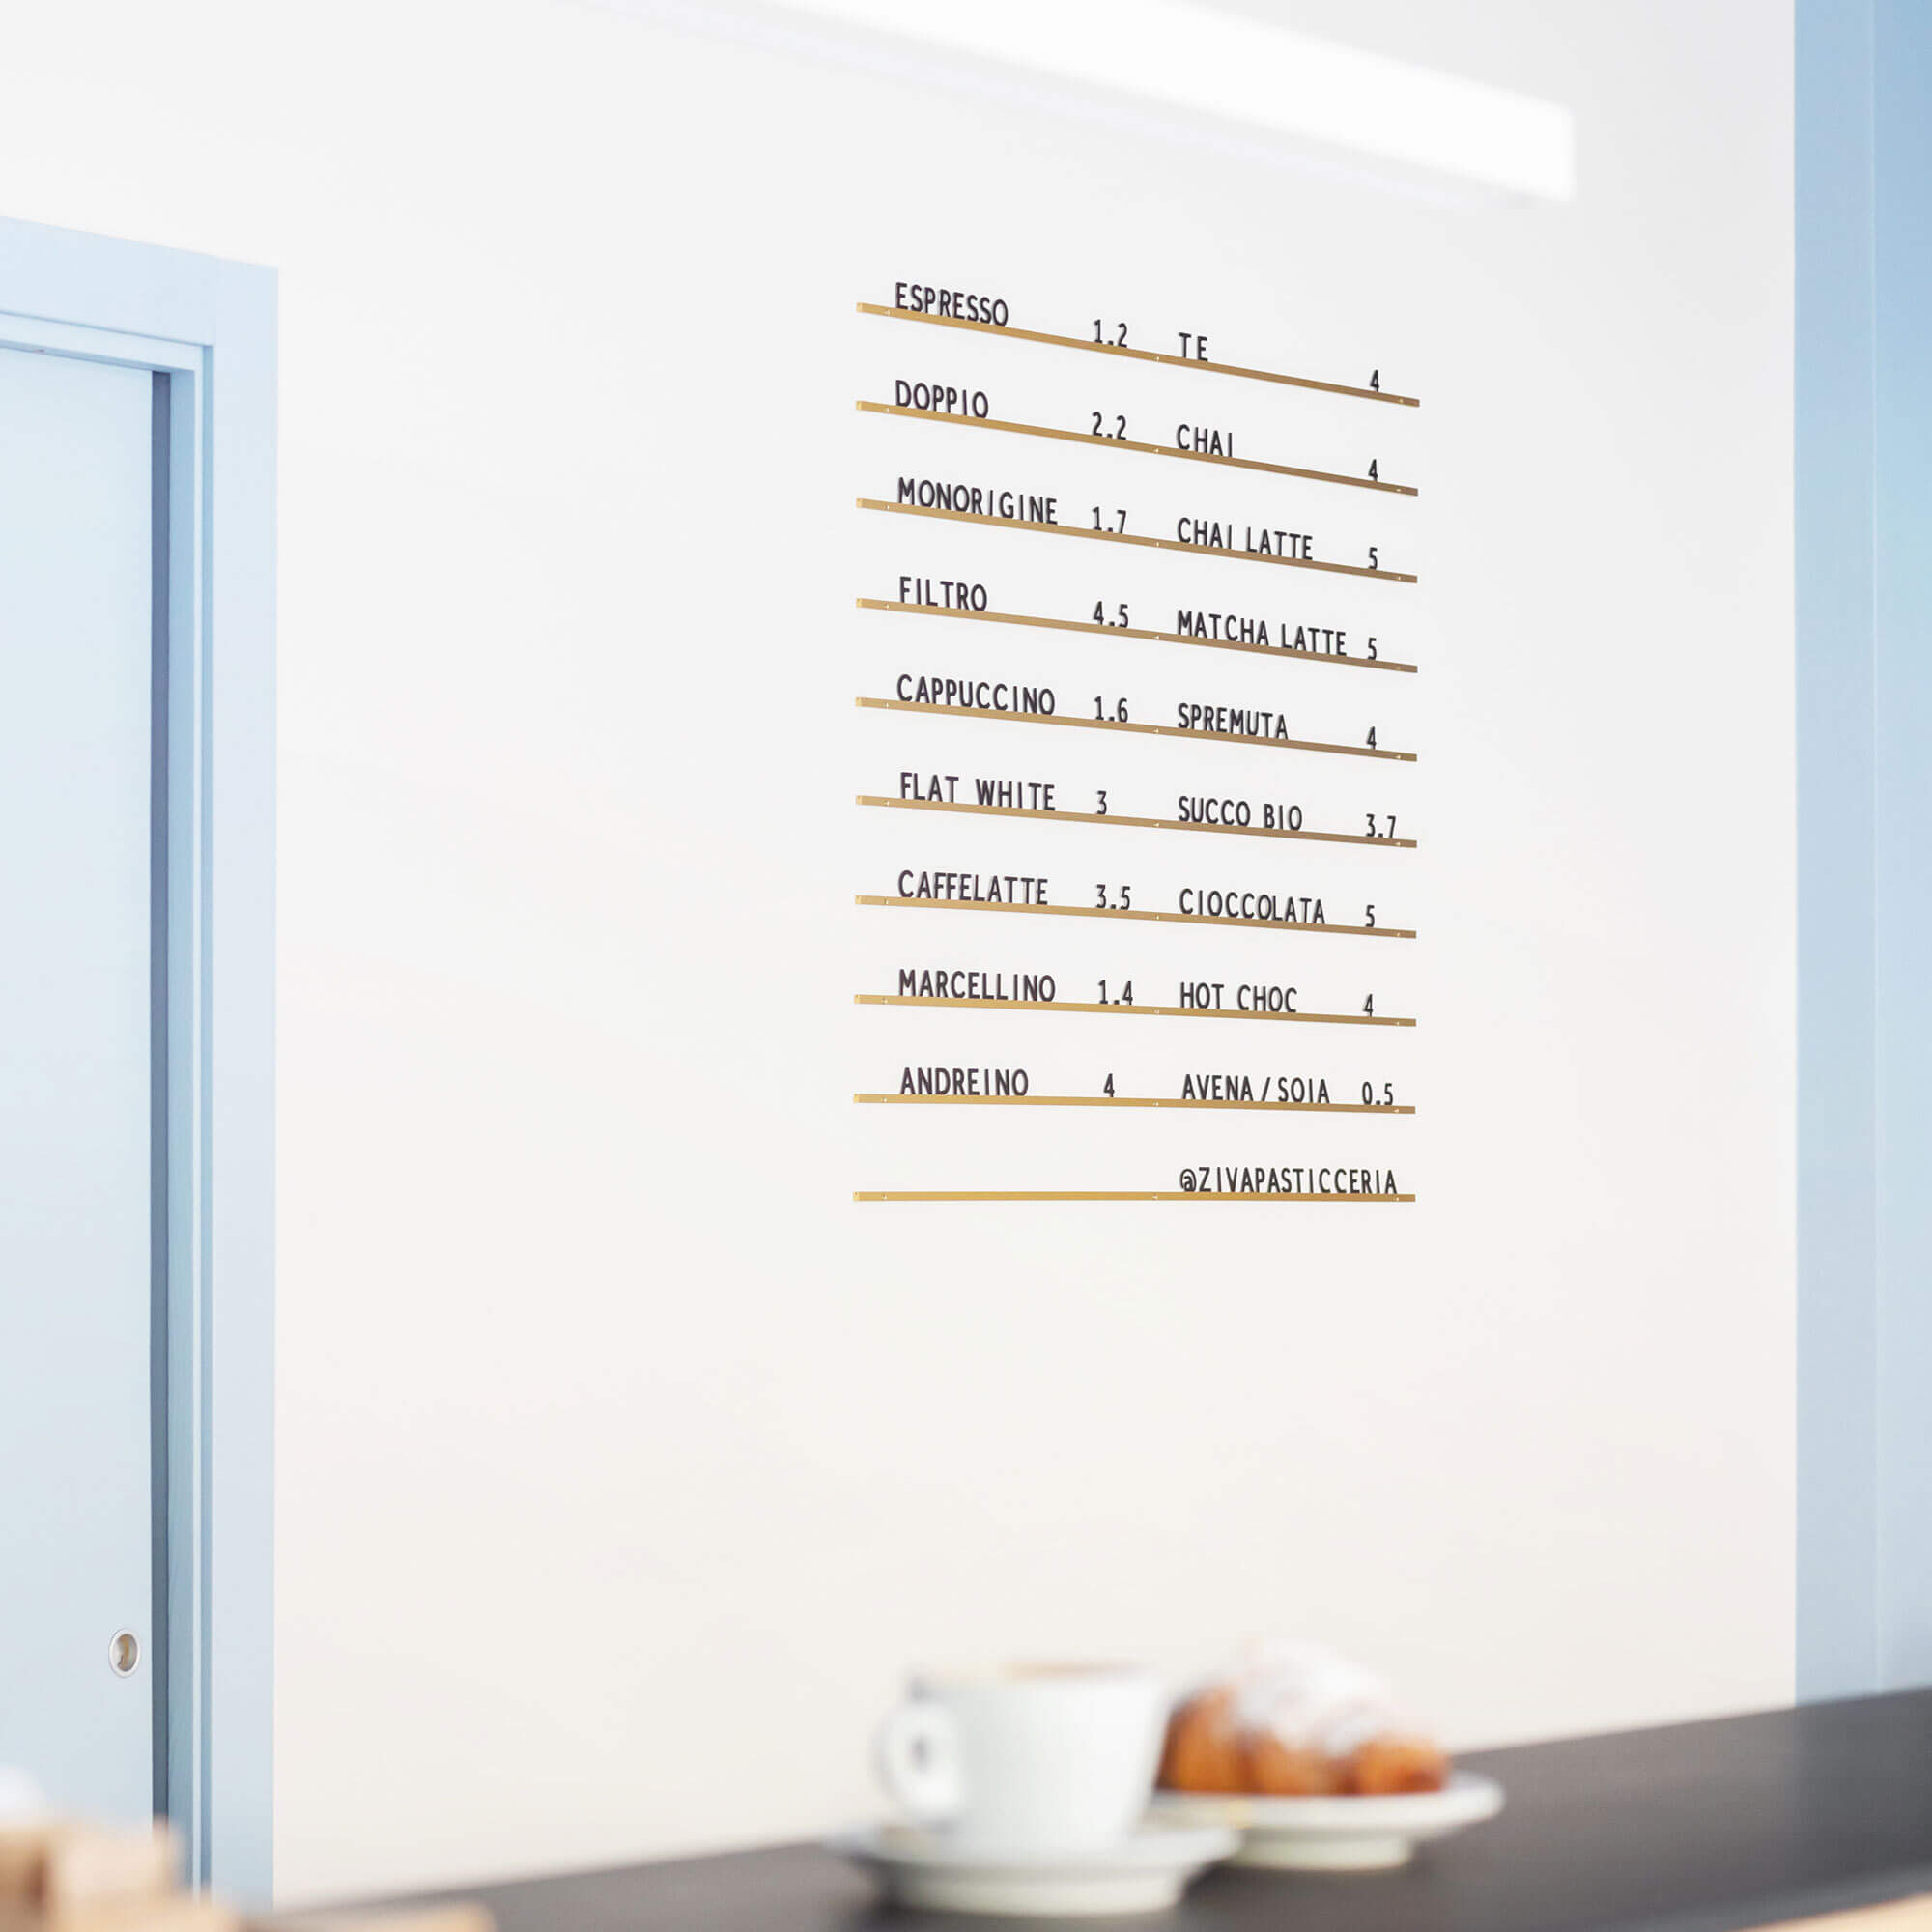
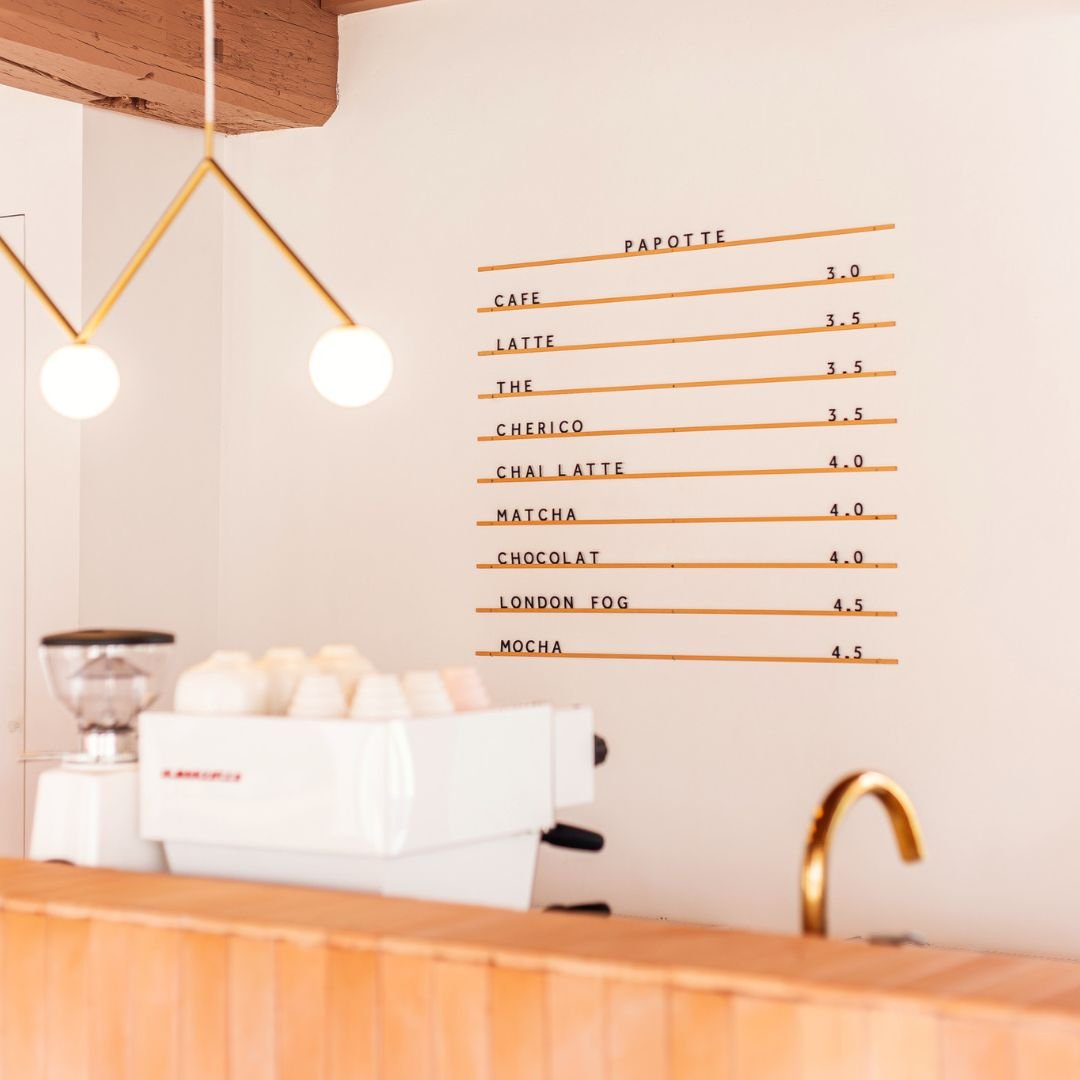
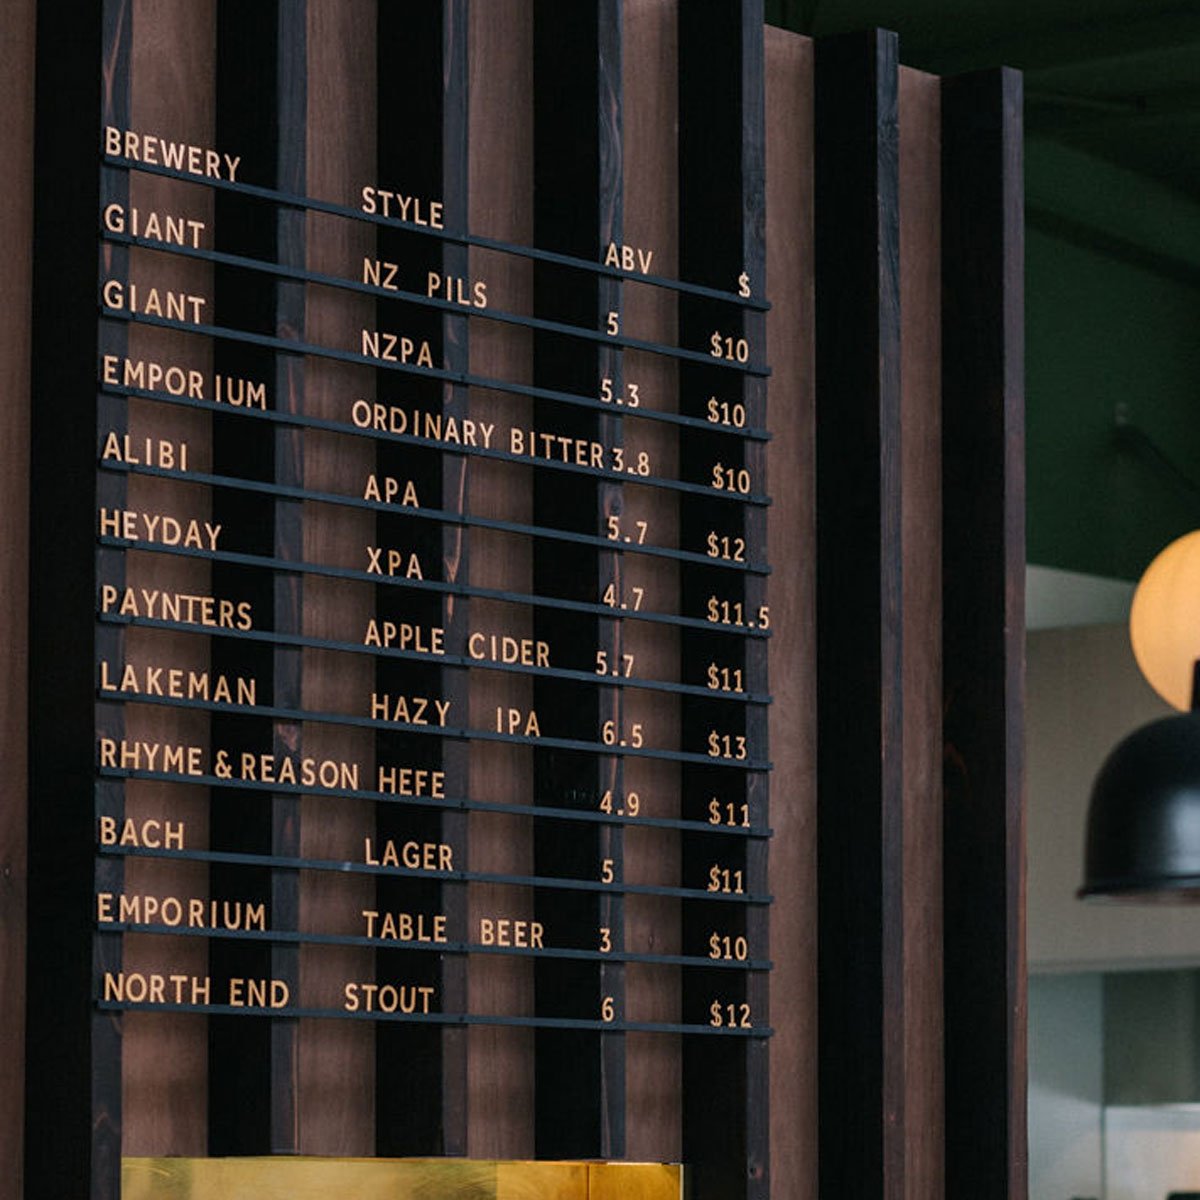
Check out our Studio Rollers Around the World post to see the Paper Roller in action and get some inspiration for installation in your space.


FAQS
Can the bracket be mounted vertically on the wall?
Unfortunately not. Due to the way that the brackets are made, the round bar is held in place by gravity, this means that it has to be mounted horizontally to work.
What size paper rolls fit the brackets?
Our rolls hold 70m, however, the brackets are designed to fit universal kraft rolls up to 8.6" in diameter. Aim for rolls that have 50m -150m length of paper on them.
Do you sell white paper rolls?
No. However, the rolls are designed to fit universal paper rolls and white rolls can be found at most packaging supply stores.
We would love to see how you are using your Wall Mounted Paper Roller! Tag us @georgeandwilly